docc
-
Posts
18,701 -
Joined
-
Last visited
-
Days Won
1,006
Content Type
Profiles
Forums
Events
Gallery
Community Map
Everything posted by docc
-
Seems those individual bulbs ground through their flinky housings and often loosen up. I seem to recall a method of epoxying them so they will maintain a constant ground (been quite a while since I've done that). Not sure how hard that is to get to on a LeMans (on the Sport, it was not bad at all).
-
http://www.v11lemans.com/forums/index.php?showtopic=18187&p=195947
-
Or this: http://www.v11lemans.com/forums/index.php?showtopic=12326&p=148983 Almost no contact from the factory fuse connectors:
-
For reference, this fastener?
-
At the very minimum: *happier* . . . But, isn't that what it's all about?
-
Nothing wrong with having your way with your new lady! Keep us posted on how it goes (maybe one of those newly-popular "Single Bike Project Threads?" Otherwise, first things are first: add the canisters of your choice if they've not been changed yet, work through a couple complete tune-ups, get guzzidiag and zero your CO Fuel Trim(m). Set up your suspension, and go through the process of bringing the maintenance and charging system up to standard: Tank Off Maintenance Checklist Wheels off Maintenance Checklist Hey, and "docc modded his airbox with a beer bottle" doesn't sound so terribly becoming. It was actually several beer bottles, and the task was performed with great craft and art.
-
Does that make it "stiffer?" Possibly even heavier?
-
do.it.do.it.do.it.do.it!
-

Mmmmmmmmmh ... beeeeer!
docc replied to helicopterjim R.I.P.'s topic in Special place for banter and conversation
I share the affinity for beers that look like 20-50 motor oil that needs changing! -
"My Mandello Mountain Bike" Brilliant! So, so nice in so many ways!
-
So, what kind of amperage do you see from the charging circuit on the V11?
-
Kiwi_Roy is the resident expert on these things, but he is off in, well, Kiwi_Land . . . 14 gauge will be fine. Because it is going engine to frame, I used flat braided ground strap material under heat shrink tubing.
-
That looks great! How did you remove the tar-pit and prep the surface?
-
Keep sorting - every improvement adds up! And, as you say,"Still no regrets. This is a fun bike." Your charging numbers are way too low - so, regulator, regulator case ground, primary gearbox ground, stator wires, 30 amp regulator fuse . . . It will be absolutely worth the effort! Lovely bikes!
-
Right: "drying out" the tank and strictly avoiding ethanol fuels will restore the tank shape (and likely draw the paint bubble back in close), but will not re-adhere the paint, so that spot will always be fragile.
-
Reportedly, that's from the Nylon tank changing shape from dubious contents in the fuels, ie: ethanol and the badness it invites.
-
I've heard of "balls of steel." See here: Real Men have balls of string!"
-
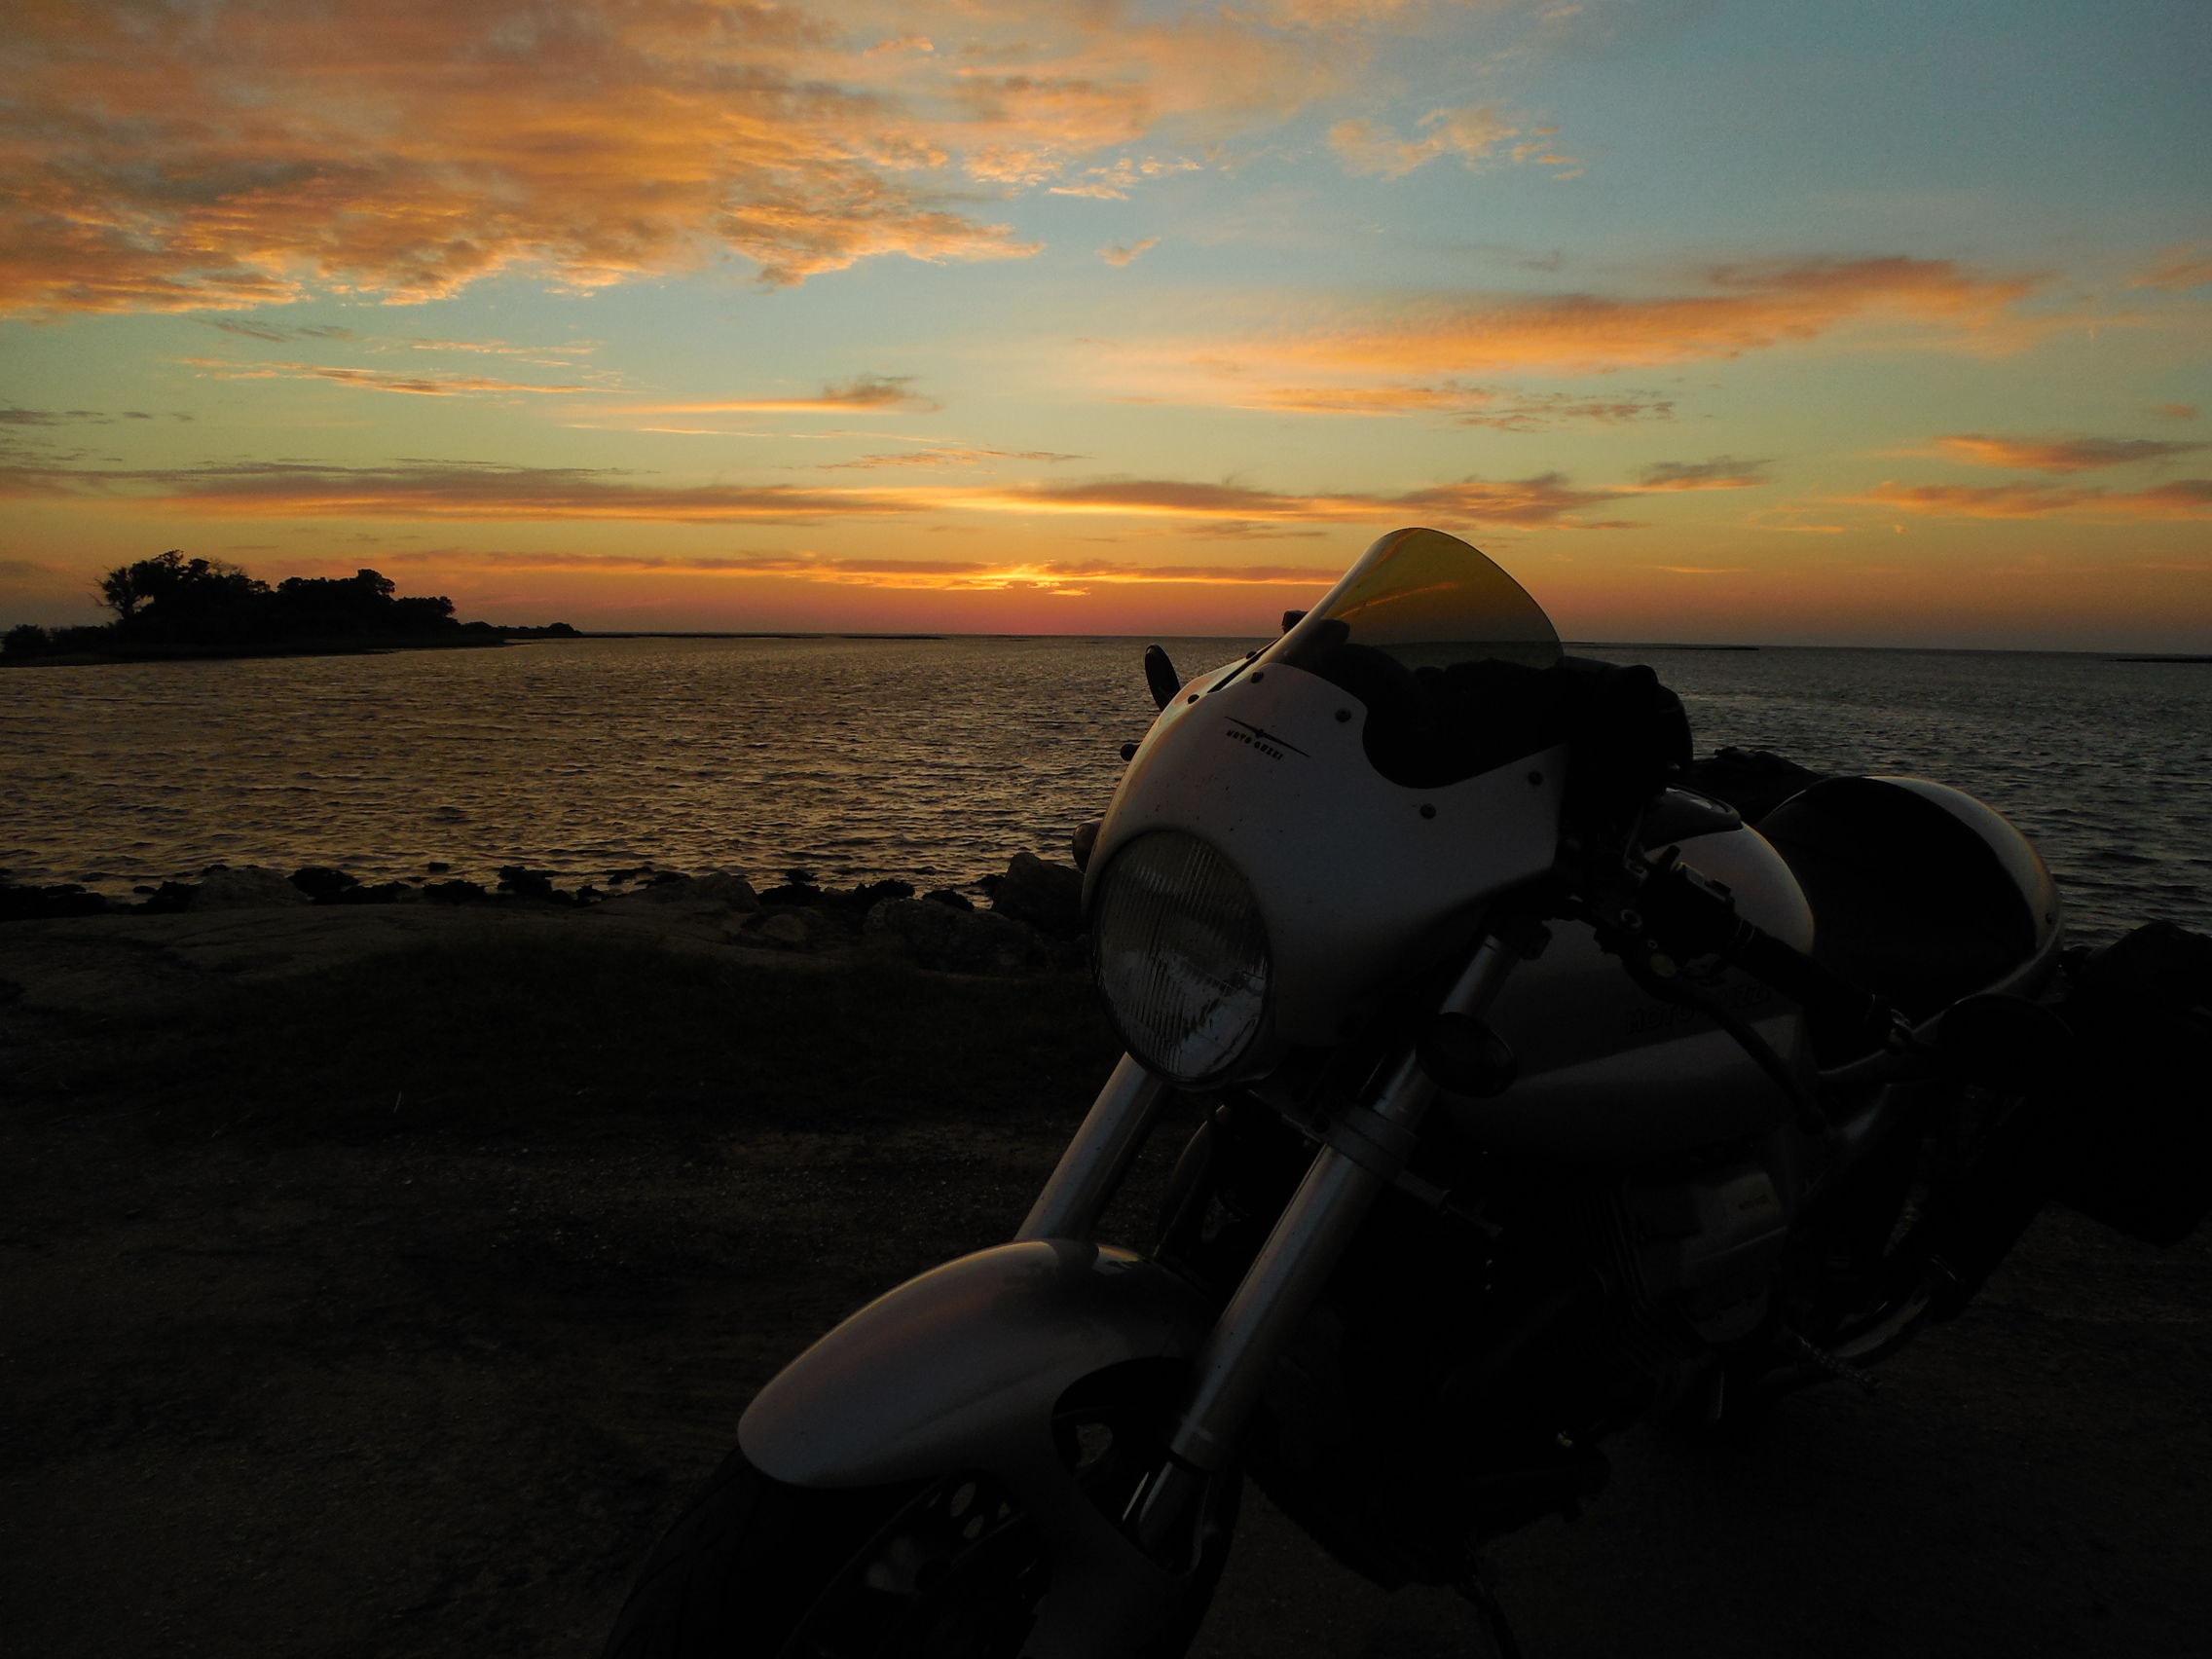
While appearances have certainly driven the wider-than-necessary tires on the V11 series, I also wonder that the 5.5" rim was part of Moto Guzzi attempting to address early complaints about the V11 stability along with lengthening and bracing the frame, revising the clip-ons, and changing the tire selection. No doubt, the "long-frame" wide wheel V11 are more *planted* . . .
-
Mmmmmmmmmh ... beeeeer!
docc replied to helicopterjim R.I.P.'s topic in Special place for banter and conversation
Now, there's something that goes with smoke. "Being shot out of a canon will always beat being squeezed out of a tube." HST -
Or is that something your V11 did to you?
-
The early seats often put pressure on the battery (even solo). Check that the terminal stacks are good & tight. Look also that the relays and fuses are seated well. It is possible that a passenger could be jostling the relays if they are not in good contact. Look at the thread on Odyssey PC545 Battery conditioning. With careful method and the right charger, you could likely recover that battery. Inspect the 30 amp regulator fuse for signs of overheating and record the voltage series (1-after no activity for 24 hours, 2- key on for two-three minutes, 3 - cranking, 4 - idle, 5 - at rpm/ maybe 2000+
-
That works so much better than my attempt. So, one "bulb" and two side arrays? What does that look like with the lens off? (I'm gonna be owing ya a beer, now, mate!)
-
I tried an early made 1157 type LED in my tail light, but it didn't even look like it was on from the side, dim from an angle (only bright straight on). How doea one look from the side, does it illuminate the red lens?
-
After a second discharge/charge cycle (one week) on the EnerSys AGM charger, I started and ran this machine with my 5 1/2 year old PC545. After sitting nineteen (19) days, it reads an impressive 12.75v (98%). I was just not getting these results with any of my conventional chargers. I'm convinced!
-
Oh, wait: discharge first, then your high-zoot AGM charger will take care of the rest. Otherwise (without a dedicated AGM charger), discharge first then apply 6 or more amps until 15v (14.6v for a conventional flooded battery), then float the AGM at 13.5-138v. The thing about the high-zoot AGM chargers is that they are temperature corrected, controlling the amperage and voltage at correct levels through the charge and float phases. SOoooo much easier to use on the AGM. The only requisite is to do the discharge first. Beginning this thread, I had hoped to learn how to use my collection of conventional battery chargers to maintain the AGM. I learned that, yeah, they'll do it, and give amazing service life from the battery, but the AGM may not be at better than 85% at best. I'm banking that my Sport's regulator and stator will thank me!
