
furry
-
Posts
35 -
Joined
-
Last visited
Content Type
Profiles
Forums
Events
Gallery
Community Map
Posts posted by furry
-
-
Listed on Ebay now

-
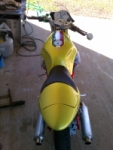
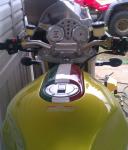
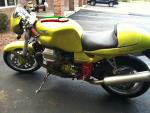
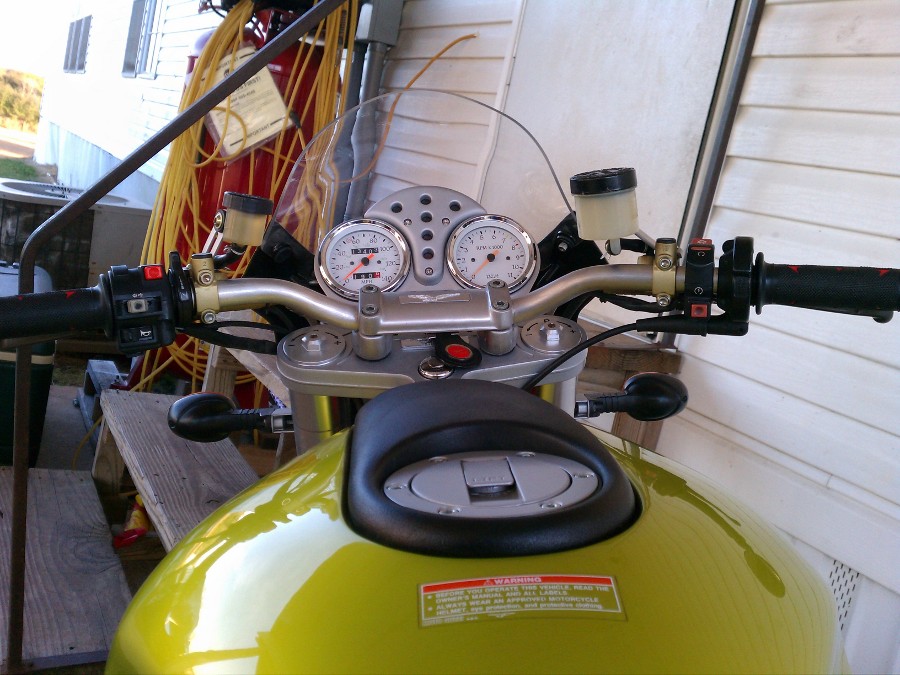
One more. New chin spoiler, new fly screen and helmet. Bad lightng in pic! (cell phone lol)

-
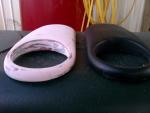
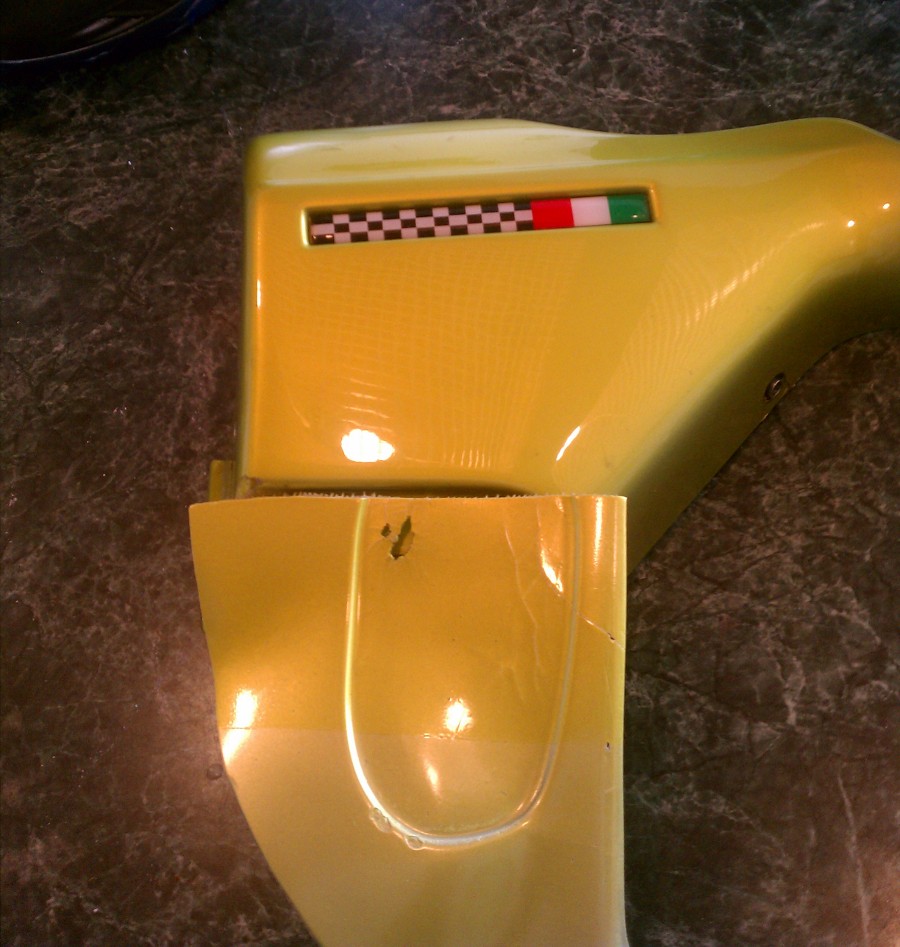
New chin spoiler I picked up from Jaap. Thanks mate!
-
I tested a pannel first. compared to my side cover. DEAD match!
-
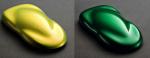
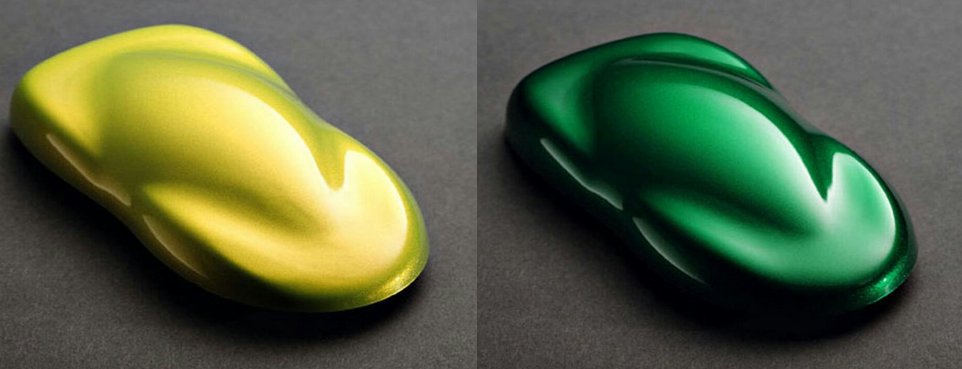
I actually found a post from another forum and ordered the paint he recommended. The guy was dead on so I wanted to share. I did a 100% paint match to the color! Here are what is needed:
All materials are from House Of Kolor and I ordered them from KolorHouse dot com
(1) Silver Metallic base. (FBC-02) Qt size is plenty enough to do several bikes.
(2) "ORGANIC GREEN" INTENSIFIER KANDY (KK-09). I ordered a 2oz bottle. Believe me you will only need about 4 drops!
(3) "LIME GOLD" INTENSIFIER KANDY (KK-02). I ordered a 1/2pt or 8oz bottle. I used about 1/2 of it.
(4) Intercoat Clear (SG-100)it's a clear basecoat. I ordered a qt.
OK now buy an empty qt paint can and pour 1/2 of the intercoat clear base. Now pour 1/2 of the Lime Gold candy into the 1/2qt of the clear base and start sturring in the Organic Green A DROP AT A TIME until the color appears to match. (I used one of my side covers beside to refference). It only took about 4-5 drops of green to get there!! Then thin with basecoat reducer until the qt can is full.
Lay the silver first, let dry. Then lay 3-4 coats of the kandy base you made up letting tack between coats (10-15min). Compare to the bike pannels until you have achieved the proper kandy color. Finally clear over with an automotive urethane clear and you're done! I even did a blend on a side cover (area that was rubbed bad) and the blend turned out about 98% match. (If anyone knows about blend matching, that can't get any better!)
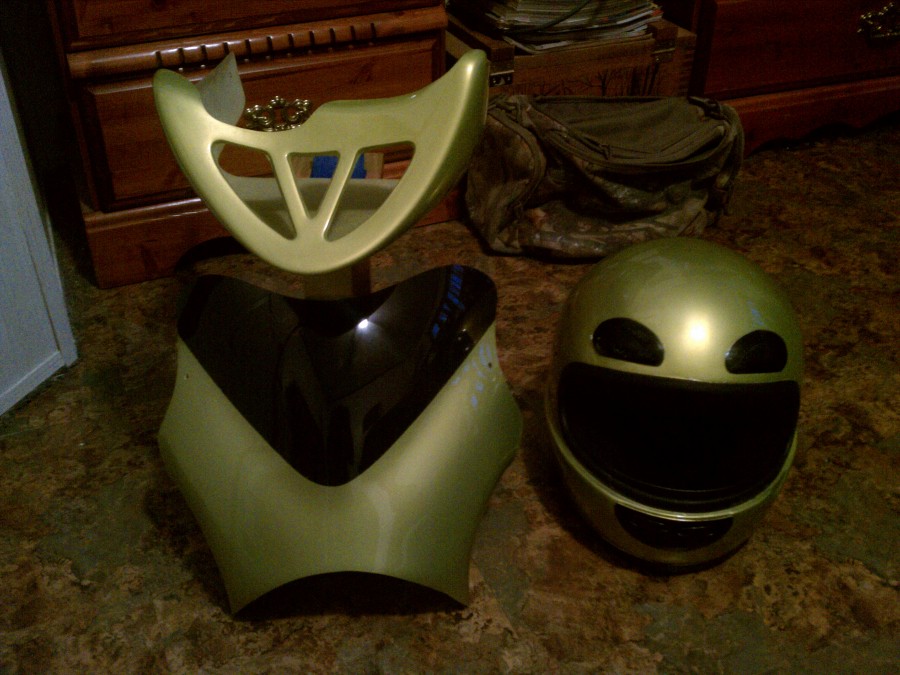
I sprayed my chin spoiler, a new fly screen and my helmet. Pics to follow.
-
 1
1
-
-
Thanks!
So after some more talking with the owner and more research I found it to be a PC3 NON-USB and fit the 2000 v11. So I'm missing the software (which I can d/l from the PC site), 9 pin data cable and the 9V batt adapter. I assume any serial cable will work? So without the 9 Volt adapter I can still program using my laptop plugged into the bike correct? Hopefully I think I have it all sorted and maybe a good deal as well..
-
Ran across a PC for sale but the guy doens't know anything about it. I asked him which model it is but he doesn't know. I can't find much info about the older versions of the PC and I have a faint idea it is one of the older PC without the USB slot. Can maps be loaded to these? What are the major differences between the two? This one is just the unit, no cables, CD, paperwork, ect. I also assume I can d/l the software from the PC site? Although he does guarantee working operation is it worth a purchase? Asking price is $100.00
-
For my V11. Looking to change out the stocker so I'm looking for a FBF, Stucchi, Mistral, ect. Good used, beat up, cracked, doesn't matter I can prob use it. Thanks! BTW my stock is fine if anyone is looking to go back to stock, mine pluss $$$...
-
Do leave well enough alone because bits posted f/s months ago may still very well still be f/s! Case in point I just purchased Jaap's chin spoiler he posted many months back, I just bought my bike and I need one however I'd never seen it if it had expired due to time..
-
Done and mounted. Not bad... Guess I'll run it like this until I'm tired of looking at it.
-
Congrats! Good to see the old models still bringing new blood to the fourms (myself included)Lots of reading here! You made a great choice my friend
-
Oh, word of warning for those who do this mod; warn your mechanic BEFORE he starts the bike! I took my Jackal in for a service years back and the mechanic went to pull the bike in, hit the high idle lever and then the start button... Be about laid it down when she started up at 4grand lol. The look on his face! Funny stuff
-
^ Pretty unique I must say!
Painted. Will snap a few pics mounted this weekend.

-
For bar clamps, watch ebay for used California models (Basa, Jackal, ect). They mount up perfectly and are the stock clamps. Good deals can be had, I gave $24.00 for mine in great condition.

-
1" drop pegs mounted, everything adjusted and sorted. Bike is a pleasure to ride with the extra room! Thanks guys!!
-
I couldn't see where it makes a difference operating via left tb linkage v/s right tb linkage. The cross over rod seems up to the task.. That being said this mod should be used to give the throttle hand a rest for a bit, not log hundreds of miles lol. I can assure you this mod does operate flawlessly as I have use it extensively.
-
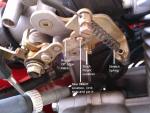
I did this trick on my old Jackal and it worked like a charm, I loggel many a mile without problems. The picture is of my V11 I just did. The Pic will explain most of it but here is a step-by-step of the deal:
The fast idle cam mounted under the right TB will come off and be moved over one peg. You will see the unused peg. You will need to do a few simple things:
(1) Grind down the sharp edge on the cam to make it more of a smoothe roll on the linkage.
(2) Add a small spacer or washer to space the cam down to center the linkage roller.
(3) Stretch the spring out to cover the extra cable gained.
(4) Hardest part; drill a small hole in the peg and pin it so the cam doesn't fall off.
DONE!
Working the fast idle will give just under 1/2 throttle. I have found it to be more than sufficient cruising light throttle. It gives plenty throttle to pull hills and such. Make sure you stretch the spring and work it to make sure there is no hang up in operation. Enjoy!!
-
One more
-
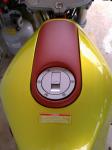
Mounted
-
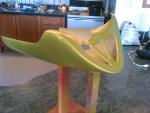
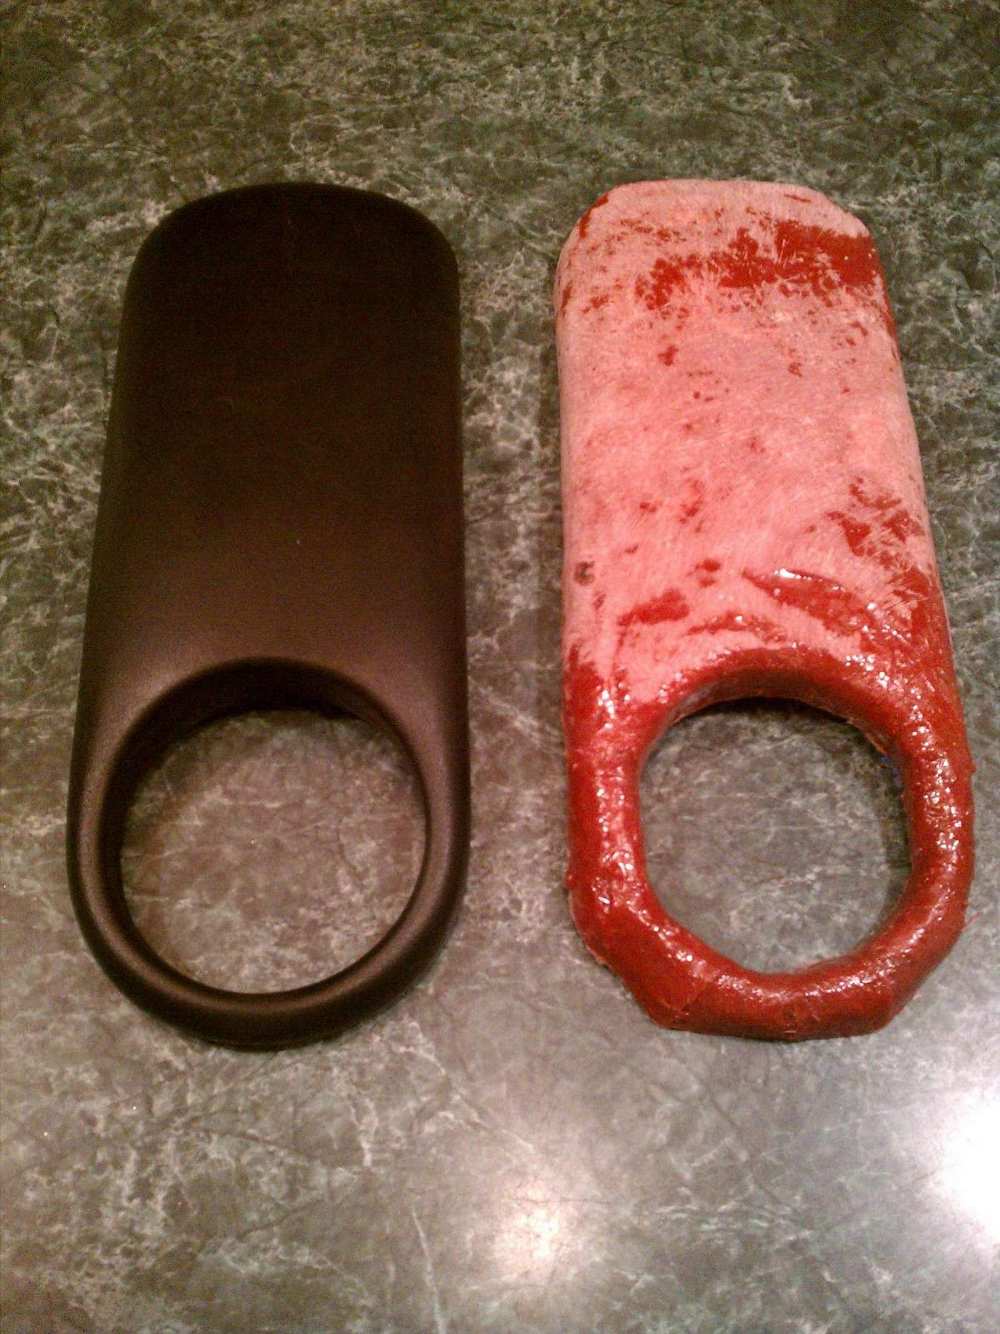
Done with the shaping. Looks better than original and not even painted yet! I'll sling some paint on it in a day or two.
-
Wow great summary! Thanks so much!! I now see that indeed 2" pegs would be impossible to shift/brake. You've given me the direction I needed!! I will use your measurments when I do my pegs in a few weeks.
-
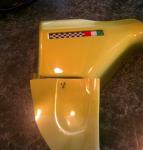
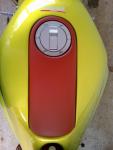
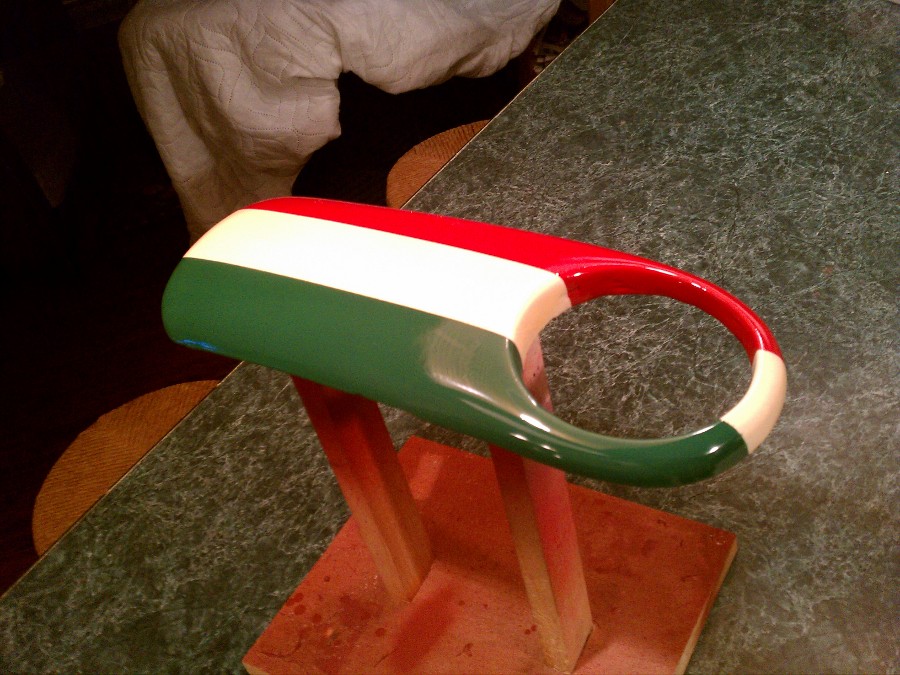
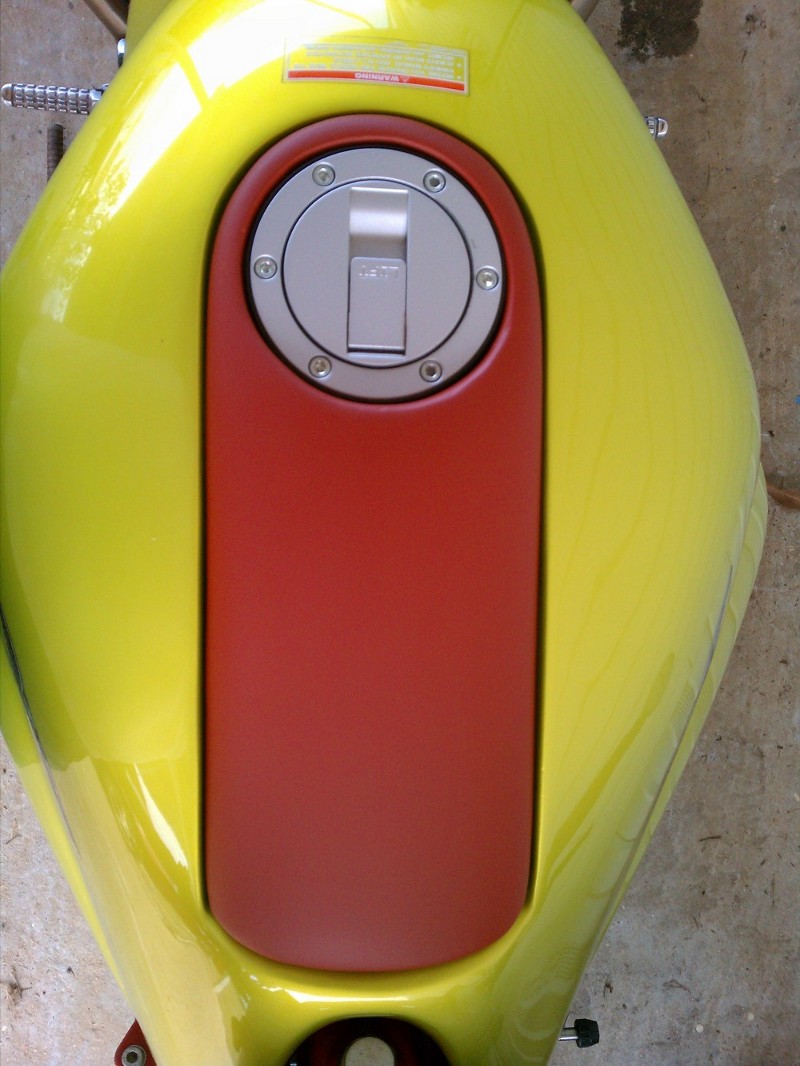
So the end result will be a hard tank pad painted to look like this (my photoshop work):
(Note: the flag is on backwards lol, it will be painted correctly sitting on the bike
-
I'm not a fan of the tank pad on the older Sports. They just look out of place! So I was playing around looking at some pics and saw a V11 with a cool pad and started reading up. After learning how to pull the pad (from here) I laid some glass and am in the process of working it down to fit. I'm also going to tighten up the edges for a little better fit on the tank. Work in progress, stay tuned:

-
hi furry. i'm no expert, but i think a 2" drop would present a big PIA as the brake & shifter wouldn't be easy to adjust to that much change. not to mention possibly (don't know for sure)dragging the footpegs under (semi)spirited riding.
i just last week received in mail the stock buell lightning footpegs (1"drop). i think i'll just barely be able to modify (i hate this word) the brake & shifter to use comfortably.
looks to me as you'll have to remove about .045 off of both flanges where they slide into the stock peg mount. i have an ancient south bend lathe & have a milling attachment all set up for this, but it could be done with careful grinding/filing.
you'll also need to make bushings, as the buell peg pin holes are larger than the stock. also not sure if the springs will work, not a big deal IMHO.
i'll probably finish next week when i get home, i'll know more then.
BTW i'm 5'9" with eleven shoe, the stock peg location was never an issue, but i just had complete right knee replacement surgery, the 1"drop will help i think.
haven't heard of anyone installing 2" drop, but they should adapt to bike same as 1" drop.
cheers, stef
Thanks!! Keep me updated once you're done. Post here or a new thread with pics of the final product. I'd be happy with 1", just saw 2 and thought that would be better! lol.


Rear End Close Ups!
in 24/7 V11
Posted
Two seperate strips of 8" red LED lights acquired from Ebay. Wired through a trailer converter which ties barkes and blinkers together and then run through some resistor/diodes which makes the running lights dim and then the blinker/brake over-ride the running lights. So the two lights perform all three functions of running/brake/blinkers. Very clean!