FreyZI
-
Posts
198 -
Joined
-
Last visited
-
Days Won
2
Content Type
Profiles
Forums
Events
Gallery
Community Map
Everything posted by FreyZI
-
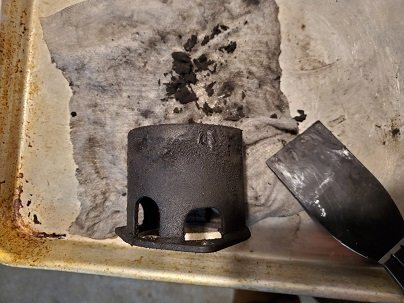
Before and after pics: U-joint greased and reinstalled with cover. I had to scrape off the grime with a plastic putty knife.

-
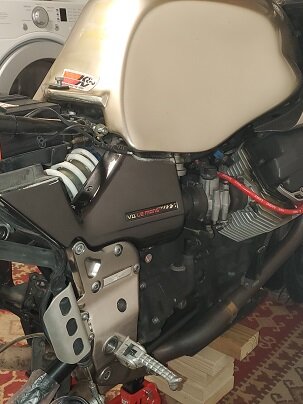
Hoping those old pork chops will come out well enough to migrate to the Tenni. Then I can move the ones currently on the Tenni over to the champagne. However, I (mostly -- more on that below) got the dark silver pork chop on the bike today. I set the side cover on to mock up the finished product. Though I love the "raw" pork chops, these well done chops look quite dapper with the champagne color scheme, IMHO. Just one problem: the pork chop fit is just a bit off. After wire-brushing the spine's T end flange that receives the plate, I put the plate on and tightened up the 4 bolts to the flange. I then snugged the top bolt for the rear (seat) subframe, followed by the bottom nut for the transverse bar. Now I have about 1.15 millimeters between the pork chop and the lower frame attachment point (the connector being the double-duty shoulder bolt/"pin" that also serves as the pivot for the brake lever. I tried to hold the light directly under that point to give an idea of the space between the two. Measured with feeler gauge at ~1.15 mm. Question: Have you encountered a less than perfect fit at this frame mounting point? If so, did you shim it with a washer? I thought tightening the bolt would easily take up that gap, but I didn't want to overdo it. I have checked the other connections and I am happy with them -- nice flush fit against the circular frame flange and other points. Suggestions? Thanks.
-
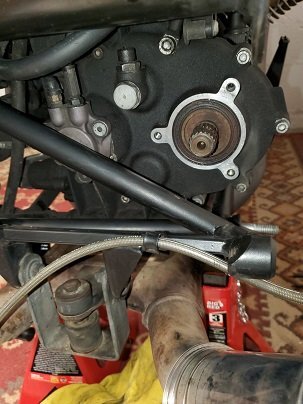
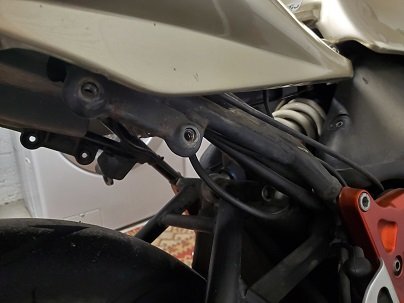
It did pssst. Surprised me. Squeezed out the old grease and it's swivelling much better (was only one direction it seemed to hang up).
-
Speaking of shafts ... I would imagine that a nicely greased unit would be a bit more flaccid. Does this coupler standing proud indicate that the grease is beat?

-
Chemical or mechanical means to strip the finish that didn't just flake off? How does that old finish respond to media blasting? If blasted, do I need to polish before powder coating to get that deep-looking finish?
-
Chuck, what look like cracks in the metal are in fact where the cracks in the finish were before I peeled the loose finish off. The grime accumulated under those cracks and remained there giving the appearance of cracks in the metal.
-
That's a precious part; should be gold plated. But, seems like a necessary investment to avoid future headache. Somebody (i.e., not me) should cobble a score of these together and sell to the forum.
-
Do you have a part reference for that? Cheers.
-
I'm not seeing an image, Lucky Phil.
-
What's the interval for bleeding the clutch fluid? How big a pain is the job ordinarily?
-
That would be helpful. Thanks.
-
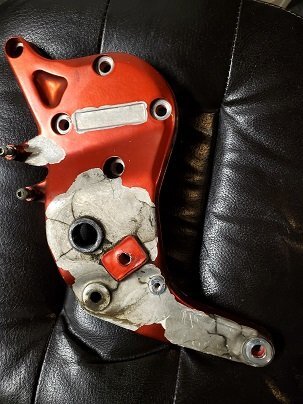
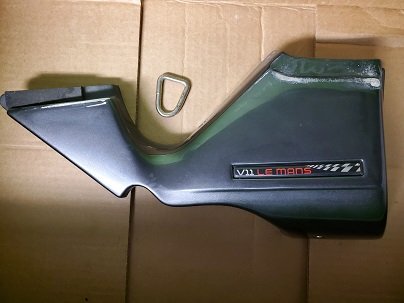
Removed side plate (one side at a time; replaced with nice silver plates). The pic below is the left plate just with me picking off the loose flakes. I've read in other posts that the pot metal Guzzi used on these pork cops has so many impurities that off-gassing during powder coating baking has lead to not great results. Likewise, some have said that anodized finish is not good. Some have had success with paint under clear. These parts clearly take a beating, so I'd like as durable a finish as possible. Also, I'd be happy to drop these of at my local powder coater and have them deal with it instead of me goofing it up with paint. Has anyone out there had success with anodizing or powder coating pork chops? If not, I'll order some paint.
-
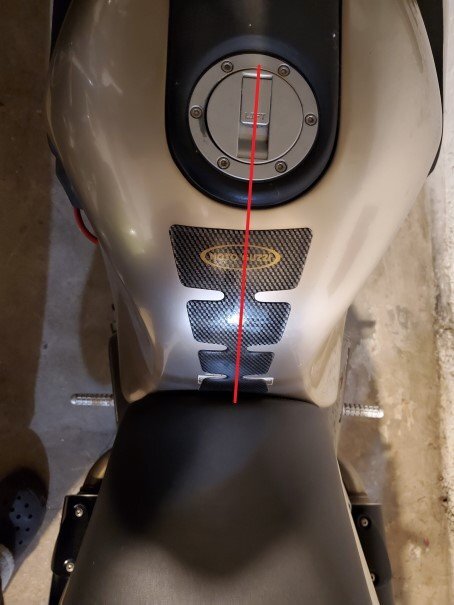
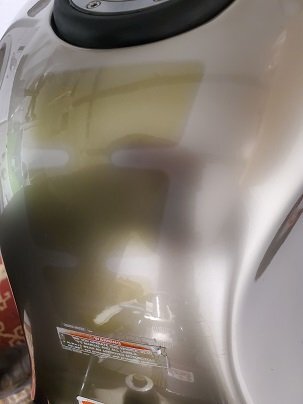
Meanwhile, one thing that bothered me was that the tank grip was put on askew. Not so noticeable in this pic, but fairly obvious from some angles. Pad came off, but discoloration appears permanent. Guess I'll be looking for a slightly larger pad. Will start a new thread on pork chops.
-
This thing is filthy (but well-lubed). (R) pork chop off -- will be replaced with (dark-ish) silver, at least for the time being.
-
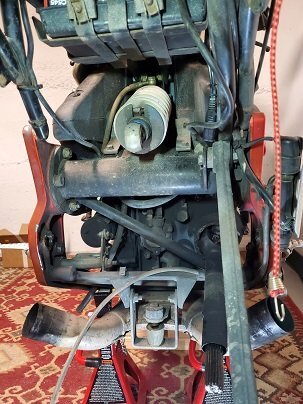
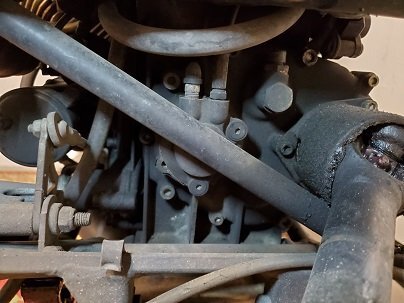
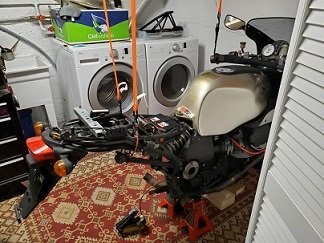
Digging a little deeper into the champagne . With some Malbec. First, needed to find a little space to work. The garage is well above freezing, but not a lovely place to be, and not a lot of space in there with 4 motorcycles and my son's old dirt bike, and a snowblower. Thought to myself ... the laundry room. There's a space that gets used maybe a few minutes a week. It's small, but it's brighter and warmer. No bike lift and nothing to tie down to, so I put some eye hooks in the ceiling and ran a few cam straps for protection against a tip over. Raised and blocked, and the digging began. At first, I thought maybe I had some frame damage because of 1) gashes in the hugger, 2) considerable wear on the side cover from the tank and the rear subframe surround, and 3) that rear bolt for the passenger peg bracket was inaccessible because it was slightly overlapped by that surround. However, I wasn't able to find any frame damage, the damage to the hugger was probably caused by some of the tolerance being taken up by the Hepco & Becker rack mounting, looking at the Tenni, that rear passenger peg bracket couldn't come out, either, without removing the surround (seems a bit daft), and the side panels are not a great fit over the air chambers and some overlap and rubbing are probably to be expected. What is your experience the fit of the side panels?

-
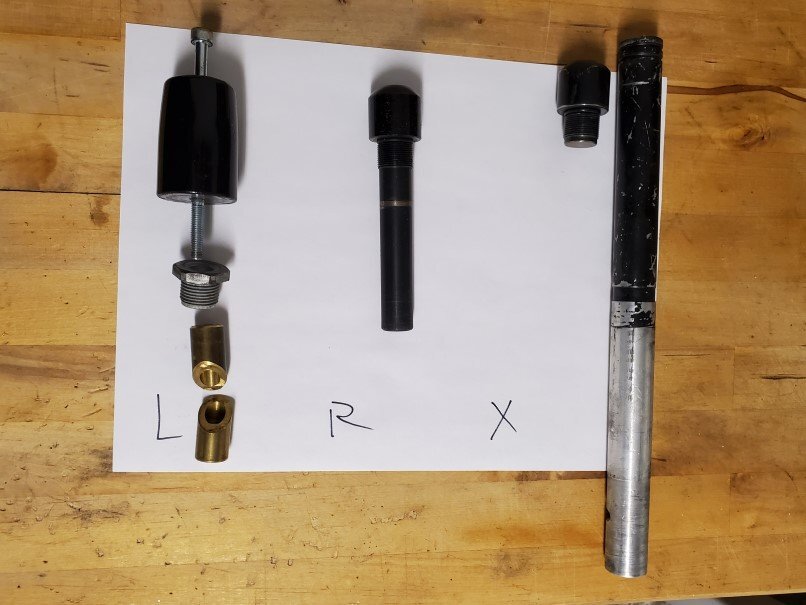
Thanks for all the spring info. Onto the next thing: clip-ons. Took the weights off the left and right clip-ons; the third weight and clip-on were in the box. You can imagine how this bike looked with the protuberant appendage growing off (only) the left clip-on . The hollow bolt ("ring nut") with (L) seems to be a #3/4-16 (SAE???). The weight (R) seems to be an M18-1.0 which fits into the ~5-1/2" recess of the clip-on, which had been buggered up and new threads tapped. (X) is also apparently M18-1.0, matching the original threads of the clip-on (though that recess is only ~7/8") (sorry I'm not using metric). Doesn't look like any of this stuff is original equipment. I know there are one or more threads on handlebar weights I'll review.
-
Many forums and blogs usually devolve into name-calling and dribble by about the third user post. v11lemans.com: 51 pages -- just on re-engineering the shift spring -- of collective knowledge, experience, engineering, and comaraderie. Bravo! My "talisman spring" is not the re-engineered variety. Small chance, I thought, that PO had replaced the OEM spring with the re-engineered spring and thought to put the old, but unbroken, spring in the tail as a reserve. But, it seems that my talisman is unused, so likely that I have the under-wound, over-bent OEM spring inside. Looks like @Scud had a couple new ones left as of last year, so I'll PM him (better pick one up for the Tenni, too). Replacement of my spring seems like a good project for the 18th South'n Spine Raid... @docc ??? Cheers, Frey Edit: Guess I won't PM @Scud, as "it" tells me he can't be messaged... My just be that I don't know my way around this corner of the interweb.
-
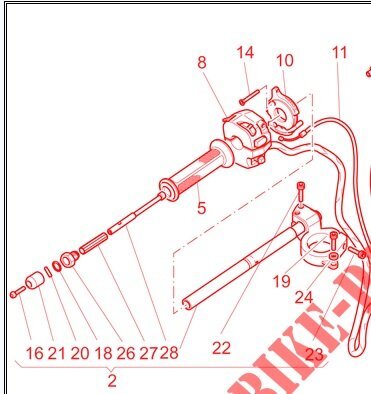
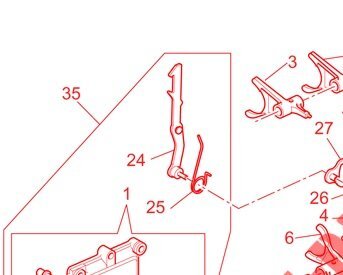
Under the seat with some fuses and the tool kit, I found a bit of bubble wrap with a spring inside, subsequently identified as the spring (25) that attaches to the ratchet in the gear selector box. What do you make of that? It seems like it would be a bit of a complex roadside fix to replace that spring. Is that a weak spot? Does this suggest a past problem or portend failure?
-
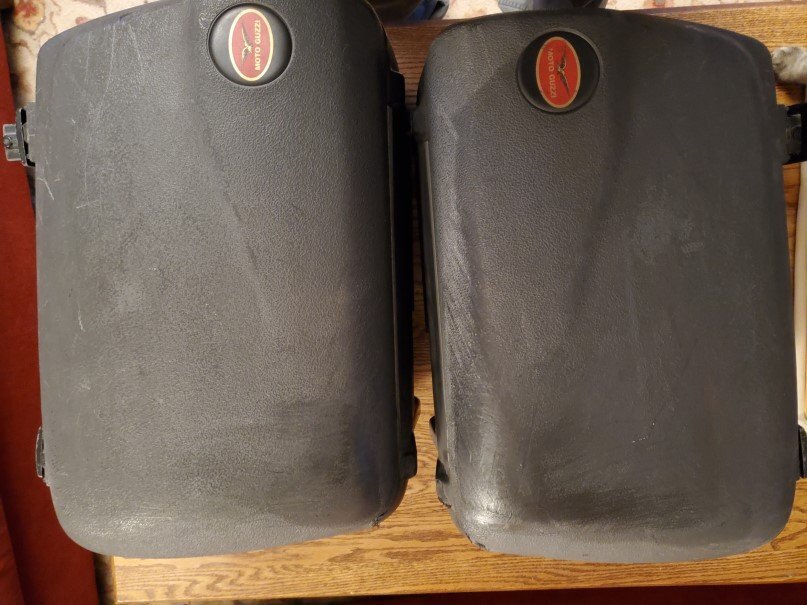
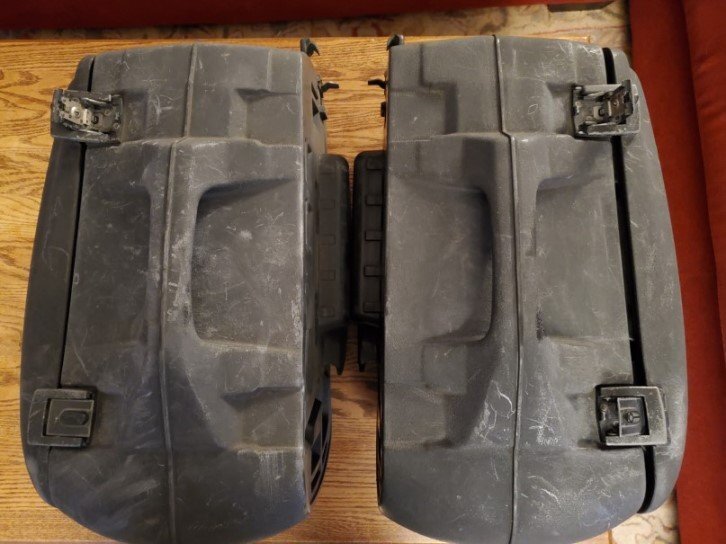
Took the Hepco-Becker side cases off the rack to work on reconditioning them. I know it's not glamorous work, but I can do this work at my coffee table and not in the 45-50F garage. So, I bought some snake oil from Advance Auto: Mothers CMX. It promises to "RESTORE TRIM BETTER THAN NEW". Here's the result; can you tell the difference? The one the right is the treated case. It looks mildly better, but that may be a benefit of having been degreased and rinsed. Here's the plan view: As you can see, there's not a dramatic improvement in appearance. Anybody have experience with a plastic restorer that actually works well? I don't want some shoe polish that rubs off on everything.
-
Thanks for the reply and link, chamberlain! Cheers, Frey
-
How's the faux anodized finish holding up, chaimerlain?
-
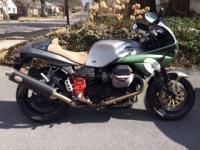
 In honor of the new V11 in the fleet, hoping that champagne don't drive me crazy: 3:28 Taj Mahal - Aint Nobody's Business But My Own YouTube · stealyourface73 Jul 25, 2011
 -
Yeah, the Magni''s holes also aren't equidistant in the pics I've seen, so it's probably not actually Magni (but might fit?). It's quite thin material.
-
It's not that bad.... I'd rather keep the fairing. But I'll PM you about parts. Cheers.

-
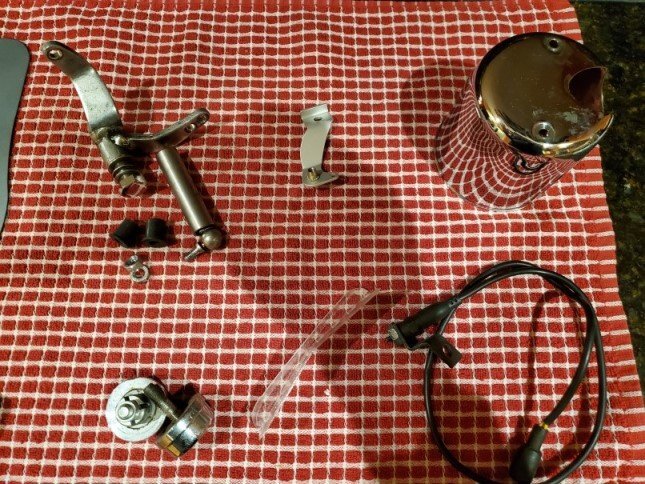
And: Bar end weights Shifter arm and linkage clear lens sidestand switch a cool aluminum mount/bracket of some sort a chrome cover of some sort (roughly 3-1/2 tall, slightly less diameter) Not pictured: Centauro left front fender piece (charcoal color, fair condition)