

Lucky Phil
-
Posts
4,552 -
Joined
-
Last visited
-
Days Won
235
Content Type
Profiles
Forums
Events
Gallery
Community Map
Everything posted by Lucky Phil
-
Yes 2 valve Grisso covers docc, although the ones in the image have had some slots machined in them. Std rocker gaskets although I used the special metal based ones ones Pete Roper sent me. I wouldn't go back to the old type.Cant remember the name of them,its in a thread of mine somewhere. Ciao
-
My engine has these head covers as well. The HT wires are routed through the covers and the guards are standard. Ciao
-
It wont be anything special on the dyno as its just a std Daytona/Centauro engine. Just a few more HP than the 2 valver. If I wanted performance I would have gone the Paul Minnaert route with the 1200 big bore, bigger valves and kit cams as he has done. No, mine is just going to be a sedate road engine. Ciao
-
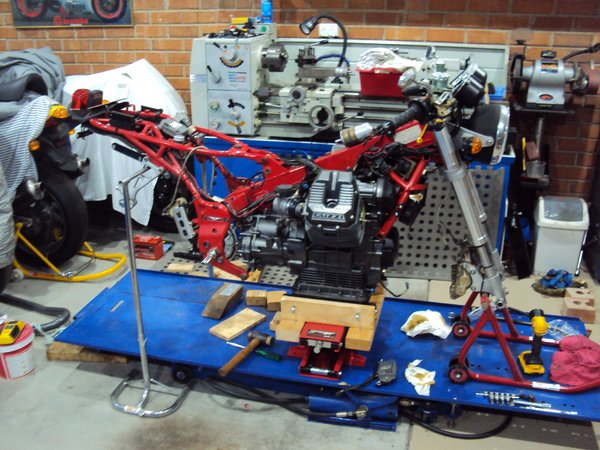
I'll need to see but the but the brackets hit the belt cover up close to where they attach to the cross bar. I'll probably need to remove them and fab up some new ones to move the reg. It will still be in the same area but probably slightly lower and more horizontal. Yes its important to keep them in the airflow. Ciao
-
Progress, front subframe doesn't fit due to the horn/regulator brackets contacting the belt cover. I dont think bending the brackets will get me the clearance I need so I'll ponder it for a bit. Ciao
-
Too right it is:) Its a Thor brand as well, very ballsy. Ciao
-
From the album: V10 Engine
-
What I didnt realise until I went back into the workshop was there is actually 2 hammers in the image, the other is a real copper soft faced unit. Ciao
-
Didnt realise it had taken so long,lol. Not even a proper hammer either but a girly dead blow plastic thing. Ciao
-
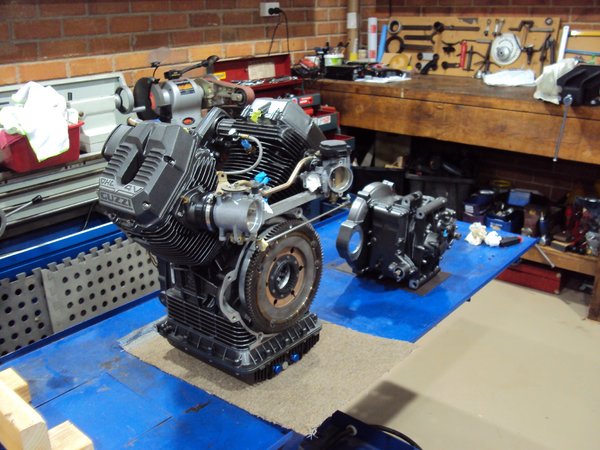
So the engine and gearbox are together after some confusion regarding a couple of the mounting studs. Seemed i'd lost 2 of the shorter studs but then realised the engine is originally mated up to a 5 speed box and the shorter studs were different. I robbed them off the 2 valve engine. The clutch push rod length seemed fine compared to the original and I used some dry molycote lube painted onto the clutch and gearbox splines sparingly. I use this on Ducati dry clutches as well to ease the wear factor. My neutral switch lasted zero time as it fell apart when my finger pushed sideways against it fitting the gearbox. Robbed that off the original gearbox as well. Ciao
-

Throttle pop at 1500 continued now just through right TB
Lucky Phil replied to Colorobo's topic in Technical Topics
You miss the point entirely, its not about how much I or anyone else knows its about giving basic information so others can assist with help in the most efficient way. The OP is obviously capable enough to have done the work he has on the bike so its not unreasonable to expect he can provide all the information at the beginning. What I'm asking for is reasonable and sensible and the most efficient way to troubleshoot technical issues, its nothing to do with attacking anyone. It is however a direct comment on getting help without wasting time and energy of people willing to assist. Ciao -
Throttle pop at 1500 continued now just through right TB
Lucky Phil replied to Colorobo's topic in Technical Topics
Without being impolite when asking for help with a running issue this stuff needs to be included at the beginning. This seems to be a common event, people asking for troubleshooting help and not including very important information from the start, its very annoying. Like going to the doctor complaining of a headache and not telling him it started after you banged your head. Its troubleshooting 101......provide ALL associated information at the beginning, not drip fed over pages of a thread. Ciao -
Throttle pop at 1500 continued now just through right TB
Lucky Phil replied to Colorobo's topic in Technical Topics
Have you checked the compression and valve clearances? Ciao -
Ok, no idea what the markings are then. The 2002 gearbox I'm using behind the Daytona engine has nout markings. Ciao
-
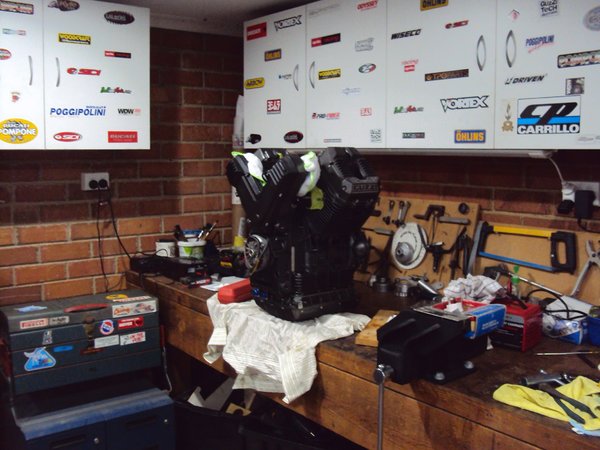
Progress,got my bench back. Stopped procrastinating and used the ramp method to transfer the engine to the lifter. Need to remove the TB's and fit the gearbox and offer the lot up to the frame. Ciao
-
From the album: V10 Engine
-
Yes as you get older and the wear and tear and injuries add up you need to start thinking your way through these things instead of using brute force which you no longer have. I have a plan which involves using the bike lifter bench at full height and the ramp from the bench to the lifter. Get it on the lifter and lower it down. The lifter actuator has now decided to blow its seal of course so that will probably need fixing first. Ciao
-
Ceilings all lined I'm afraid, not my doing. Otherwise it would be a winch from the rafters. Thought of a car engine trolly hoist but need to see how high the arm will lift off the floor. Once I get it on the ground I'm fine. Ciao
-
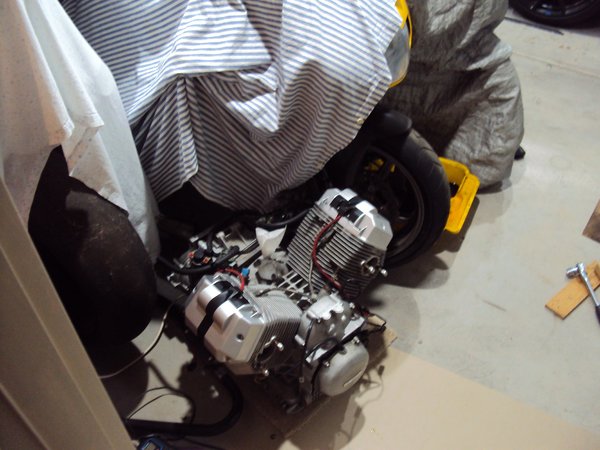
Here you go docc. Trying to figure a way to get the engine off the bench. My bench is 1200mm high and this engine is 70kg and awkward plus after 25 years of lifting heavy jet wheels and brakes and 90 kva generators and CSD's off jet engines my back is a little delicate. Oh and 2 broken vertebrae from PI turn 12. I need to use brains not brawn to achieve outcomes these days so its a slow process figuring it out. Old engines new home for the time being. Ciao
-
From the album: V10 Engine
-
From the album: V10 Engine
-
From the album: V10 Engine
-
As I mentioned previously the rated torque is for the purpose of stretching the fastener to prevent it losing its tension. You dont design a piece of engineering with an 8mm bolt and then require it to be torqued to half spec. What you do is design the item to use 2 smaller fasteners so you can achieve the similar clamping force at a lower torque. The rated torque is about the fastener and the required clamping force is about the design. Ciao
-
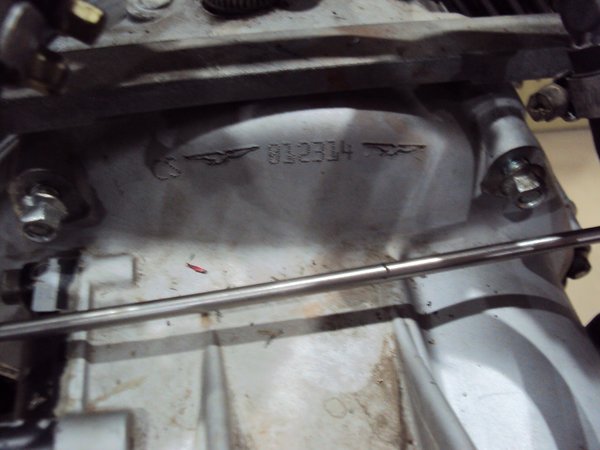
1200 oclock docc. Number doesnt match the engine. I'll get an image later. Ciao


