

Lucky Phil
-
Posts
5,449 -
Joined
-
Last visited
-
Days Won
276
Content Type
Profiles
Forums
Events
Gallery
Community Map
Everything posted by Lucky Phil
-
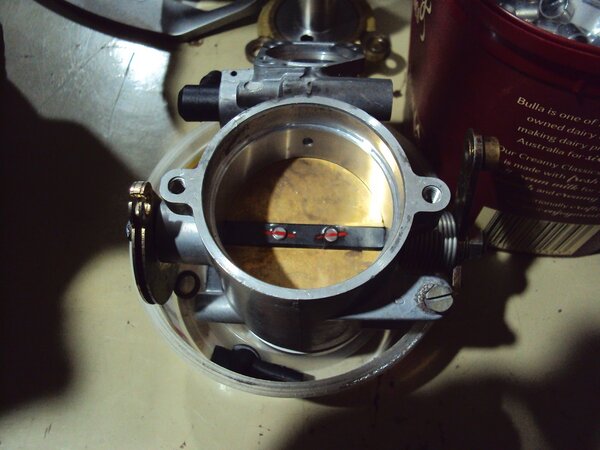
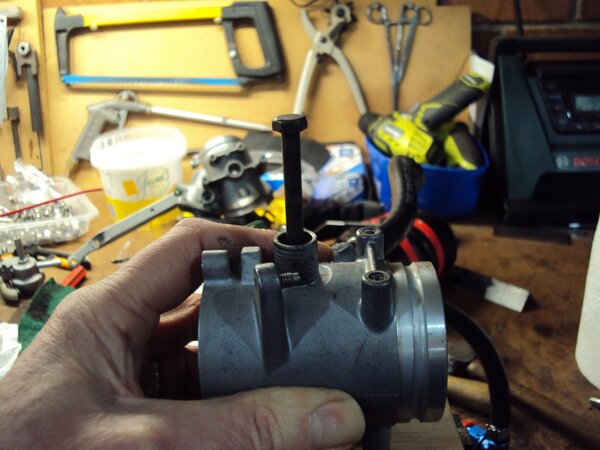
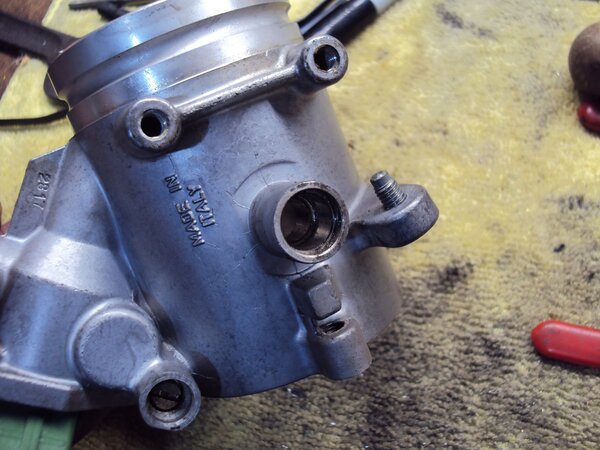
From the album: V10 Engine
-
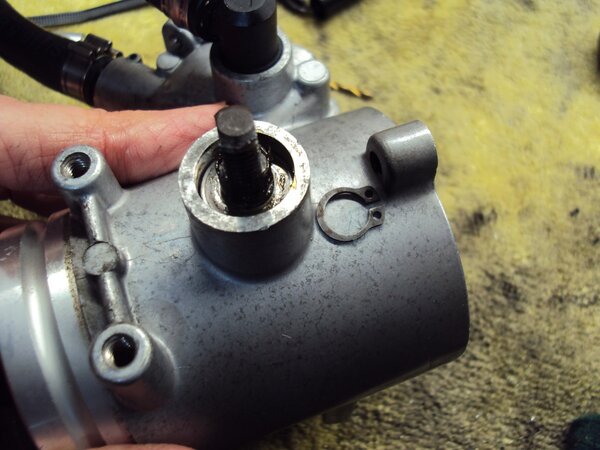
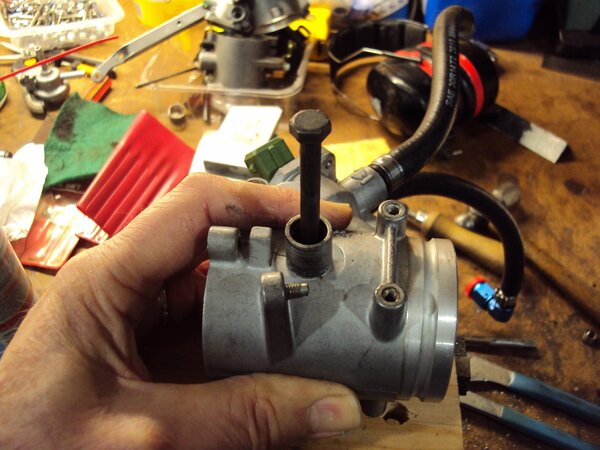
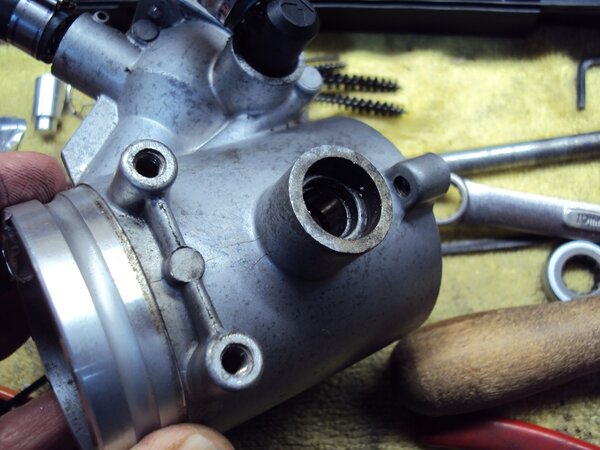
From the album: V10 Engine
-
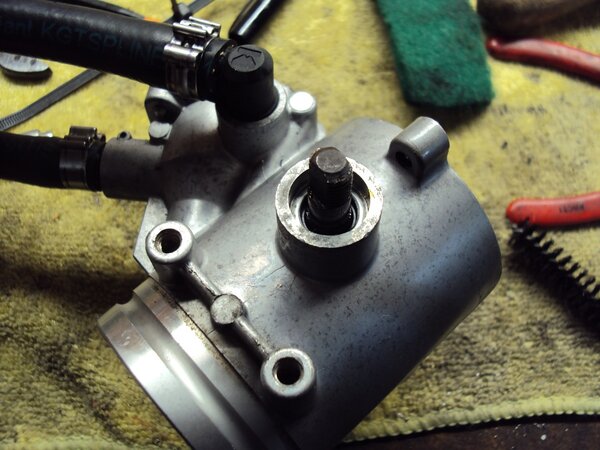
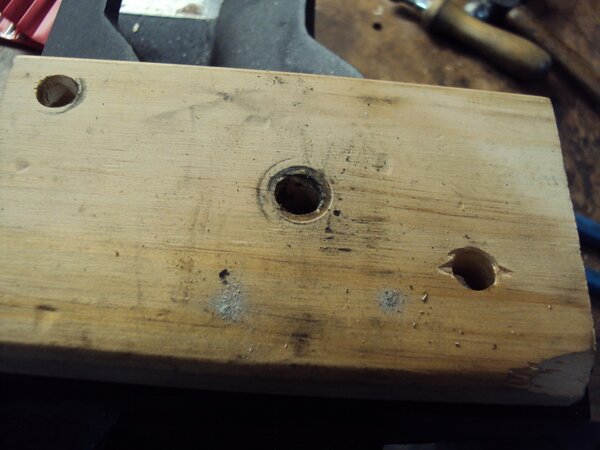
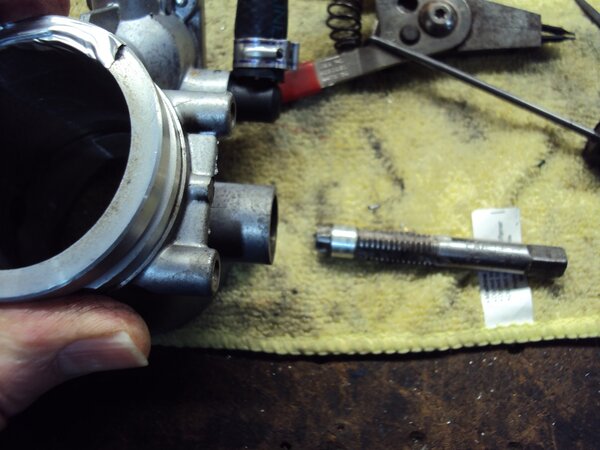
From the album: V10 Engine
-
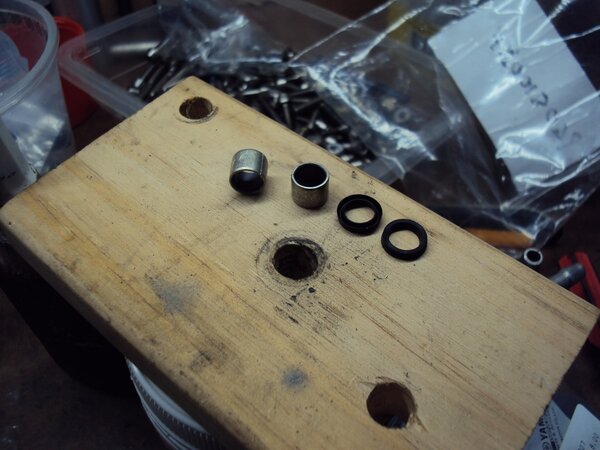
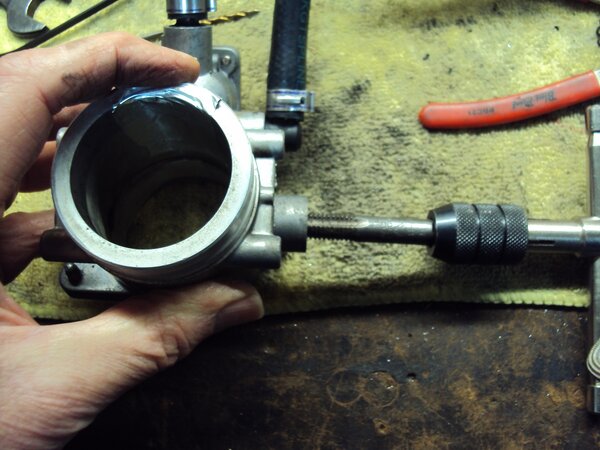
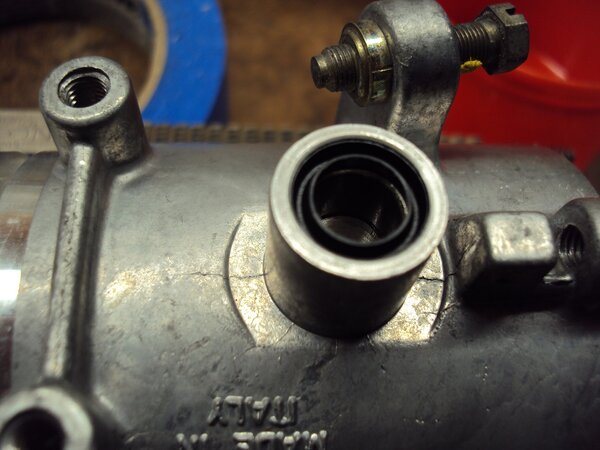
From the album: V10 Engine
-
From the album: V10 Engine
-
From the album: V10 Engine
-
From the album: V10 Engine
-
From the album: V10 Engine
-
From the album: V10 Engine
-
From the album: V10 Engine
-
From the album: V10 Engine
-
From the album: V10 Engine
-
From the album: V10 Engine
-
The first video docc has subtitles. I hate to say it but it's rather neat and well thought out and engineered. Not made to negotiate corners of course but then neither is a Harley. Ciao
-
Possibly, but the yardstick for HP and torque measurements these days off a chassis/rolling road/inertia dyno is wheel HP and torque. Not that it's completely comparable between dynos as they are comparative measuring devices but 103HP was a figure that just jumped out as way too high. If you do want to gain yourself some bragging horsepower on an inertia dyno just fit a racing slick and wheel for the dyno runs and you'll pickup a few HP for free. Ciao
-

In-Tank Fuel Pump Electrical Question
Lucky Phil replied to Tom in Virginia's topic in Technical Topics
Yep and plastic tanks as well. Ciao -
Hmmm.......I hope you dont believe its anywhere near that figure. 84HP is about the best you'll ever see from a stock bike with exhaust and tuning upgrades. Ciao
-
Look up Pauldaytonas website paulsfastguzzipage. He has made these in carbon in the past. http://www.fastguzzi.nl/ Ciao
-
In-Tank Fuel Pump Electrical Question
Lucky Phil replied to Tom in Virginia's topic in Technical Topics
Yes, but aircraft fuel tanks are vented much more effectively than a motorcycle tank in that they are virtually open to atmosphere by large vents. There was a 737-800 that caught fire at the gate in the Philippines a while back as well from memory attributed to an ctr tank fire.I think from memory it had to do with very hot weather, low tank qty and a/c packs running for hours as contributors. I'll need to look it up. Commercial jets also have their pumps in a dry bay usually to isolate them from the actual surrounding fuel which makes the tank fires even more unusual, that combined with JetA1 being way less volatile than gasoline. Ciao -
In-Tank Fuel Pump Electrical Question
Lucky Phil replied to Tom in Virginia's topic in Technical Topics
There is an old demonstration I saw 40 or so years ago of an arcing wire submerged in fuel, just arcing . To get an explosion you need 3 components, fuel, an ignition source and oxygen. Under normal conditions the tank has only 1 of these, fuel. I'm not entirely sure that a closed tank with low fuel would actually have enough oxygen to support ignition if arcing did happen.An open tank would be another thing though. Why would you need to do any wiring repairs to replace the pump? aren't they all plug connectors in there? Ciao -
Interestingly docc the later bikes had an 8mm bolt here, maybe to address the loosening issue. Ciao
-
The Griso 1200 is the best solution. The camshaft is now a jackshaft driven from the front by gears and driving camchains from the rear to high cam heads. Water cooled, 4 valve high cam with the drive from the rear of the cylinders, roller lifters, no pushrods, compact heads. It's a much better engine than the Daytona. Not as good looking but far superior. Seriously, air cooled engines these days are a bit silly as are 2 valve heads and pushrods. If you like the looks then still have some decorative fins but the advantages of water cooling are so great that using air cooling makes no sense at all. What Guzzi could have done in the 90's was a Griso style rear drive via chains to 4 valve hi cam air cooled heads. Alas they didn't have the budget to cast up all new cases so they used std big block cases and so were limited to driving the cams front the front. The MGS-01 ditched the jackshaft ( which replaced the cam shaft) and used a short stub shaft supported by a ball bearing in the cases where the front jackshaft plain bearing was and also used a needle bearing in the end of the camshafts instead of the plain bearings. Ciao
-
Ah, finally our go to electrical guy arrives:) Ciao
-
First bike I ever crashed. Ciao
-
Yes docc, lovely car and bike captured together. Ciao


