docc
-
Posts
20,501 -
Joined
-
Last visited
-
Days Won
1,189
Content Type
Profiles
Forums
Events
Gallery
Community Map
Everything posted by docc
-
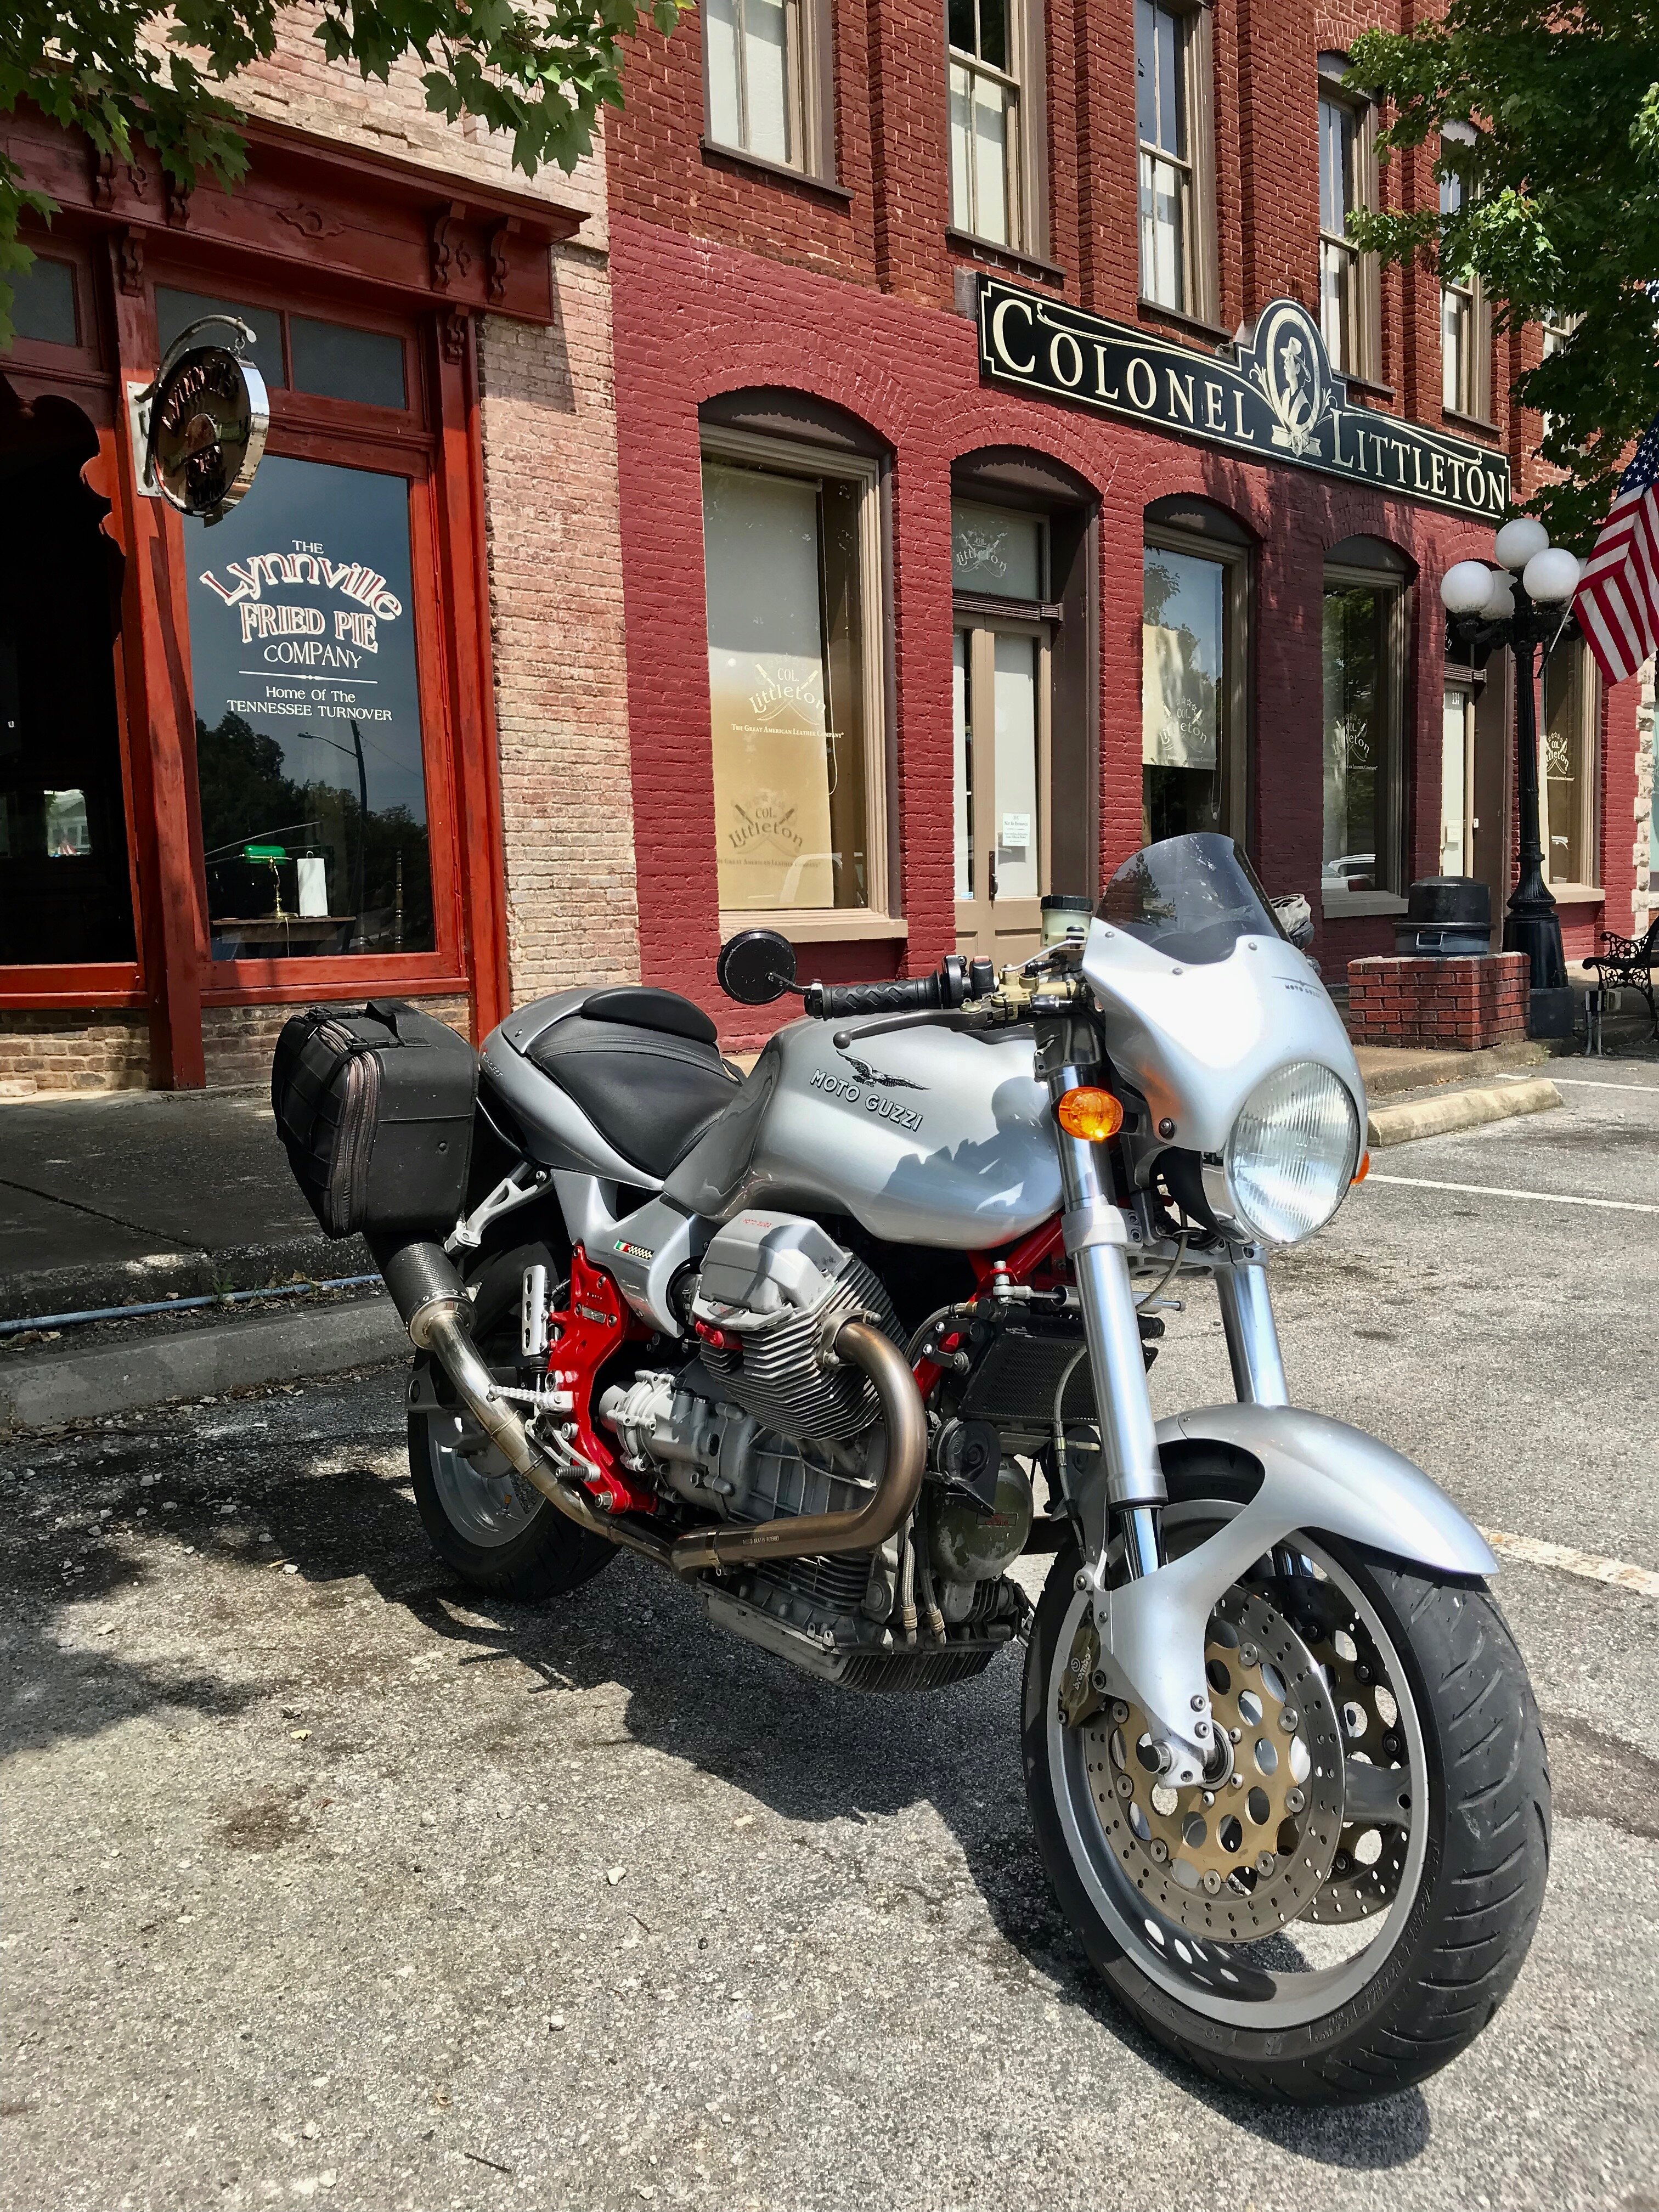
 . . . "driving" . . . "blues" . . . Got me out on the Sport, again . . .
 -
Is it this?
-
"I love the smell of [race fuel] in the morning. Smells like . . . Victory."
-
That whole metric thing is just a fad . . .
-
Aircraft/ piloting analogies
docc replied to docc's topic in Special place for banter and conversation
-
Maybe that's what skeered 'em off!
-
Some people's eagles fly left. Some fly right. Best if they fly ahead. Don't make 'em fly back'ard. Mine fly concentric. Don't get between 'em. You could get pinched . . .
-
Where is the issue docc? is moisture ingress likely around the bezel or more the casing? I dont believe totally sealed instruments are any good. I've had 2 bikes that fogged the instruments regularly due to factory sealing and the cure was to drill vent holes in the case where water entry was unlikely. Worked both times with no issues for the instruments, however no sealing around the bezel would be a big problem on a bike. Ciao Good points, as always. I was concerned about a total seal because of trapping the moisture. Yet, these Speedhut are built for HotRod dashes, inside a car. The gauge bodies (cases) are not sealed, as BLIGHT pointed out. Wiring emanates from rather large, unsealed holes that are on the "leading edge" of motorcycle gauges. I, too, tried my best to seal them up with silicone and cover them up with the original gauge "cups/covers." Shielded under my Stucchi flyscreen. Yet, I haven't, yet, taken them through the kind of deluge we are prone to in these environs.
-
Thanks, again! It was a long, drawn-out affair, but the final outcome is encouraging! Just ask BLIGHT! Fitting Speedhut gauge replacements in a dry climate like SoCal, or Arizona, USA, is comparatively easy. Trying to secure them to moisture infiltration otherwise? The jury is still out. I've done my best. Be advised: they are not delivered "water resistant" as needed for motorcycle applications. And, again, you can get Speedhut to design the faces anyway you like, but the process adds cost. My Speedhut were almost double what BLIGHT spent. Still worth it!
-
I'm putting my chips in to say, Scud, too.
-
Thank you, Sir! I had a great time fussing with them! I did end up spending a lot more on them going through the design iterations. A lot. I almost deleted the "Speedhut Made in USA," but decided to give credit where it is due and merely had them subdue it to a grey. Later, I kinda wished I had it as "Speedhut Made in Utah" just for grins. And it's cool to say.
-
What will we all do once all the angle drives and flinky factory shift springs are in the bin? The whole forum will spiral into oil threads and wash-wax products! Say, BLIGHT, you might want to post your results on the "How to . . . " thread, Installing Speedhut Gauges. It is a bit lengthy, but gives readers a single place to take in several approaches to installing these excellent pieces. Speedhut definitely told me no "Veglia" on the faces, but otherwise gave me a lot of latitude replicating the original look:
-
Weelldone, BLIGHT! Did you get the sealed face bezels "for motorcycle use?" How did you mount them to the support plate? Are you still using the original "cups" (or covers) over the "backs" of the gauges (which are toward the front of the bike)? (questions-questions . . . )
-
These last few "Post a pic" are among the best ever posted, IMHO. Here's a V11 that would not be on The Angeles Crest without this community. Thanks so much for posting these great images, thelonewonderer! Along with the skills and perseverance of that Burgundy V11's Caretaker!
-
Seriously, buddy, I already owe all these guys beers . . . so, I gotcha covered . . .
- 41 replies
-
- 1
-

-
- transmission
- shifting
- (and 1 more)
-
This is a noble goal! No value in increasing the red charging wire gauge?
-
Three days later, I have my replacement OEM R/R from EuroMotoElectrics in Colorado, USA. Under $150US. Solid outfit. I will evaluate to see if I can do the swap without removing the tank. I have my entire wiring harness very closely groomed, so I am not sure I can accomplish that. Counter to my typical methods, I would like to make only this one change and see if the Battery Light Flicker changes before moving on to consider other modifications to the charging system. These are the only other things I can think of altering: 1) Larger gauge red charging wire from the regulator to the my 30 amp Circuit Breaker. (Worth it?) 2) An alternative "Battery Reference." (But from where?) 3) A "voltage indicator" as luhbo has in service. [edit /Feb28, 2018: Before installing the new regulator, I decided to fully service my ground connections to the battery and monitor for changes in charging behavior: http://www.v11lemans.com/forums/index.php?showtopic=20152&p=230608]
-
If there's gonna be beer, Kindergarten Rules apply: "Ya gotta bring enough for everyone."
- 41 replies
-
- 1
-
-
- transmission
- shifting
- (and 1 more)
-
Ok, sooo . . . just to clarify: you adjusted the shift mechanism and that took care of the problem entirely?
-
I agree with Scud, also turn your fasteners so that the nut is on the back side of the Heim Joints. Also, grease the pivot bolt and lubricate the Heim Joints.
- 41 replies
-
- 1
-
-
- transmission
- shifting
- (and 1 more)
-
Dear me, and I thought our motto was "The Ride Starts Here!" I should have a banner made for my shop: "The Mistakes Start Here."
-
Looks like the best place to start. (More than one girlfriend and extra monkeys start showing up . . . )
- 41 replies
-
- 1
-
-
- transmission
- shifting
- (and 1 more)
-
Ok, this too: Explained well by luhbo in his post here: http://www.v11lemans.com/forums/index.php?showtopic=18593&p=198253
- 41 replies
-
- 1
-
-
- transmission
- shifting
- (and 1 more)
-
1/4" is a lot of play. It will be worth grooming that mechanism. I am looking for the image of the "parallelogram." Quite possible that when you are trying to shift 4->3, 3->2 that the foot lever is striking the sideplate. You can probably wiggle the gearbox into each gear by pulling the clutch lever, working the shift lever, and rocking the rear wheel back and forth. (yep, that take three hands or two monkeys and a small boy, whichever comes first . . .)
- 41 replies
-
- 1
-
-
- transmission
- shifting
- (and 1 more)