docc
-
Posts
20,491 -
Joined
-
Last visited
-
Days Won
1,188
Content Type
Profiles
Forums
Events
Gallery
Community Map
Everything posted by docc
-
IMHO better tool control is precisely what Torx is about. Provided you do have a Torx tool of course, and not try using a hex drive that almost fits. None of my Torx T-20 would clear the bottom of the tank. I built a tool for it, but it was fiddly. I learned from someone here on the forum to install simple hex drive fasteners that take a normal ninety degree 3mm Allen key which makes the tightening process much less fiddly for me. Certainly, the capture, or "bite", is much reliable with the Torx. With the exception that the original fasteners for the TPS were quite shallow, as I recall. So many "mapping" issues are inter-related to "tuning" issues. One of the conundra of the FI is the way you can compensate, overcome, or otherwise cover up some shortcoming by tweaking, or cheating, or 'tuning' some other sensor, input, or the map itself. Good, though, I think; better than wire drilling jets and clipping advance springs!
-
Bo, Are you still using the tiny original hold down screws on the TPS (were they Torx)? It definitely helps to replace them with some more common hex drives. The little bugger still wants to drift, but tool control is improved.
-
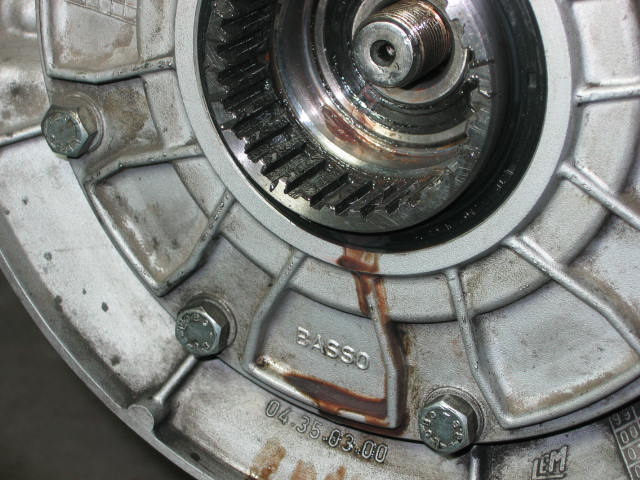
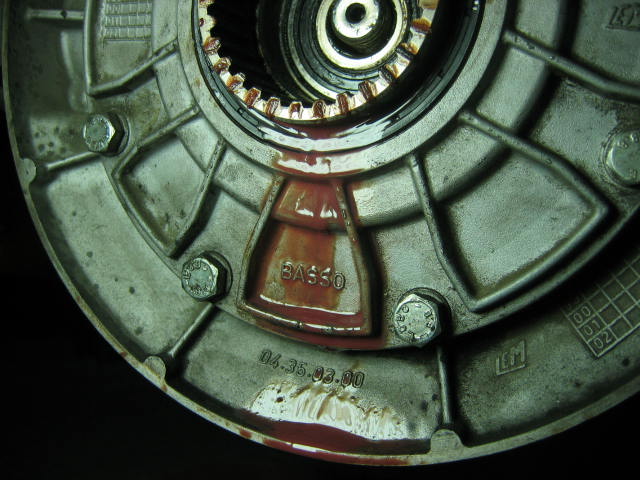
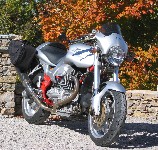
Today's picture (after 260 miles from 'adjusting' the fluid level / downward). Looking closely, I'd swear both seals are leaking. What?
-
After my second refill with RedLine Shockproof heavy, I'm sure I overfilled the bevel drive as it would weep at the vent from time to time. I'll bet some 50ml hangs inside the drive even draining when hot. Finally, the red mud started appearing on the wheel after parking up. I changed the rear large seal, but the drip persists. Less now and not as bright red. One question is, if the inner seal is leaking does it still show up in the same place as if the large seal has failed? Or did I just install my replacement poorly?
-
The actual stop are bosses on top of the lower triple clamp that come to rest on a center tab on the lower front of the head tube. I cannot see that it is adjustable in any way. Indeed, the steering damper must be centered to use its full travel. Even with that, I can see that my left fork body just touches the tank in full lock left. Looks like I got me the dreaded tank spread, too.
-
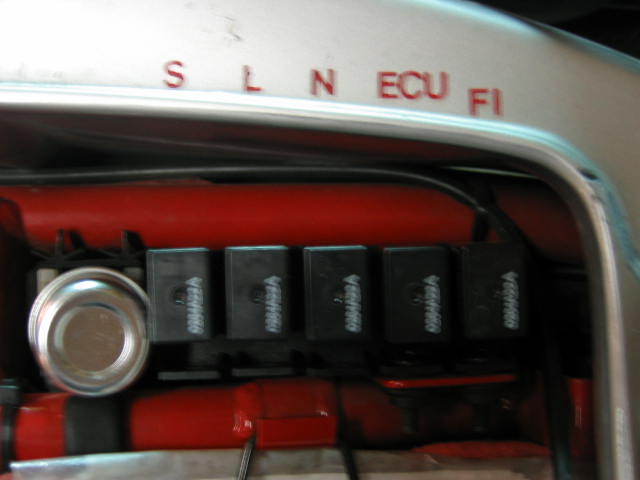
Looks like your grey relays are Bosch. I don't recognize the black one in the FI position (5). They are labeled on their sides. Be very careful to pull them straight out and push straight back in to avoid damaging the contacts. I suppose it will be less than helpful to have two marked "FI" and two marked "headlamp" and the actual FI relay not marked. I stopped marking the relays themselves and label the tail section adjacent:

-
I'm not sure we've heard of any pawl spring failures before 2002 or after mid-2003 . . .
-
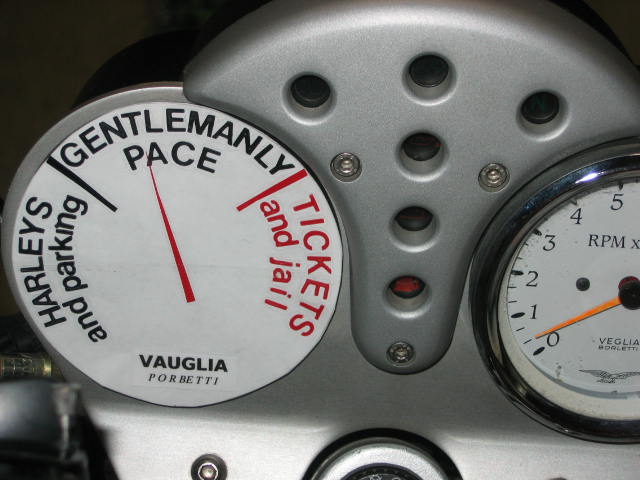
Of course, there is always this approach to speedometer repair: (With the full discussion here: "Hey, it's my garage . . . "
-
No markings on the relay cases?
-
Fold back the grip and apply penetrating oil and let soak. Any effort to twist off the holding screw has to be held against on the grip itself as the is a junction which would allow the tubular portion of the grip to rotate.
-
Yes, indeed, the '04 varieties are a quantum leap ahead of the '02 (and the early RedFrames) and, at this point, no more money. I'm looking forward to your comparison with the Ducati . . .
-
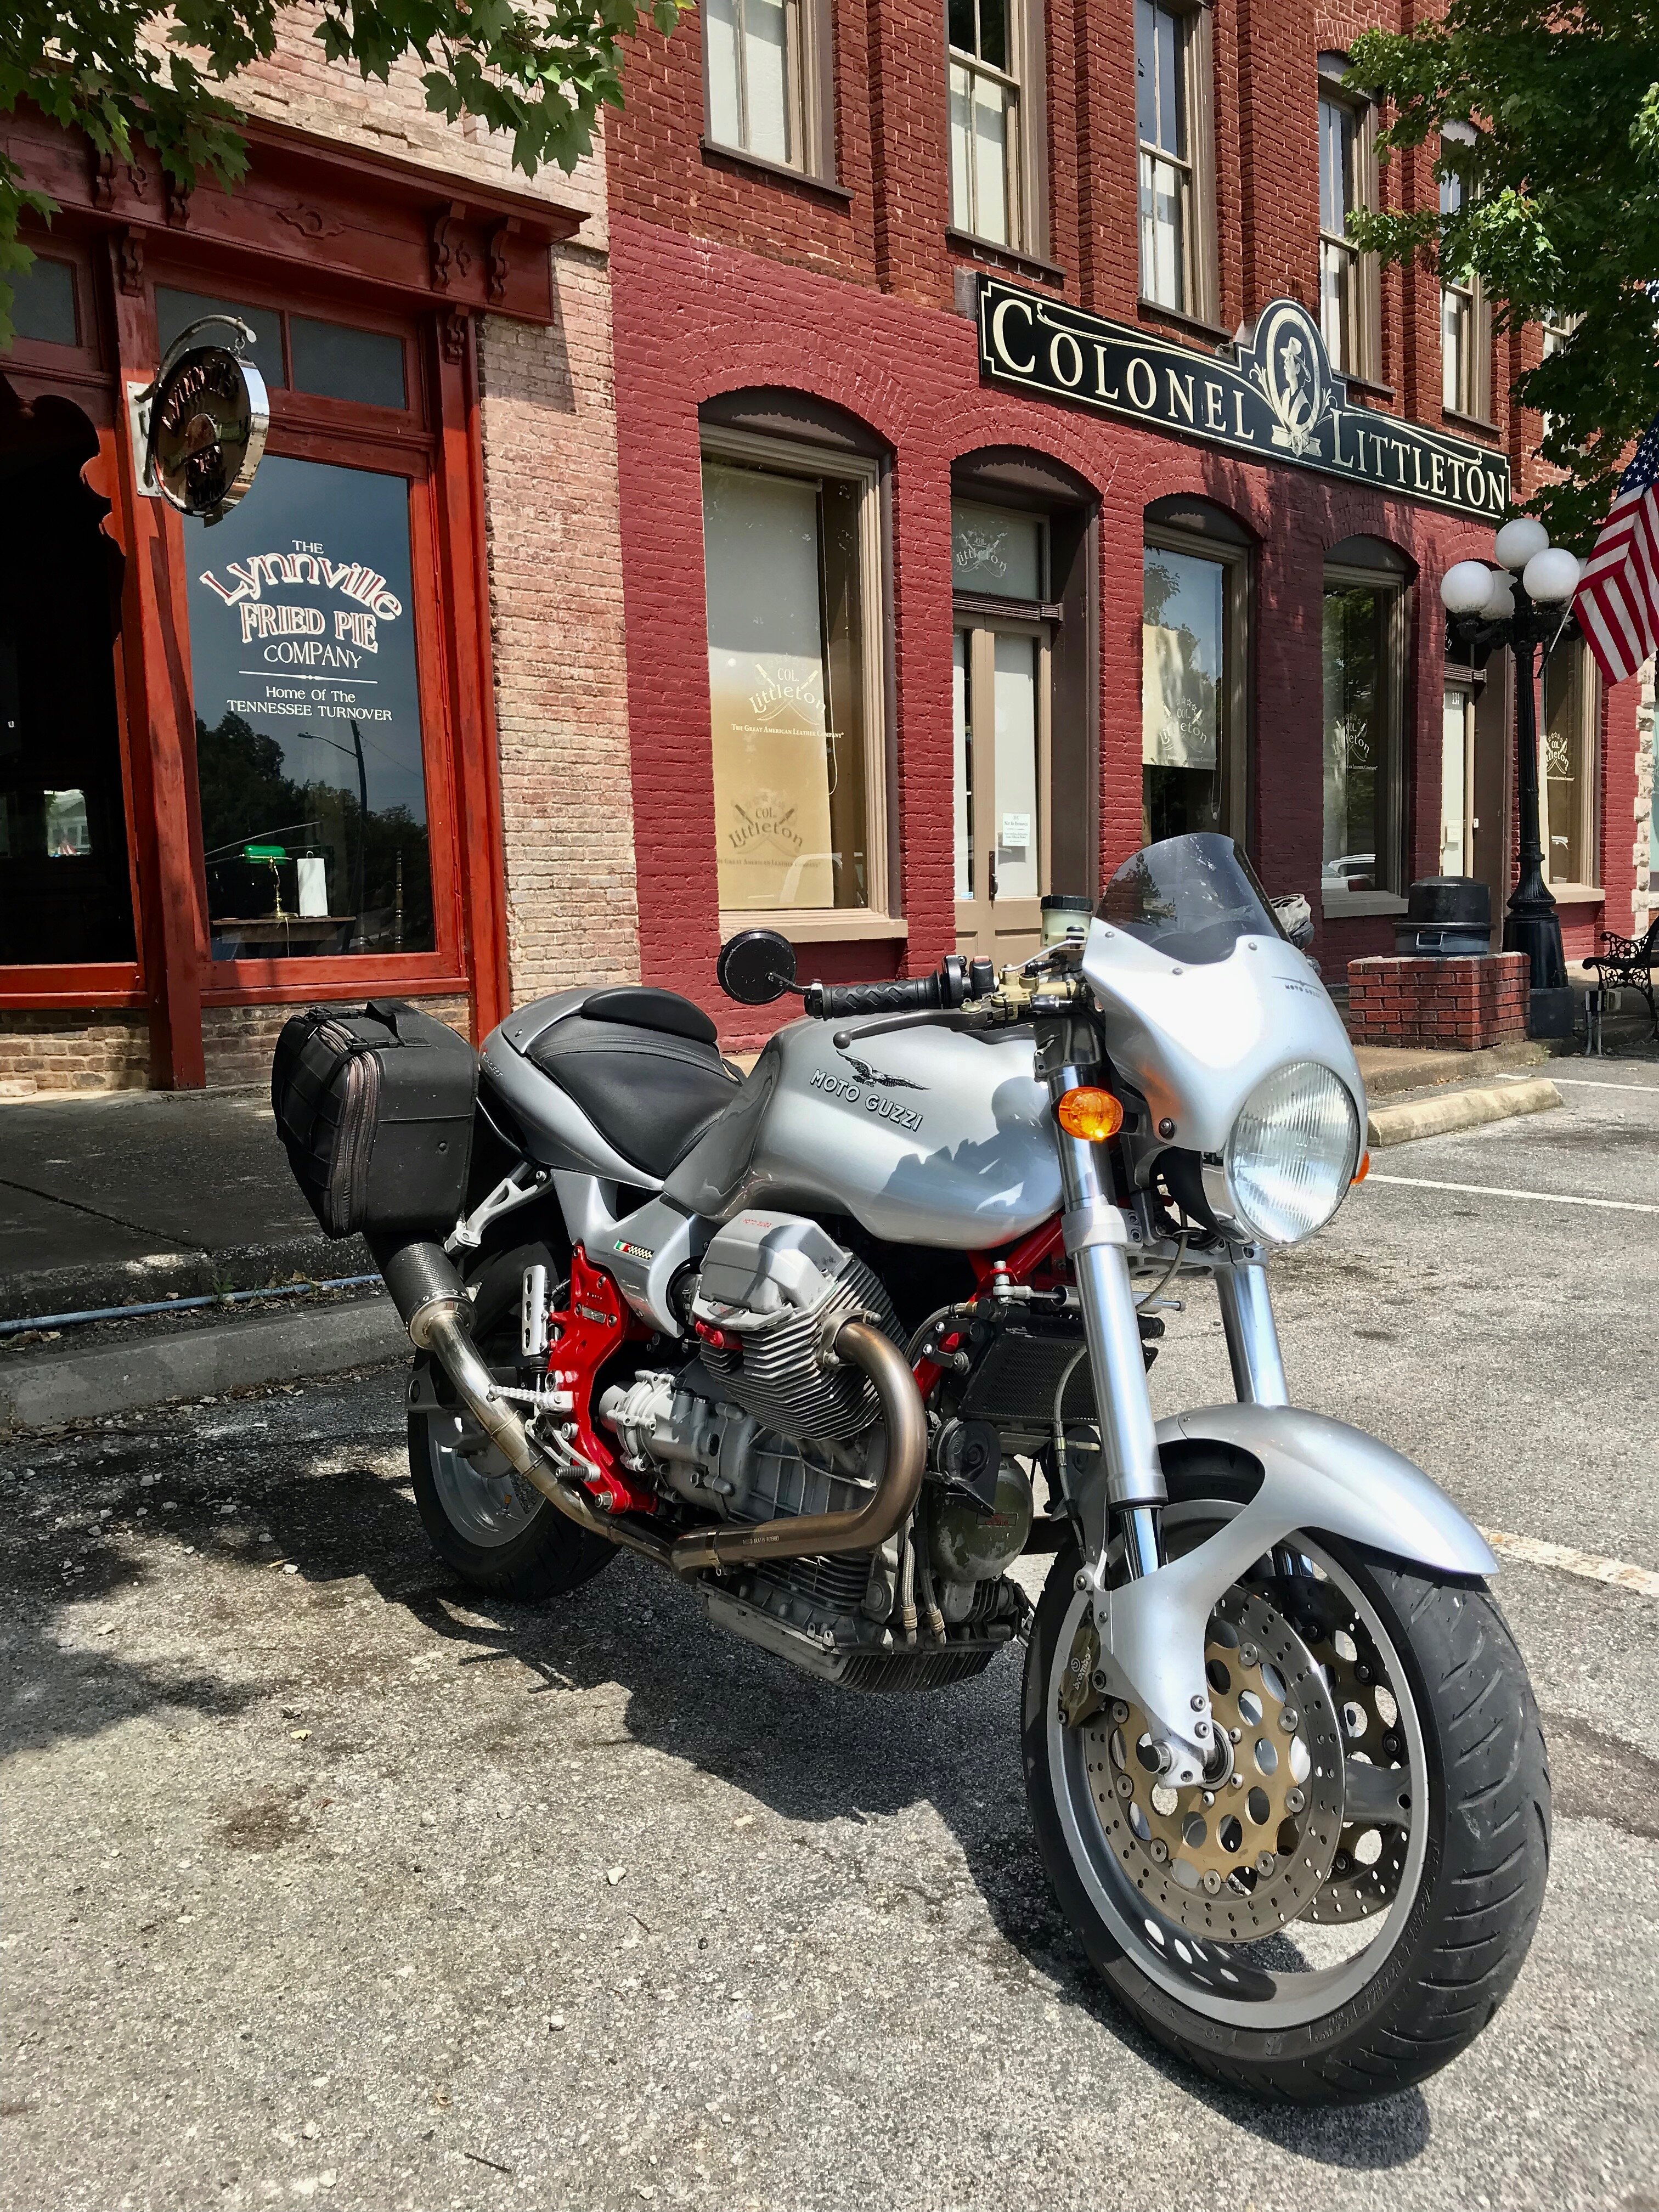
2004 V11 are among the sorted of the breed. You're gonna love this bike! (you're gonna hate this bike!) Seriously, as John Burns once wrote, they " . . . may require some owner involvement . . ." But in a good way. Not like the owner involvement , say, for a washing machine or a lawn mower. More like the involvement you might enjoy with a tango partner. + =
-
Here's a toast to your sphincter control (and your riding skill!) Some would have gone down with this - 150 feet is a looooonnng slide!
-
Every bolt I put back into the Sport I at least wire brush the threads, if not chase them with a die, and apply copper anti-seize paste. It just keeps getting better! Early oil cooler brackets were aluminium. The warranty replacements were steel and I've never heard of those breaking. What came off broken? (It could be an indication how much warranty sorting your V11 has had) . . .
-
Blade fuses need to be pulled out to check them. Not as obvious as the glass versions. (you sure you want to admit to even knowing of their existence?) Other than the trouble with the melting 30 amp regulator fuse (See "Nasty Hiccup" thread), I doubt you have a fuse problem . Sounds like the battery. After that, we'll get into the regulator, the relay bases, and the yellow stator wires under the alternator cover . . . Hey, but only we if we need to. What's Italian for, "If it ain't broke, don't fix it?"
-
Replacing a spring that's not broken may not give you much satisfaction . . . And a glowing neutral light probably implicates the neutral switch. Some folks have pulled them out and cleaned them to good effect, but otherwise the switch might be ready for a change. It powers the middle relay, so making sure that relay is good to go is simple. (It's called the "Side Stand Relay," but it is energized by the neutral switch.) How much "squeeze play" is in your clutch lever? (up and down wobble is not important)
-
Ryan, I can tell you that you are in the right place! It might take some tinkering, but these folks are super at helping one another get these nice Guzzis going! First, do you have a digital Volt-ohm meter? It would be a good investment of about $50 to get a decent one. I'm thinkin' your gonna need it! For certain, the clicking suggests the battery is ready for a change. The Hawker odyssey PC 545 has a good reputation in these bikes. If you take off the seat, you can access the battery, the relays (on the right side near the back), and the fuses (left side in back). The regulator fuse is the 30 amp job in position 3. They are bad for melting without "blowing." Our buddy. Orangeokie, was always fond of saying "Know the Rules" which he linked to a post reminding us to keep a fresh battery and the best available relays. I think the PO gave you some good advice on starting points to get the bike up and running. Then, we'll go from there! (BTW: When using the search function, make your initial search, then sort by "relevance" and click "update.")
-
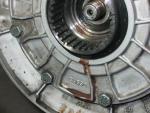
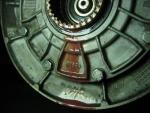
Glad to hear you're back in the saddle! It is much appreciated when folks follow up on their threads. So many of us are in this for the long haul! After my second rear drive gear oil change to Redline Heavy (the red stuff), my vent also began to weep. Figuring I over filled, I let a little out. It seemed better for a while, then the big seal gave out. Trying to gauge the refill, I found a miserable time trying to get the right level. That stuff is so thick and tacky, I'll bet some 50 ml stays in the internals even draining when hot. I had 10 ml stick in glass graduated cylinder! My new seal has been weepy. I opened the level plug and just let the thing sit for hours while maybe 4 or 5 ml drizzled out. Then I drained another 5-6 ml (hard to gauge). So far, the weep looks better, but overfilling is a distinct challenge with the RedLine Shockproof. One of its drawbacks, to be sure.
-
" I'm gonna hurl myself against the wall . . .":grin:
-
Docc, I think Guzzi moved away from the bevel drive because they had a tendency to self destruct. I'm on my 3rd! Birddawg Definitely best to epoxy in the circular metal plate before it jumps ship and takes the internal gear with it. I use JB Weld just to be sure the little bugger knows I mean business.
-
Try turning the ignition switch to "park" position and see if this lights the tail, instrument lights and the the low wattage lamp in the headlight shell. Otherwise, Fuse 6 (for the above lamps) and Fuse 7 (turn signals) get a common feed from the ignition switch. At some point, probably under the seat, that feed splits to the two fuses. No relay in this circuit. You may need to have a look at the harness as it feeds up into the tail section under the fuse block. Do post back about the park position . . .
-
That's good news! Relay upgrades are cheap and often effective. BTW: Relay 4 - ECU, Relay 5 - Pump/coils Again, check those stator wires under the alternator cover!
-
Here's an excerpt from the discussion the Ignition switch: By Kiwi_Roy
-
Beautiful Sport! The bar ends are already weighted. They extend well up into the clip-on. Drizzle some penetrating oil at their junction with the bar under the grip. After waiting a day, grasp the bar tightly and snap the hex drive smartly, or otherwise , yes, you could use an impact driver (still grasping the grip tightly). Upon reassembly, use some anti-seize paste for next time. There are a few other ways to quell the vibes . . . Jeez, what a cherry sport! Thanks for the pic!
-
Hmmm, kind of an odd combination, since the turn signals are on Fuse 7, but the brake light is from Relay 2. When you say "dash", do you mean the instrument illumination or the warning lights (oil/battery)? Otherwise, you are right to say the ignition switch is the common denominator. There's a thread here on pulling it apart for a cleaning . . .