Lucky Phil
-
Posts
5,449 -
Joined
-
Last visited
-
Days Won
276
Content Type
Profiles
Forums
Events
Gallery
Community Map
Everything posted by Lucky Phil
-

From the album: lucky phils V11
-

How About Some Pics from The Roads Down Under
Lucky Phil replied to Kane's topic in Travel & dealers
Don't remind me docc, winter is on its way:( Ciao -
Come to think of it docc neither have I but it must be. He's not the sort of person that would paint it a non original colour. Ciao
-
50's Italian electrics times 8, should be fine:) Ciao
-
Unfortunately docc I didn't hear it run. They shipped it from Italy for the parade but had ignition issues with it so I don't think it got on track. At least not when I was there. Bummer really. Ciao
-
From the album: lucky phils V11
-
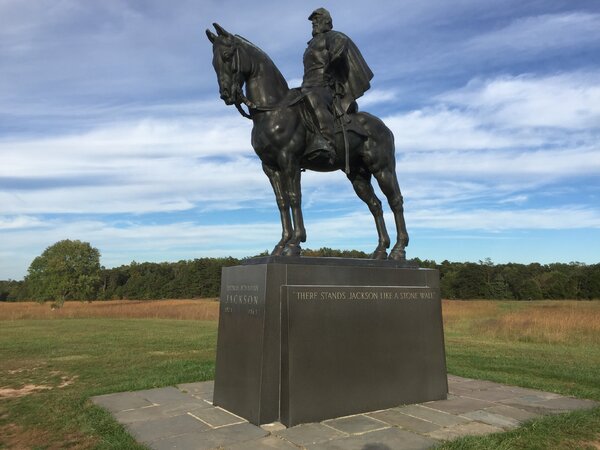
Manassas Junction docc, the battle of Bull Run. Nice little town as well.
-
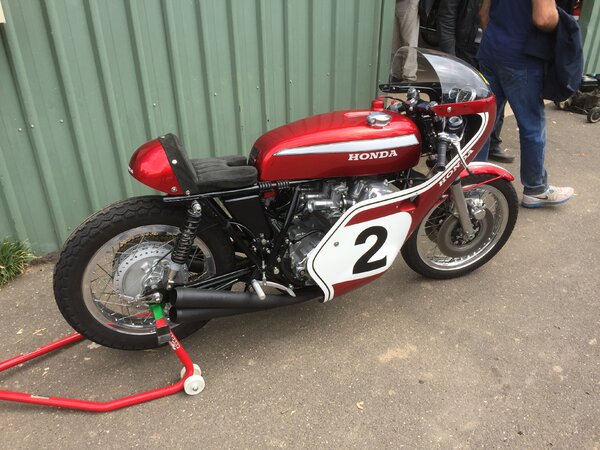
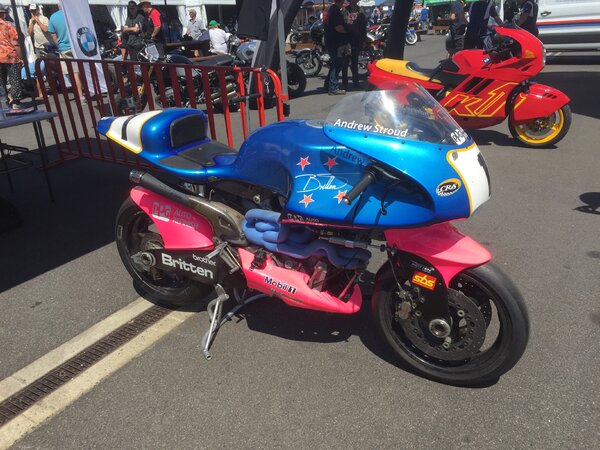
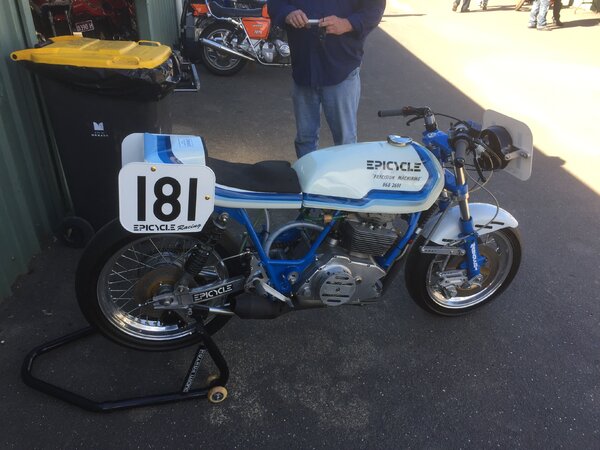
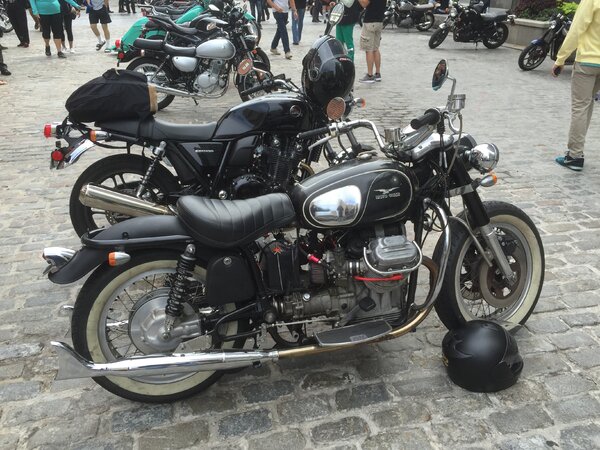
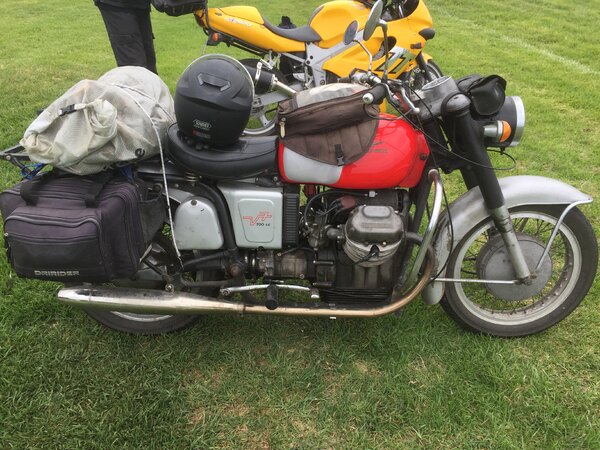
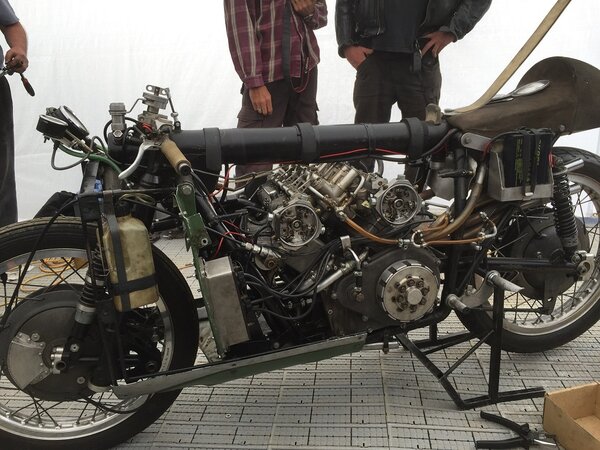
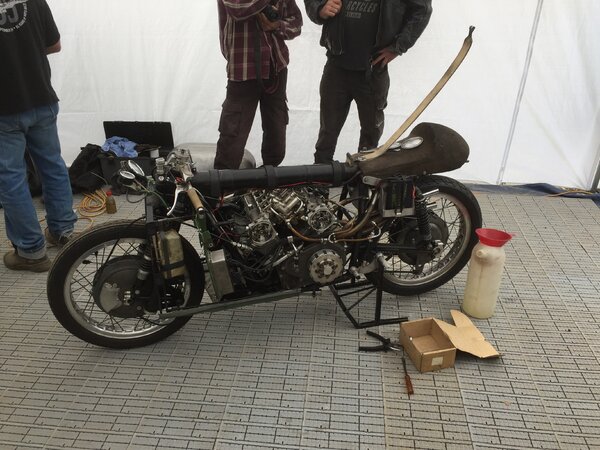
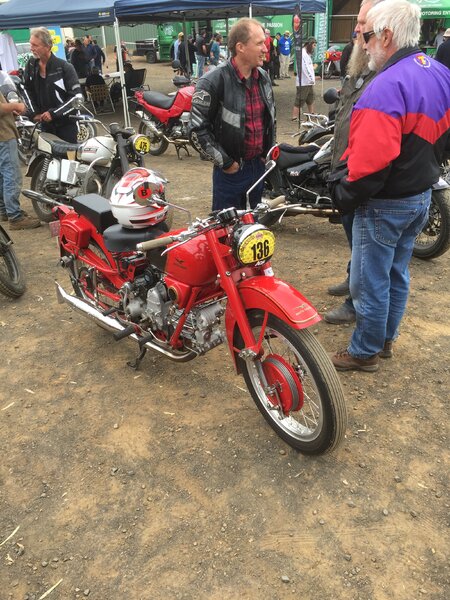
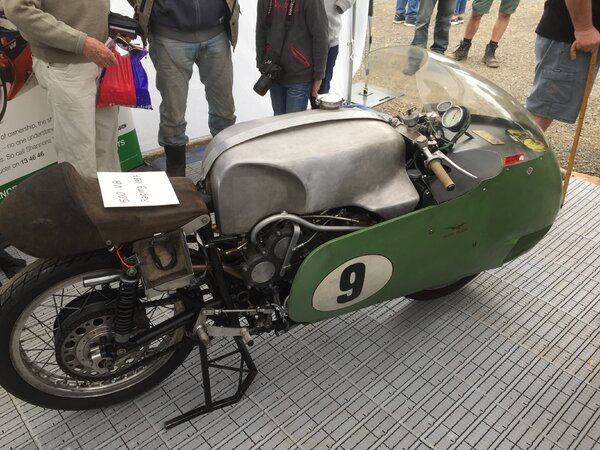
I've downloaded around 2000 images from my phone over the last 6 years or so. Phillip Island I think. Near the Brooklyn Bridge NY 2015 Distinguished Gentlemens Ride. A friends V7 Sport My good mat Pete Smiths original racing parallel twin from the 80's. Britten One for Docc. Ciao
-
From the album: lucky phils V11
-
From the album: lucky phils V11
-
From the album: lucky phils V11
-
From the album: lucky phils V11
-
From the album: lucky phils V11
-
The Guzzi shaft system is only a later rear drive system 1970's onward. Chain was the favoured system pre 70's.
-
From the album: lucky phils V11
-

From the album: lucky phils V11
-
From the album: lucky phils V11
-
From the album: lucky phils V11
-
From the album: lucky phils V11
-
From the album: lucky phils V11
-
From the album: lucky phils V11
-
True. Like an Egli frame but earlier. The Italians weren't much into frames in those days, it was all about the engine. Look at an MV Agusta from from the 50's, total rubbish. Ciao
-
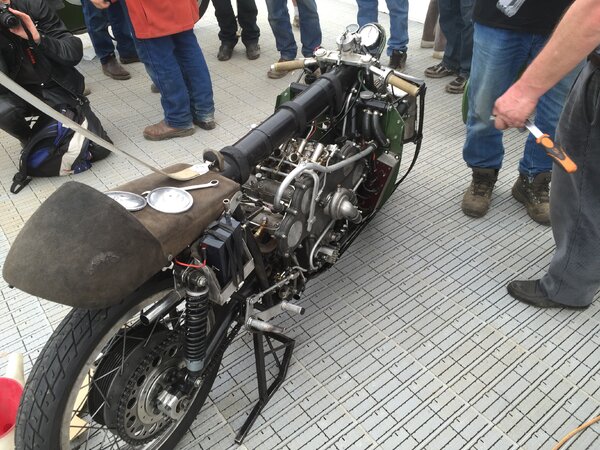
I've got more from the Easter Classic meeting a few years ago at Broadford in Australia. It was flown over from the factory for a few demonstration laps. These are my images so not the usual stuff you would see. I'll post them if anyone is interested.
-
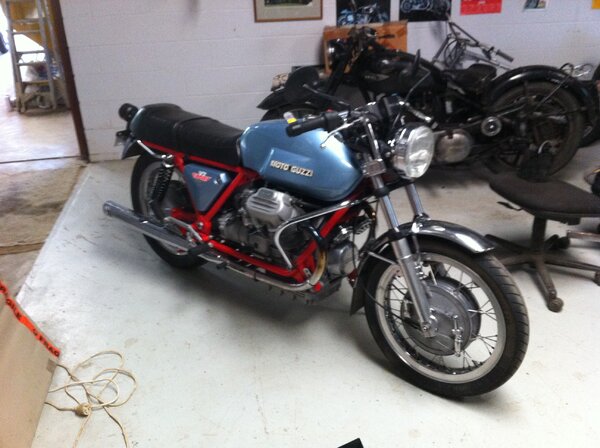
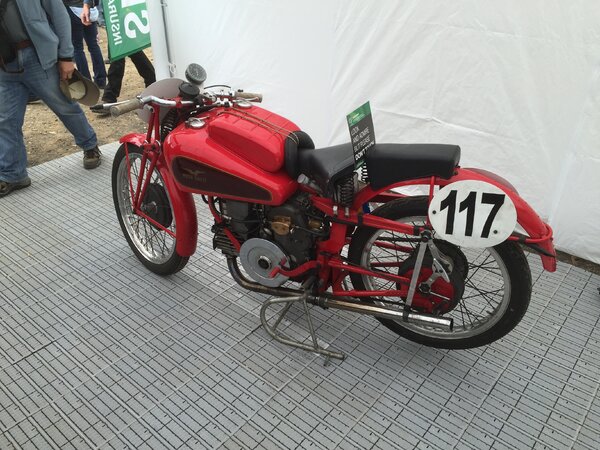
Original Spine framed Guzzi. The Forerunner to the V11 Sport. Ciao