-
Posts
5,449 -
Joined
-
Last visited
-
Days Won
276
Content Type
Profiles
Forums
Events
Gallery
Community Map
Everything posted by Lucky Phil
-
What I find hopeless docc is when a caption on an image describes something fitted that actually isn't. You dont need to be a Guzzi expert to see when a front brake isn't fitted on an old 1920's motorcycle but the caption goes to great lengths to highlight the fact it has the "optional" front brake, hopeless. I have just genuinely skimmed the text in this book so I'm not looking at it in detail. I also noted an image of a Mk4 lemans described with black rocker covers for the year model. My friend had one which we collected from Agostinis in Mandello in 86 and I can tell you they were a very dark blue, not black. Falloon lives in Melbourne, I should track him down and give him some feedback. Ciao
- 22 replies
-
- 2
-

-
- book
- celebration
-
(and 1 more)
Tagged with:
-
Bugger docc. The second book "the rest of the stories" is nothing like the "my life in bikes". I wouldn't suggest buying the second book personally unless you are a particular sort of person, its a bit niche. The primary book is to some extent a reference book which I'd like to keep as such so I'd be happy to post it over to you but the postage costs to the US and back would probably be dearer than buying it. I get most of my books from "The book depository" which is free postage world wide. Dont know if this is the best deal though. As pointed out most books these days are to a large extent "recycled". Cathcart books have been like this for 25 years. Ciao
- 22 replies
-
- 1
-

-
- book
- celebration
-
(and 1 more)
Tagged with:
-
Ok surprising. You can always count on Guzzi to throw you a curve ball. If the stroke and cylinder height is the same as the V11 then it has to be the rods that are longer. Ciao
-
I've got Falloons new book, it's a bit disappointing. It's basically a coffee table picture book with brief text and there's a couple of howling technical errors which always destroys any confidence I have in a book you may use for reference purposes. Ciao
- 22 replies
-
- 1
-

-
- book
- celebration
-
(and 1 more)
Tagged with:
-
When you say the piston is "shorter" do you mean the compression height of the piston? I'd be surprised if the Griso has longer rods than a V11. Ciao
-

How About Some Pics from The Roads Down Under
Lucky Phil replied to Kane's topic in Travel & dealers
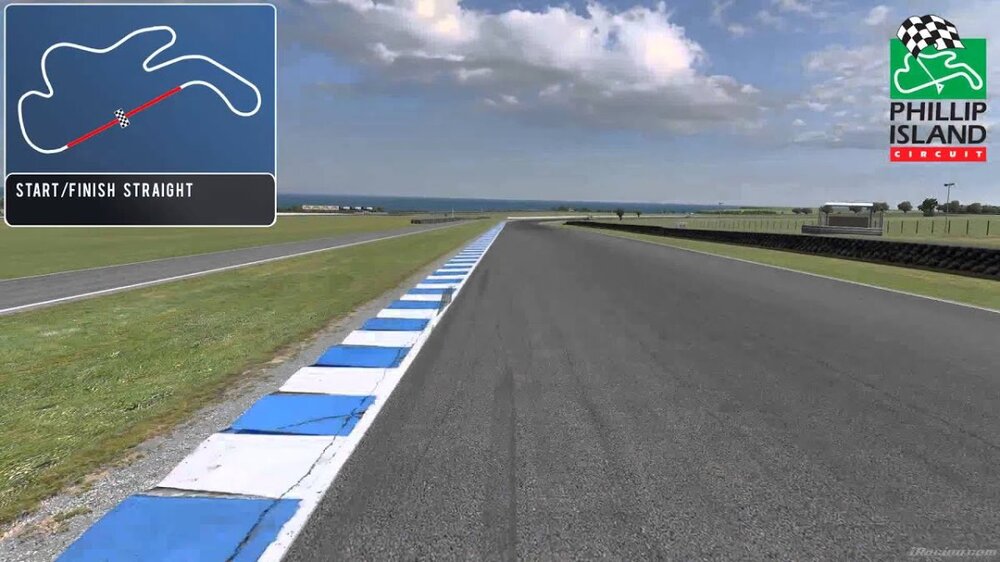
Here you go, one of my favourite Aussie road images. Always enjoy seeing this through the screen just before popping up for the braking marker. Turn 1 Phillip Island Bass Straight in the distance. Ciao -
That's why its mounted in a spherical ball. I usually put an oring on one side of spherical bearings between the ball and the damper cylinder mount bracket that stops them rattling around but still allows rotational movement in 2 planes. Same with the rod end bearings on my torque rod. Stopping the rod and or damper unwanted movement dramatically keeps the wear down. Ciao
-
Nothing Pete. Scud sent me a few spares for this side of the pond to those in need. Ciao
-
The spherical bearing is worn. There should be no linier movement in the bearing. Spherical movement yes, linier movement no. Ciao
-
Personally I can't see how this has any relevance at all. Thermo-syphoning effect in a pump circulated system is largely irrelevant. A pressurised pump driven automotive cooling system is arranged the way it is because of gravity. Any system with a pump in it is going to feed from the bottom of the reservoir (which the heat exchanger is in many systems) even if it runs at room temperature. Nothing to do with thermo-syphoning. It's true that if you were running a pure thermo-syphon system then you would organise it this way but the Guzzi oiling system isn't that sort of system. My car has the usual automotive cooling system but additionally uses Thermo-syphon to get heat out of the turbocharger housing when you shut the engine down. In addition the Guzzi has a thermostat that bypasses the oil cooler unless the temp is at a pre determined level. You can arrange the oil feed and return for the cooler any way you want the only thing that might be desirable is the have the cooler mounted horizontally with the feed and return to the top purely so the oil in the cooler doesn't have the tendency to drain back to the sump on shut down. All it would mean is a slight delay in building oil pressure on a hot start at worst. Nice to do but not essential. Ciao
-
Yep, same here. It's Bronze welding to me as well. I'd need to do more than simply upping my game I'm afraid, more like learning how to play it at all in comparison. I was also looking at TIG Bronze welding which uses different rod composition without flux. Looks easier with a bit more latitude. Ciao
-
In line flux would be a flux incorporated into the rod. If you look closely you can see the joints have very small steel tac welds to hold them in alignment as well as the jig of course. You can hear some creep as he pre heats the tubes. Ciao
-
Well worth 8 odd minutes of your life for mine. Ciao
- 5 replies
-
- 11
-

-
Or you could do it the right way and fit it back in with some green "super bearing mount" loctite and it'll never come out again. Ciao
-
Ok Pete I'll get it off to you tomorrow. Ciao
-
Maybe, but it doesn't fall to bits. If you have a roper plate then fill the engine until the oil level is at the bottom of the plate( look through the fill hole with a torch, easy to see) then dip the std stick in until it stops, dont screw it in. Then remove it and see where the oil level is on the stick and drill a 1.5mm hole in the stick at the indicated level. Easy to do and easy to now see the full level. Ciao
-
I have some Pete, how many do you want? Ciao
-
Ok if it's air then it's probably a waste of time spending big bucks on putting new std decals on the tank again as they'll probably do the same again eventually. Ciao
-
What came out chuck, air or water? Ciao
-
Pierce the bubbles with a needle and see if any water comes out. If it does then its a fuel/water in the fuel issue. If it's just air under the decal then its a decal adhesion issue. Ciao
-
The decals lift because the tank is affected by ethanol fuel so you need to factor in drying out the tank and getting it lined. Or a replacement tank. Ciao
-
Yep Ciao
-
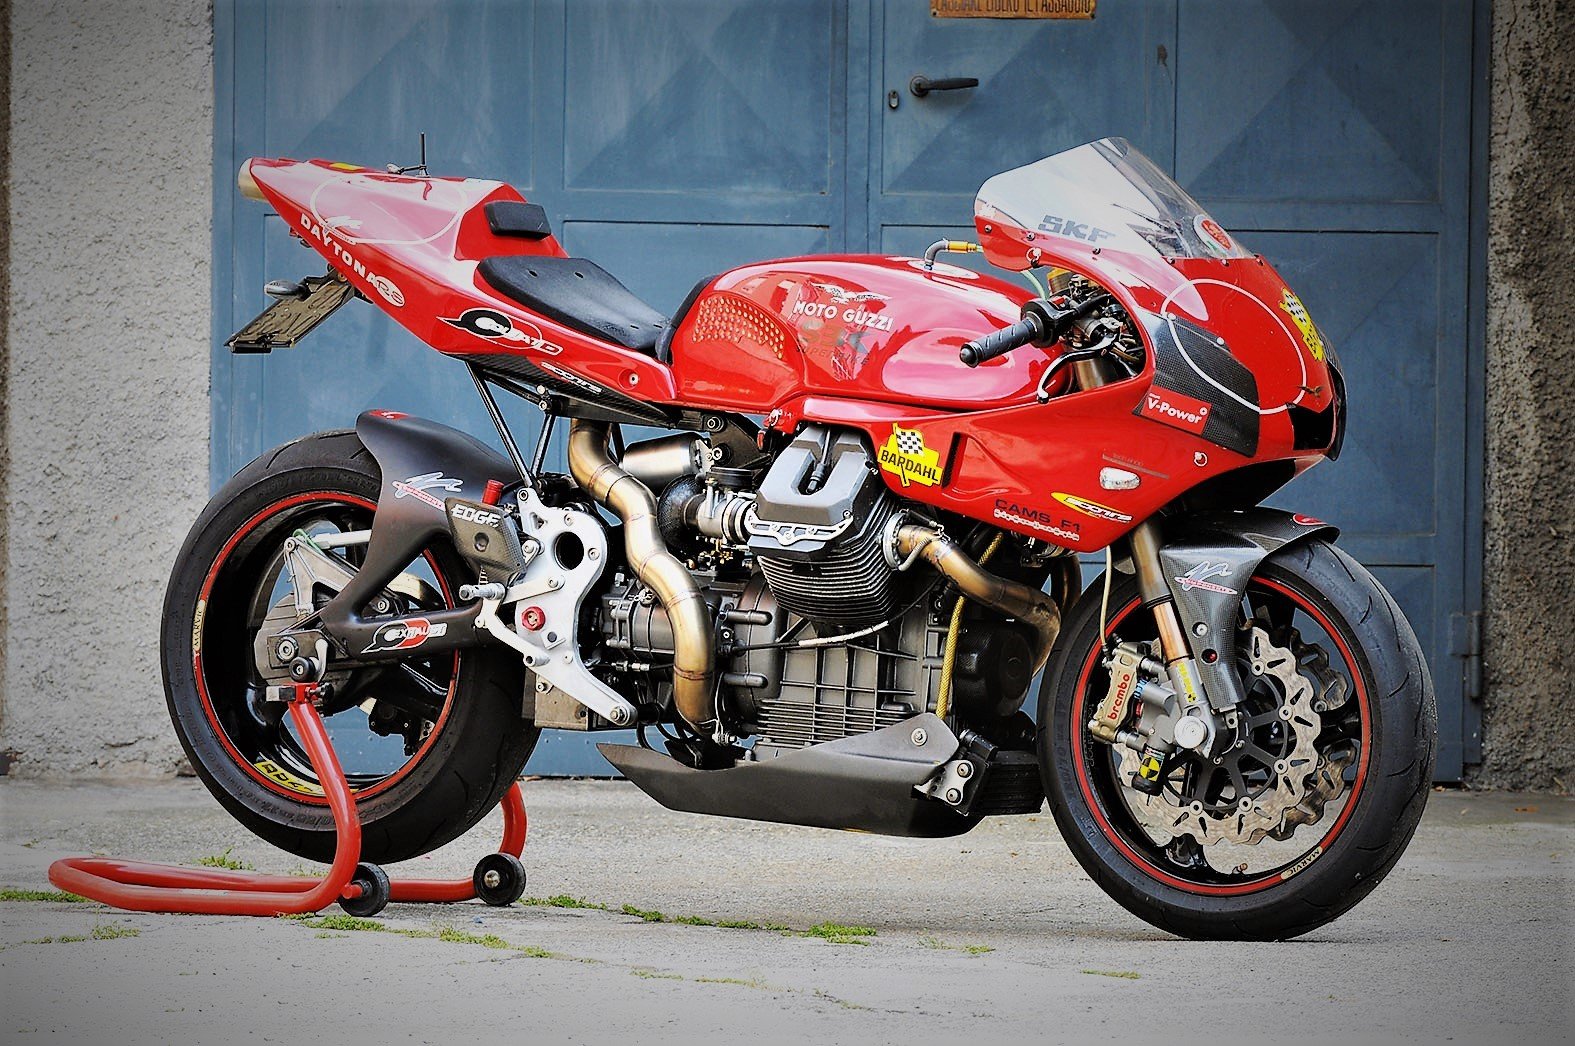
Yep, Paul Daytona. (Paul Minnaert) He sells them, or used to. Ciao
-
Personally I like this better. http://www.fastguzzi.nl/v11/scuracarbontail2.jpg Ciao


