

Lucky Phil
-
Posts
4,632 -
Joined
-
Last visited
-
Days Won
240
Content Type
Profiles
Forums
Events
Gallery
Community Map
Posts posted by Lucky Phil
-
-
You do realize that green is the slowest color?
Not with me on it.
Ciao
ducks....
-
I'll keep a watch for you Fotoguzzi! Nice cabin btw..
Hey Lucky Phil, any clue where I can get some green touch-up paint? I have a little scratch on the very back of the rear seat cowel.
I bought some on ebay about a year ago.Undercoat,colour and clear kit from www.bikecolours.com. About as gods a match as you could realistically expect this sort of thing to be.
Ciao
-
Wont read all that cos Ill proberly agree, or easier put a big thumping twin will mash that fancy syn shit to a pulp, I never said anything cos the topics been done to death many a time...
Just be aware that using full synthetic comes with certain risks-.... they reconmend the full syn for run in then back to the semi. Im suprised so many use a full syn in our old plodders...

I as said run a semi syn... altho at times I think the old dyno goo would be the best way to go.
So hows your Guzzi run on Carburettors,points ignition,spoke wheels,cross ply tyres,and 85 octane fuel? well?
I'm with you,all that new tech stuff,cant trust it.
Ciao
-
Mobil 1 0w-40.
Ciao
-
Can you just pull this seal with a pick,and install by pushing in ,or do I need a special tool?
Carefully place a decent screwdriver (say 8mm wide blade at the tip)under the lip of the seal so you can get behind it a little and lever on the end of the crank CAREFULLY.If you do it correctly you wont damage anything except the old seal.
I generally machine up a driver to seat the seal but you can do it with a say 10mm dia flat punch.Just dont drive the seal in to far or you will need to remove it and start again and that will damage it for sure.
Ciao
-
Try these,look great,sound great ( a lot better than Mistral megaphones)and cost effective.
Ciao
I'm almost ready to buy those..from MGcycle.
These are "Agostinis" from Funnily enough Agostinis in Italy.They sound better than the Mistrals I had on it (like a bevel ducati but softer,without the edgy crack)
Ciao
-
I have no experience with Wilbers but plenty of experience with various aftermarket suspension bits.
Typically for street use most people are going to be just fine with a single compression adjustment and a single rebound adjustment. High and low speed compression adjustment is typically tuning to a higher level then you could use on the street as the variety of pavement is too great. The advantages of high and low speed adjustment come in to play when you are riding the same bit of pavement over and over (aka, Racing) and you can tailor the dampening to suit that particular bit of pavement more precisely. But if you are riding on a wide variety of pavement on the street being able to fine tune the compression dampening that precisely is likely not of much use.
That said, I am sure some street riders will swear they need that sort of precision adjustability.
I disagree,high and low speed comp allow you to not only adjust for the type of roads you typically ride on but also for pillion and carrying extra loads when touring.Why would you want some suspension guy from Europe guessing what damping I need on an Aussie road.I seriously doubt the Wilbers guy knows how bad our roads are.So its nice to be able to "fine tune" a little.
Ciao
-
Try these,look great,sound great ( a lot better than Mistral megaphones)and cost effective.
Ciao
-
G'day, I'm wondering if anyone has fitted a wilburs 640 rear shock into a v11 and if so, have you been wishing ever since that you spent the extra $ on a 641 with dual compression dampening adjustment? I suspect I'll be spending the extra $ on a 641, but I'd love to hear that the 640 is so good I can spend the extra $ on the forks instead.
I've just spent 2 wonderfull days exploring the limitations of the standard suspension on my 03 lemans. Lots of fantastic memories of twisty roads with stunning scenery, but a few moments I'd rather forget where I'd have been better off on the KTM 990 I was chasing. Australian "roads".... what more can I say. Perhaps a picture might help?
I have the 641 fitted to my V11 Sport.Adjustable comp (high and low)rebound and ride height as well.Really nice shock,just as nice as the Ohlins fitted to my 1198s.
Ciao
-
and the winner is...

Fail....

Ciao
-
I'm pleased to report we were able to sort out Steve's immaculate LeMans, what a beauty

She ticks over like a Swiss watch.
Thats great Roy but no point posting this without details so we can learn something.
Ciao
-
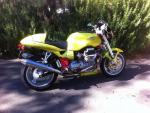
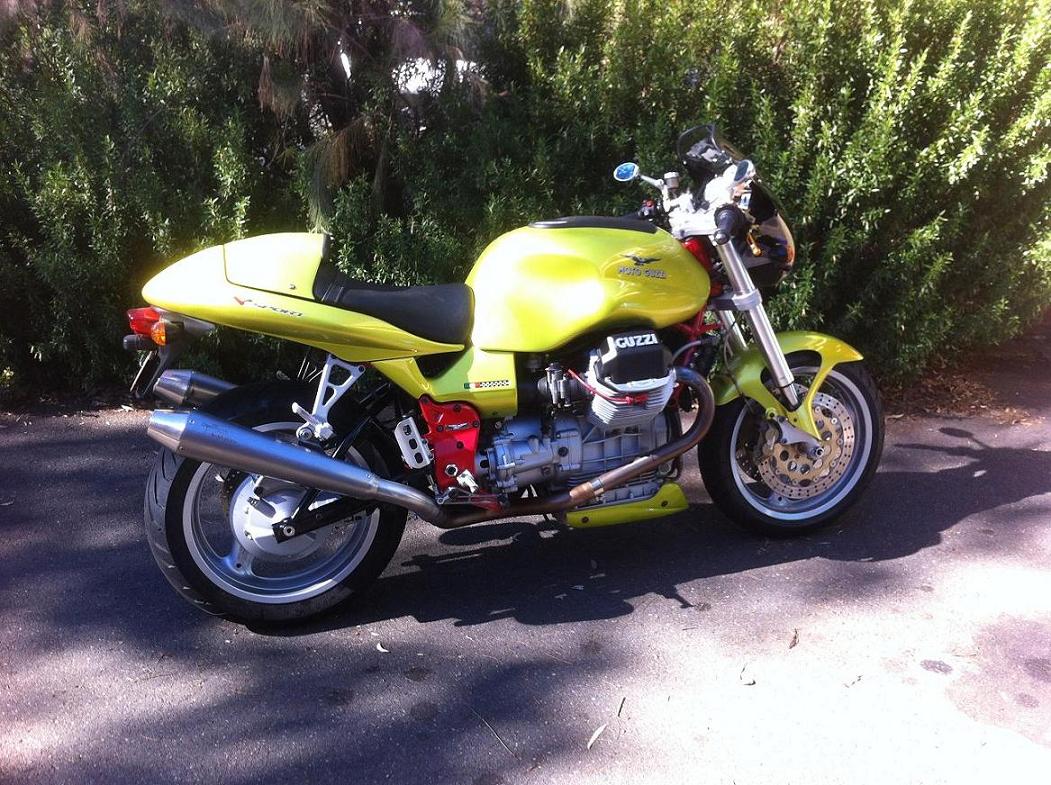
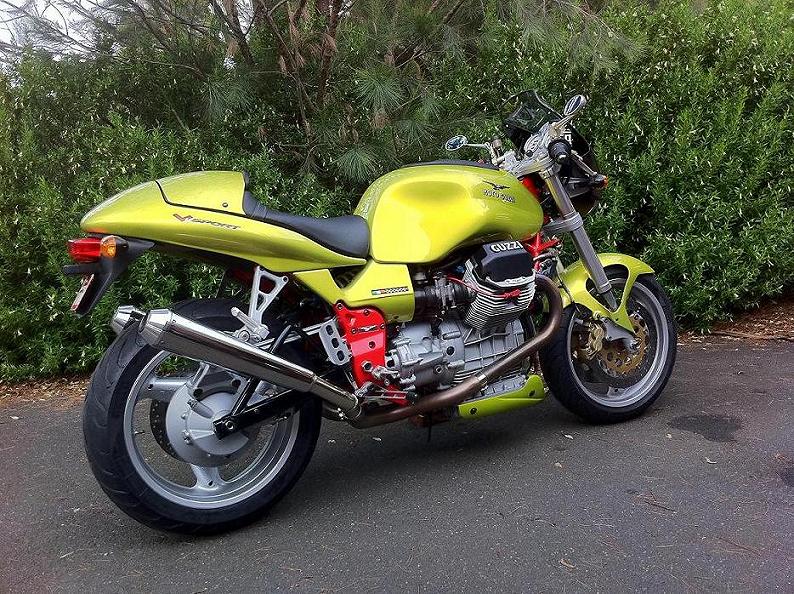
Good color that green.
Ciao

-
thanks guys... but I cant seem to be able to navagate the site well... I find no pans?
You dont need to navigate anything,I supplied the direct link.
Ciao
-
Don't understand why the clutch would rattle if it is engaged. I can imagine it could be noisy when disengaged (clutch lever pulled) as the plates could flop around on their splines but when engaged the springs should hold everything tight - so why would it rattle.
The drive plates and flywheel/pressure plate are all held together as one unit when the clutch is engeged but the drive plates can still rattle on the gearbox input drive adaptor splines.This is where I believe the noise comes from.I think flicking the clutch causes the drive plates to misalign slightly with each other on the drive splines and take out the slop.Letting out the clutch slowly allows the drive plates to both align on the same side of the splines and creates a little play and it rattles.
Ciao
-
Changing my bars back to clip-ons, I needed to disassemble the twist grip to re-route the cable and when I went in to pull the cable out of the grip "scroll, circle, thingie" I noticed a second set of holes the cable end could sit in.
These are further out toward the edge of the white plastic circle the cable end anchors in.
I put the cable end in there and damn if it doesn't have faster action!
Well, of course it would being out further but is it designed that way to give you a choice?
I think it is the cost-reduction. Parts same as on aprilias and etc (those with two wires on gas command)
Also, later models of V11 has two wires instead of one.
If it was twin cable throttle assy then the other cable position would be on the opposite side.
Ciao
-
Can anyone help? This is my very first post on the forum!
I have a 2003 V11 Sport. In neutral the gearbox knocks in phase with the firing sequence.
It goes away in gear or when the revs are raised. Bizarely it sometimes goes away by dipping the clutch.
Do I need to strip the gearbox and look for shot bearings?
Thanks!
Its the clutch and a little gearbox as well,but mainly the clutch.You will find if you dip the clutch quickly it will be almost entirely eliminated.This is the two friction and the intermediate plates realigning in the flywheel and taking out the slack so it doest rattle and clunk.If you dip the clutch slowly it will still tend to rattle/clunk at idle.
I just give the clutch a flick if I'm warming it up so its quiet.
Ciao
-
Iv noticed some nice belly pans (chin scoops or what ever ya call em your part of the world) like the black v11 on the home page... how about some photos, brands, costs and were to get... wouldent mind one Im thinking.
Mine is a Stucchi luigi from MG cycles.Same as Bbennetts. Made to order painted and also available in Carbon.Nice piece fits well. http://www.mgcycle.com/product_info.php?products_id=2643
Ciao
-
Soooo, what's still good about this bike?

There are a few parts that would be worth buying, but other than that it seems pretty far gone. I've heard that even after fairly low speed crashes, spine frame Guzzis don't recover well.
Pretty far gone???? That my friend from the photos is a very lightly damaged motorcycle.Please call me if you ever fall off your bike,I'll buy it off you for a song.
It looks like some clown that doesnt know the trick to undoing the fuel couplings has used wire cutters to snip the fittings but apart from that most of the damage looks cosmetic and fairly minor.
Me personally,I would ditch the fairing and replace the broken bits with good SH stuff off ebay and have a nice Naked version.
Ciao
-
Ok,soaked the large pinion ring nut in wd40 and managed to loosen it with a hammer and alloy drift a little.Just to get it moving.Couldnt get it to tighten any more than it was previously,so the original play still exists.
Ciao
-
Was checking the drive shaft on the V11 sport the other day and noticed some play/movement in the pinion shaft.I removed the bevel box/drive assy and I have approx .4mm total radial play and approx .075mm axial.
Reading through some old posts I came across Peter Ropers thread on this from 2004 which was very interesting.
I tried to tap/drift the large ring nut tighter and looser but it wouldnt move,so I guess I need to make a tool.
Question is.....is the play/movement I have excessive for a 40,000klm old unit? I know in an ideal world it should be next to zero but I dont fancy pulling the whole unit apart to check bearings that may not be new but stll quite ok to continue in operation.
I also drained the oil to check for metal contamination but the previous owner has obviously used some sort of Molly additive and the oil is as black as tar and its almost impossible to see anything in it.The mag plug came up fine with just some black paste I would expect to see.So apart from the noted pinion shaft play there is nothing else I am concerned about.....thoughts?
Ciao
-
First ones ok,the second 2 are pieces of sh*t.
Ciao
-
A sloppy head-bearing can cost you your life when it is the cause of a death-wobble.... and I feel " listening" a tad bit more "vague".
... that's why they call it death-wobble I guess
 But no need to argue here. When I checked lorry wheel bearings on a weekly basis once this was the proper method. Screw in the bearings until you feel the wheel going locked, then loosen 45° and fix the nut. Easy thing. Some good time ago we discussed here what adjusting method the fellows down in Mandello would use for this task. Besides avoiding any grease in this process they obviously get the rest of it working astonishing well. One had the idea they might use a spring balance attached to one fork leg and then torque the bearing down until moving the fork shows the proper force (or responding hinge moment). I mean, you normaly can't tell a badly paid line worker "just make it right", they need some objective guideline.
hubert
There is a definite difference between the adjustment of a tapered bearing when used on a lorry or automotive wheel application and that of a steering head bearing on a motorcycle.When adjusting for a "wheel" application then slightly loose is preferable to slightly tight.This is because of the heat generated by the spinning bearing in that application.
On a motorcycle steering head heat generation due to rotation is not an issue and the focus is on zero play or slack without to much drag or tightness.
So to sum up tapered bearings....for automotive wheel....er on the side of play and for motorcycle steering heads......er on the side of zero play or slightly tight.Steering head bearings should be adjusted so they "never" have any play
Ciao
-
They sound nice apart from a slight tendency to whistle at some points on the over run like an old Norton Commando.Just fitted a set of Mistral Titanium cans and they sound quieter and more mellow with no whistle at times.(see recent thread)
Prefer the sound of the Ti cans and the look of the Megaphones.
Ciao

-
No they are standard.I'd actually like them a little higher and back,right about the spot the swingarm pivot is.Looks like I will have to make my own solution for this.
Ciao

Rear brake pad installation
in Technical Topics
Posted
Just pull the caliper off the mount and with the old pads in place use a big screwdriver between the pads to lever the pistons all the way back into the caliper. Just make sure the oil reservoir isn't totally full or the pistons wont go all the way back in.You may have to remove a little oil from the reservoir.
Fit the new pads and refit the caliper and pump the brakes. Shouldn't take more than about 15 min.
I wouldn't be to concerned about the uneven pad wear unless the side with the remaining material wont go back into the caliper and is seized.
While you have the caliper off it would be a good time to replace the fluid as well.Just crack off the bleeder and nip it up again BEFORE you loosen the caliper fit the new pads put something about 6 mm thick between the pads and hold the bleeder with a tube on it upright and bleed until fresh fluid comes out.
The real question is why you need to replace the rear pads in the first place. Mine never wear out as I only use the rear brake to hold the bike on a hill at the stop lights and sometimes to help it hold a line mid corner. Have never changed out a set of worn rear pads in 40 years of riding.
Ciao