docc
-
Posts
20,492 -
Joined
-
Last visited
-
Days Won
1,188
Content Type
Profiles
Forums
Events
Gallery
Community Map
Everything posted by docc
-
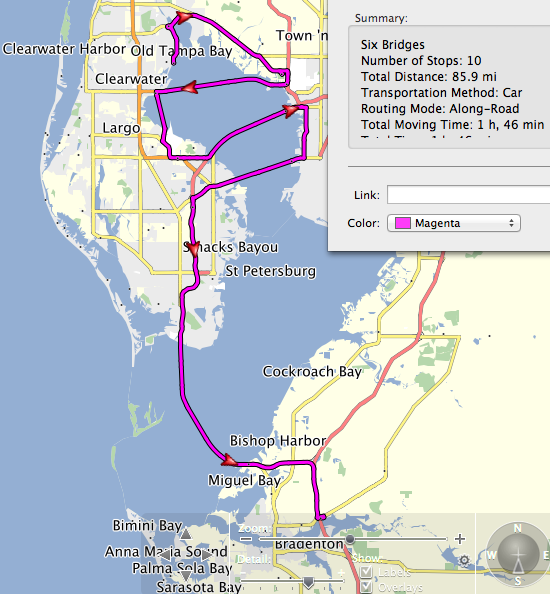
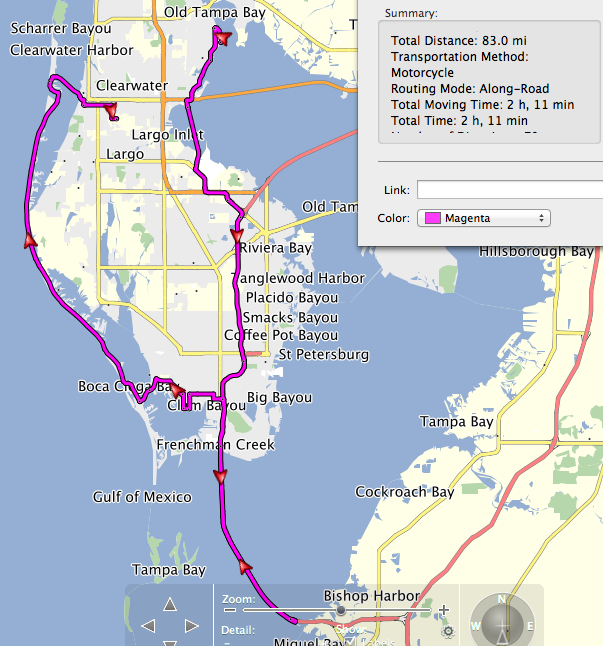
So, at this point in the evolution, I'd skip the parade lap through Philippe Park to get to the Manatee River for lunch. It still looks like a good jumping off point for all parties, and we should get there well before they close. I'm figuring on a couple hours of baffi e chiavi in Safety Harbor before gettin'-gone south across the bay. Crazed, but . . . I'm also looking at Six Bridges Across the Bay . . .
-
This keeps getting better! ( I hope everybody's ok with the liquid-silver itinerary!) Although, Karl, we're meeting on Sunday . . . . Woody's is open on Sunday afternoon?
-

Turn key and no anything -- all fuses and relays fine
docc replied to griswoia's topic in Technical Topics
Total power loss . . . sometimes a battery will show good voltage until a load is applied, then short to near nothing. Does the battery stay 12.7 with the key and switches on? Otherwise, if the battery had been out for any reason, I would think one of the terminals did not get put back on the stack. -
Turn key and no anything -- all fuses and relays fine
docc replied to griswoia's topic in Technical Topics
Wait - you still have the main battery ground cable to the back right of the gearbox? Did you actually pry the ignition switch apart and look at the soldered connections inside? -
Turn key and no anything -- all fuses and relays fine
docc replied to griswoia's topic in Technical Topics
Battery voltage? -
Turn key and no anything -- all fuses and relays fine
docc replied to griswoia's topic in Technical Topics
If there is no tail light, "city" light, or instrument illumination, the fault is before the relays. Think ignition switch or perhaps the battery itself. You took the ignition switch completely apart and looked at the wires inside (common failure point)? What is the battery voltage? (And as JBBenson says, main battery ground.) -
Nah, the posting is good. We're all here to discuss and cajole - no worries!
-
Seems that leaky AGM are more from under-seat contact than from problems with the battery itself.. There are some members running Lithium ion batteries now.
-
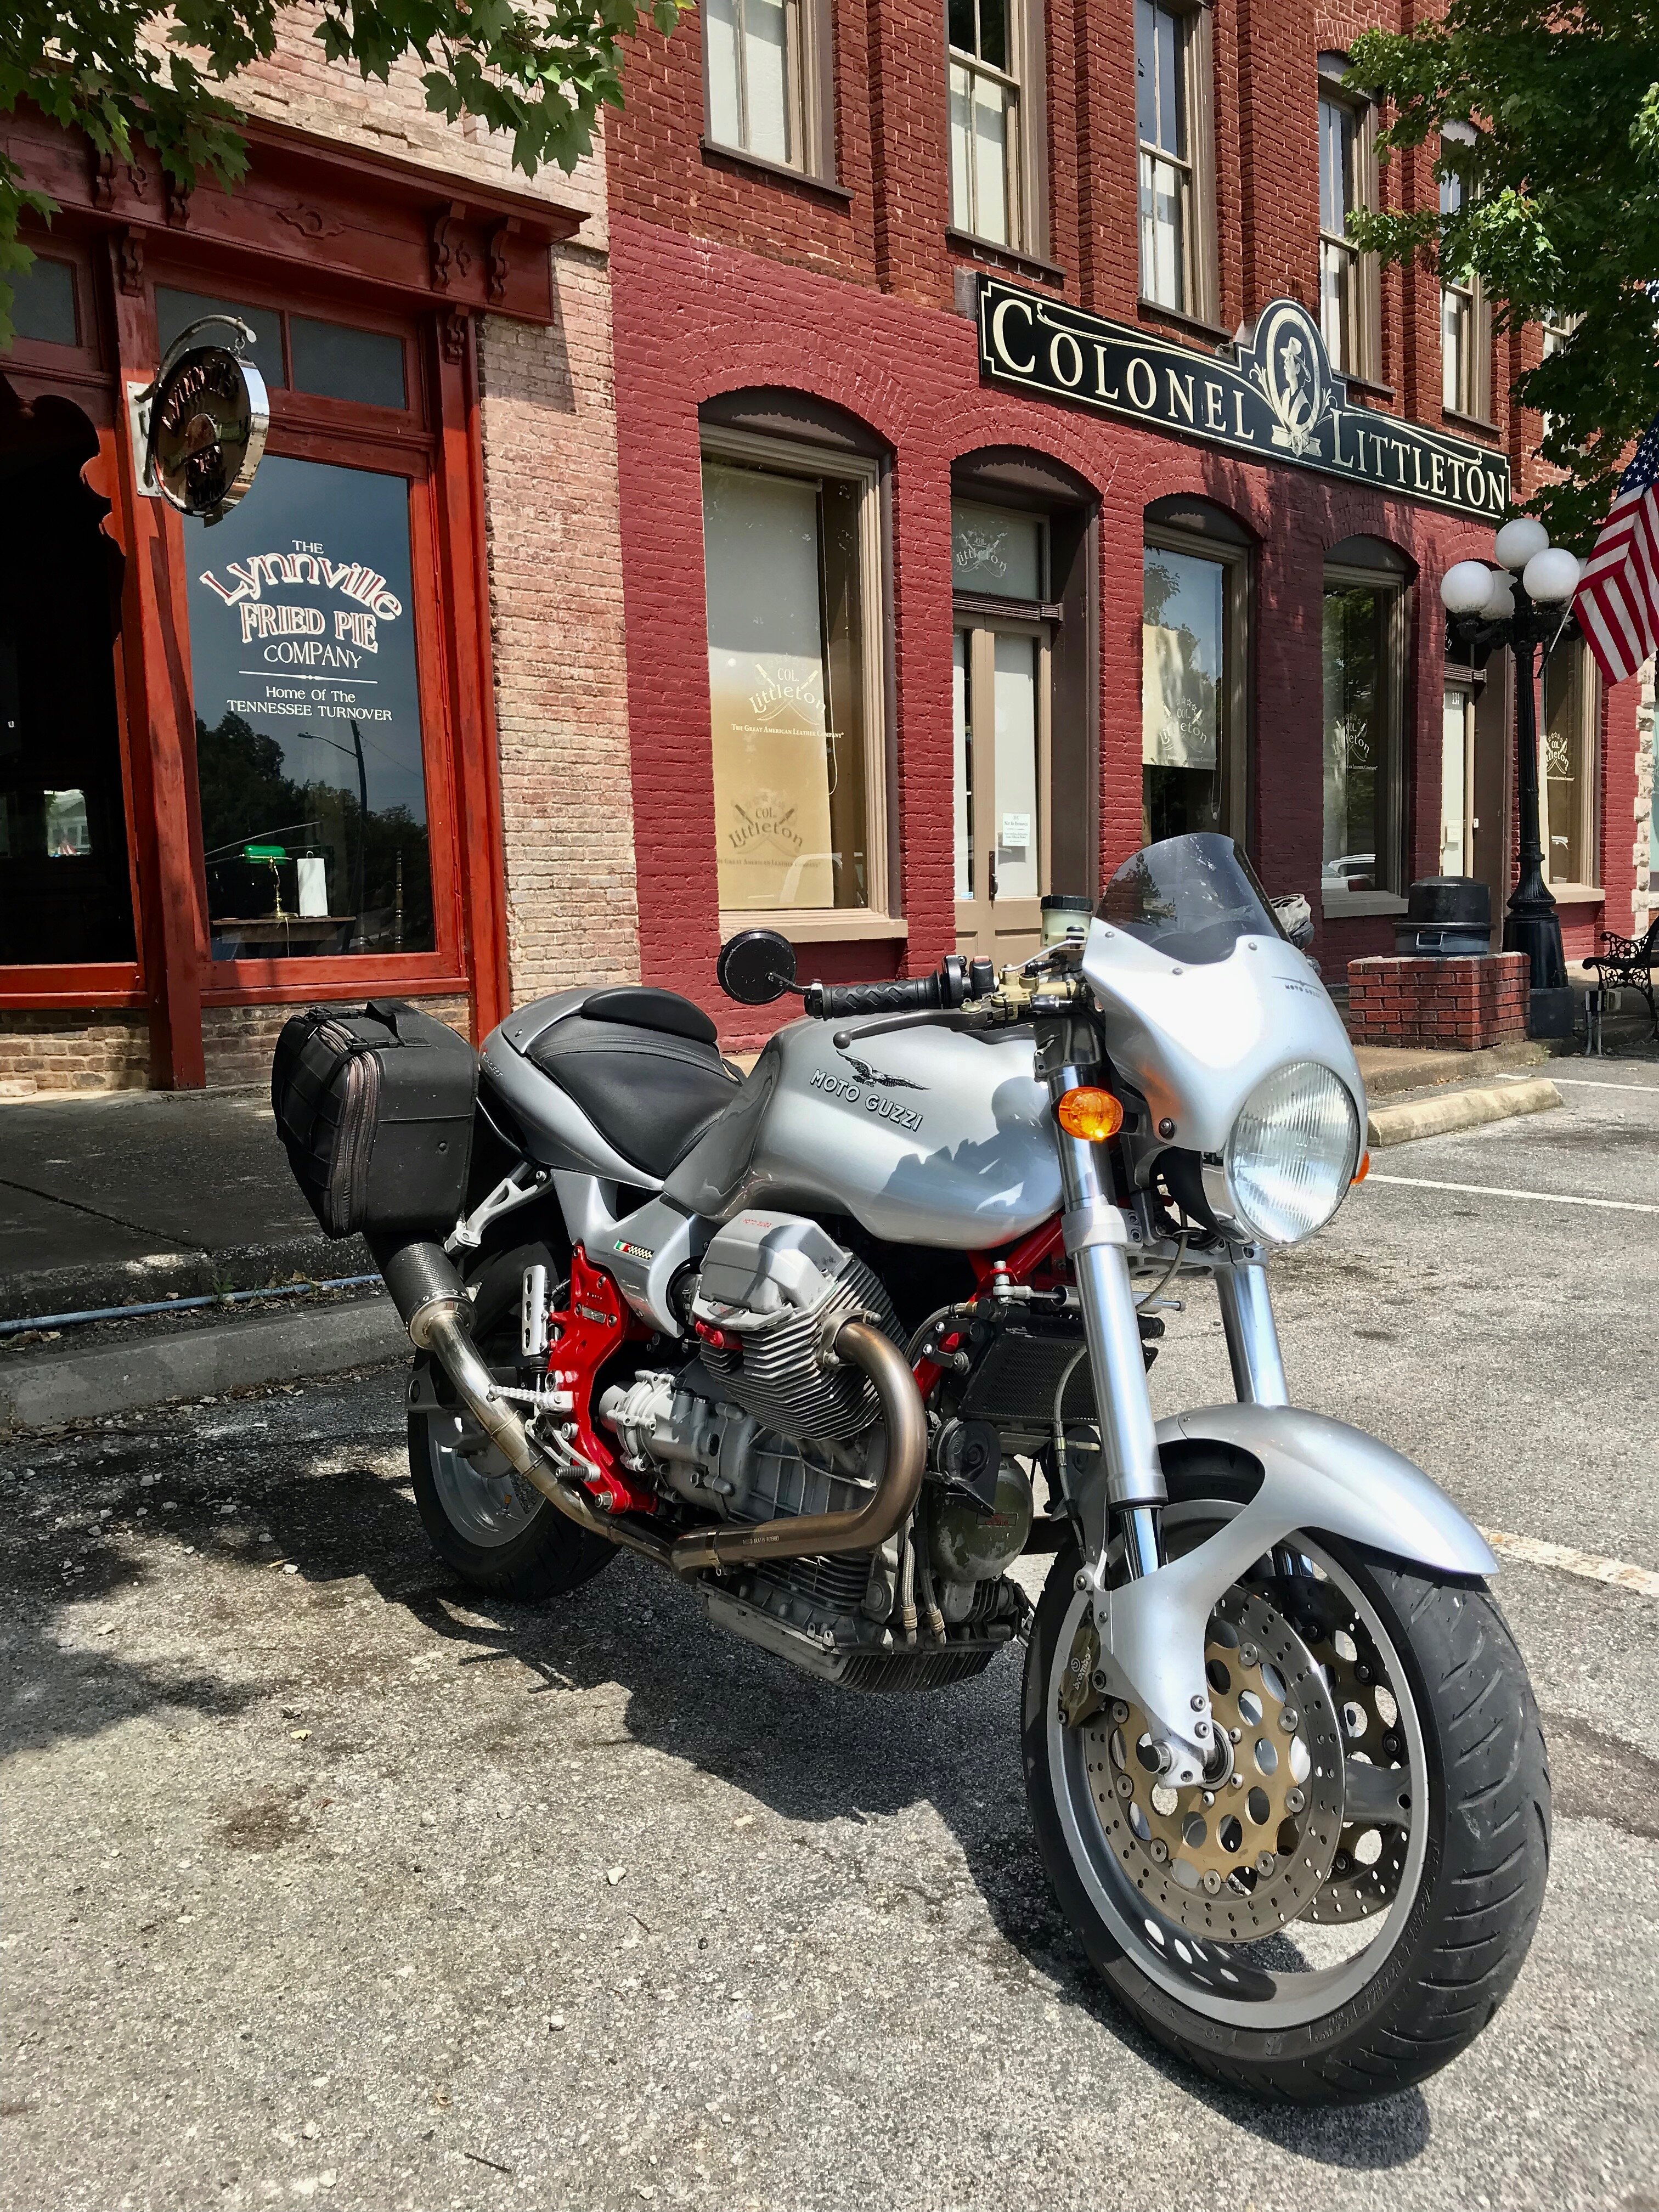
Hoping to post some pics later of "Where the Fun Is!" But for now, this is where the fun starts:
-
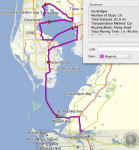
This is the strangest motorcycle trip I've ever geared up for. I just took delivery of five dampers and wiring harness. All for the "tow vehicle." Several gallons of fluids are scheduled to be exchanged, but the Guzzis are all good, already. I'm thinking it is extraordinary to bring so many interesting bikes together in such a short time, we ought to take time to look them all over and enjoy each others' company. Let's plan on parking up a good bit and taking lots of photos. The Sunday route looks to be about 80 miles starting in Safety Harbor about 9am or 10 and leaving out about 10 or 11; ride a few miles up to Philippe Park (maybe even get some quick photos) and head back south over the Bayside Bridge and let the motors all open-out a bit taking I-275 clear across the Sunshine Skyway , do the turn-around, and go to oMaddy's on Boca Ciega Bay for lunch. (thanks, JRD! ). [ about 54 miles ] That's a pretty easy jump back to I-275 for those that need to hot-foot out! Those of us in the more Left-Coast Leisure State-of-mind can cross west onto the barrier islands and *cruise* Gulf Boulevard clear to Clearwater beach. Maybe stop off in the parking lot there. More pictures. (It's ok, I figure all the cops that knew me there are retired now! [ 78 miles ] I figure maybe ~2 1/2 hours saddle time and 20-30 minutes + an hour-or-so here-and-there and we've a got a day of it!
-
When my Bitubo played up at about 67,000 miles, I sourced a Japanese Shindy (pronounced SHIN-juh) from Moto International. Their item number was PUD17-001 at a price of 132.95 US$ in August 2009. I tried riding the Sport with the Bitubo drained, then removed, but didn't like the feel.
-
Sounds great! I'll take a look at the map and see if we can link up a nice ride. My concept of how long it takes to get around there is really skewed. This is not so much a "vacation" as more of an insertion/extraction operation. We'll be in Yankeetown up on the Withlacootchee Thursday night and Friday then into Safety Harbor at The Ibis Saturday-Monday. Long trip home Tuesday.
-
I did this once, sitting on the floor at the local WalMart poring through the nail polish for a match to my gouged porkchop. After a while I could feel the security cameras trained on me . . . creepy . . .
-
Here in Lower Middle Mule Town there is a scale of difficulty for jobs like "cold pressing" (*bending*) delicate Italian parts of unknown metallurgy: 1) Vice and a beer. 2) Vice, beer(s), hammer(s) 3) Vice, heat, hammers, friends, beers. 4) Vice, heat, hammers, moonshine, friends, beers, moonshine, cheaterbars, >step5: 5) Next morning: order new parts; Empirical evidence prevails!
-
Word is we're gonna get four or five V11 together and part out the one with the highest miles.
-
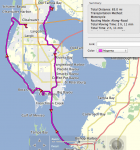
Hey, guys, I keep thinking that dragging our way down the beaches, just to say we did, isn't the best option. How about meeting mid-morning in Safety Harbor and looping west to the gulf and north through Dunedin and maybe lunch in Tarpon Springs? I'm totally open to your suggestions since my impression of where things are and how long it takes to get around is colored by being away for some decades . . .
-
Aye. Note the lap solder/heat shrink connections. http://www.v11lemans.com/forums/index.php?showtopic=12326&p=148983 ("pre-solve" before bad things happen to good fuses!)
-
"pre-solve . . ."
-
Wait - what? Your springs are too soft.
-
A chink in the V11 armor:
-
Such a weak link, perhaps unique to the V11. All in a noble effort to make the side stand "ergonomic." That and the wire loop "lever" that doesn't figure to last. A reminder to us all to keep these fasteners snugged up (especially the "upper" engine case bolt!) and the whole Rube Goldberg affair well lubricated. If the "flange" has to come off, I would certainly add a P.roper Sloppage Sheet in the process. Accept no substitutes!
-
With my factory (too soft) springs, I managed to get the "preload"/sag "right", but there was so very little extension travel that the tires could not "reach out" well. Read: *crash* Sure, I did other things wrong, too (read: *crash*), but learned Step #1: Step #1: Get The Right Springs
-
haha! "E-ticket" might date us, buddy! Thanks for sharing the ride!
-
That makes sense since the ITI cable did away with the angle drives. Maybe it's time sp838 started printing some of those.
-
Seems like emery cloth would make a smoother surface for coating without the chance of getting small metal strands under any stray carbon fibers. What sort of clear coat would be best, acrylic?