

Lucky Phil
-
Posts
5,449 -
Joined
-
Last visited
-
Days Won
276
Content Type
Profiles
Forums
Events
Gallery
Community Map
Everything posted by Lucky Phil
-
Well its a good theory but doesn't seem to play out in practice from my experience.. Ciao
-
I just googled them both Ciao
-
So the guy in the add says he paid $270 USD what can you get one for? I'm after a std Centauro chip or Daytona RS chip and or bin file. If all I can get is a chip I'll take that so I can read the bin file then I can return it. Anyone out there assist? Ciao
-
The main part of the bulky look of the V11 bevel box is the largely decorative shroud to conceal the cush drive thats incorporated in the housing. It is heavy though. As everybody must know by now I'd rather they turn the drive 90 degrees in the gearbox and do the rest by a chain. Cheap and functional and bullet proof and less losses than a shaft. Ciao
-
The whole bike Ciao
-
Does the transmission rotate when the bike is in neutral, ie pushing it around? what clutch do you have and did you replace any components? Ciao
-
Strangely the Green seems appealing:) I'd love to see it in V11 Greeny green. Ciao
-
Here you go John https://www.gumtree.com.au/s-ad/kalamunda/motorcycle-scooter-accessories/will-creedon-eprom-chip-daytona-rs/1243440643
-
Yes docc but the total weight is 3 kg heavier than a V11 Sport. Griso's look very long and stretched out to me. I find the look appealing and not depending on variables I not sure about. I wonder how they would look with a tasteful, not too large colour co ordinated belly pan to increase the perception of being deeper in the centre which would lessen the look of length. Like a visual trick. Petes bike looks really nice in that shot. Ciao
-

ANSWERED Look what I found lying about looking sorry for itself.
Lucky Phil replied to pete roper's topic in Older models
Me to I think Chuck. Ciao -
ANSWERED Look what I found lying about looking sorry for itself.
Lucky Phil replied to pete roper's topic in Older models
This one looks nice. Not sure about the mufflers but apart from that looks quite cool. Ciao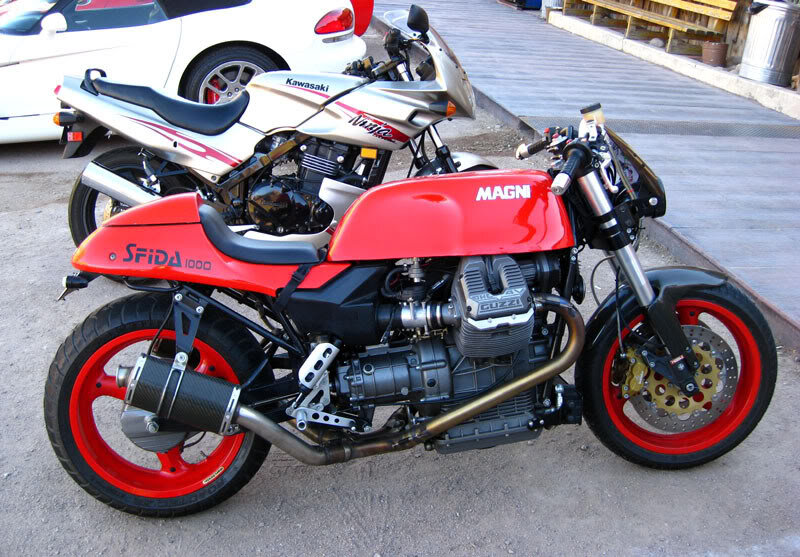
-
I saw an unused Will Creedon chip for a daytona on Gumtree a few days ago. $160au original price $260us. Made Feb this year. Ciao
-
Vertical up or vertical down docc? Ciao
-
You can buy banjo bolts with a bleed nipple on them. I just as the last processes unbolt the master and tilt it so the reservoir is higher than the connection and then just work the lever in the "slack" gently and the air in that location comes into the master. Only takes a few movements of the lever. The other thing is to remove the calipers off the disks one at a time and pump the pistons out maybe 2 mm each (put a 3mm spacer between the pads) then lever them into the caliper again gently until they just slide back over the disk. This releases the seals from the pistons and allows them to reset at a different position. This alone even without bleeding will reduce the lever travel to the bar. Ciao
-
This one Pete? It's very nice but you need an external filter adaptor to run an oil cooler which is what Paul Minnaert has done. It's also got a sight glass which is nice. The other thing is on a V11 the small side stand support bolt wont work. I seem to recall Paul mentioned that the daytonas didnt have the smaller mount bolt anyway and nor does his bike.Personally I'd prefer the small bolt as well and thats what's stopped me buying one for years. Interestingly even with the extra capacity Paul says the Daytona's still needs an oil cooler even in European summer traffic. Ciao
-
Daytona RS (non US & Singapore) Cam Timing & the Manual
Lucky Phil replied to Weegie's topic in Technical Topics
Yes Pete, Not much different to Ducati at the time. Ciao -
I believe you are in this case:) The primary reason to change out brake fluid ( for normal road use) is moisture content which causes reduced boiling point and component corrosion. 2% is the maximum recommended contamination and a few years ago I was shocked to find my 2 year old car which I had owned from new was at 4% already. I then checked every vehicle I owned (7) and the only one that was ok was the 1 year old car. The rest got changed out. Invest in one of these, I checked the calibration and they are accurate. Cheaper and easier than changing brake components in the long run. The other advantage of using the pressure bleeder is that you dont need to stroke the master cylinder piston right down to a point in the bore where there may be corrosion damage that will ruin the seal. Especially a consideration in older vehicles that havent had regular fluid changes. This is just for a look at the tester. I dont know the efficacy of doing the test in conductive containers but you get the drift. I also did the cal with water but I used a measured qty of water and brake fluid so the percentages were correct and the tool was spot on. Ciao
-
Yes Chuck, I tend to agree. I must say the RAM clutch on the new engine is quiet as a mouse, engaged or disengaged. Ciao
-
Forget about these things and buy one of these....https://www.motiveproducts.com/products/power-bleeders-power-bleeders-domestic-bleeder-kits-power-bleeders-import-bleeder-kits-power-bleeders-single-adapter-bleeder-kit-power-bleeders-classic-car-and-marine-kits I bought one to do fluid changes on the cars and its brilliant. Screw the cap onto the fluid reservoir and pump up the unit to 15 psi or so and open the bleed nipple. System empty or full air or no air doesnt matter now more lever pumping etc they just push the air out. Vacuum bleeders are also a bit useless as well, I have one of those and I'll never use it again. After you've used one of these you wont go back to the old way. Ciao
-
Yes. Ciao
-
The twin clutch plate unit on my old engine would rattle at idle just like yours and and the quick clutch "flick" would reduce it about 50% Its just allowing the intermediate plate and the friction plate splines to unalign themselves and take up some of the backlash in the splines. If your bike isn't affected by the recall then you dont have an issue in that regard. It's easy to get focused on a normal noise that you haven't noticed before,happens to me sometimes. Your bike sound like its way above 750 rpm to me, might just be the recording and of course TB balance makes a difference in clutch rattle Ciao
-
Daytona RS (non US & Singapore) Cam Timing & the Manual
Lucky Phil replied to Weegie's topic in Technical Topics
Yes John that looks correct for the non US Swiss and Singapore RS. The manual is hopeless and shows wrong images ( turn crank to 49 before BDC and actually shows After BDC) and text mixing up inlet and exhaust. Ciao -
If you rapidly disengage and reengage the clutch does the noise change? IE quickly as you can pullthe clutch lever all the way to the bar and let it out again. Did you have the revs elevated for that sound clip? if not the idle sounds really high. Ciao
-
How bad is this? I'd hate to listen to a V11 gearbox with a stethoscope at idle. That would be scary. Ciao
-
Look up the recall and see if it's applicable to your bike.Guzzi_transmission_recall.pdf Ciao


