
Scud
-
Posts
4,123 -
Joined
-
Last visited
-
Days Won
253
Content Type
Profiles
Forums
Events
Gallery
Community Map
Everything posted by Scud
-
1) Agreed, but since the wheels are different widths, it's worth being aware before having something machined. SP can pull his and inspect/compare if he ends up with a later axle. 2) Yeah, I think the nuts are the same, but I think the RH sides in 2000 vs 2002 take a different size hex wrench - and I think the 2002 takes a larger wrench.
-
I think I have one from a 2002 LeMans with minor road rash on the non-threaded end. I can check on Thursday if you don't find one sooner/closer. I think the size of the bolt head is larger in later years, but I also think that all other dimensions are the same. However, this is worth verifying, because the wheels are different widths (for 10mm wider tire in 2002 - although the hubs are probably the same width.
-
Thanks. I was having a hard time moving just one piston with various clamps and wedges - so frustration was the mother of invention here. As Cabernet mentioned on the last page, I suspect this is a short-term fix, so I'll get a set of seals in. There's an e-bay seller in the UK called powerhouse-uk that lists an aftermarket seal kit for Moto Guzzi V11 front calipers. They make caliper rebuild kits for many bikes, so I have also inquired about the rear caliper.
-
The exact dimensions are not essential, I just started with whatever block I had that seemed close enough and cut it without measuring. But here are the measurements of the final product: 70mm x 37mm x 20mm. The step thickness is 7mm (13mm cut away from the 20mm side) to allow one piston out. After measuring, I "promoted" it from the wood block box to the tool box. I think it will be handy for simple cleaning too - to work one piston at a time.
-
I've been struggling with my LeMans' dragging brakes for a little while. A week ago, I swapped the calipers for a used set I had - but they were dragging too. So I figured I'd pop the pistons out and do a serious cleaning. I made this little tool out of a block of wood block so I could pop out one piston at a time with compressed air. Here's what I did: Piston in Ultrasonic cleaner with Simple Green for a couple minutes. Wipe out open cylinder and seal with paper towel. Reinstall piston (using just a bit of brake fluid as lube) Repeat for other three pistons. Six of the eight cylinders had visible debris in them. All the seals released a bit of dirt when I wiped them with the paper towel. Now the wheel turns freely and the feel is vastly improved.
-
That's what Admin Jaap is riding too. I found another thread about it: http://www.v11lemans.com/forums/index.php?showtopic=19071
-
Thanks again for describing this test. After cleaning the pistons and performing the above test, the brakes are still dragging - not spinning freely. So I guess that means it's time for a rebuild kit... It's not easy to find seals for these Brembo P4 30/34mm 4-piston calipers. I found a kit on eBay in the UK that fits a 1995 Ducati 900SS (same brakes as V11). http://www.ebay.com/itm/Ducati-Supersport-900-900SS-Superlight-1995-Brembo-front-brake-caliper-seal-kit-/161086784313?hash=item2581854339:g:1gwAAMXQAEFSC8nk&vxp=mtr That's gonna cost $70 and take 3 weeks. Anybody know a US-source?
-
I've been buying oil in 1-gallon jugs (3.8L). I change the filter every time and just dump in the whole 3.8L (compared to 3.5L recommended in manual.) I just make sure the oil is between the two "rings" that are cast in the dipstick. If I fill it to the top it seems to go down quickly till it finds its own equilibrium spot.
-
You're welcome. I'm about to go solve a brake-drag problem on my LeMans now... your thread and another recent one has me well-equipped to figure out what's gone wrong.
-
You had it assembled without the spacer? Your photo has it in the correct spot. Without the spacer, the wheel would be held in place laterally by the brake pads. Side-to-side movement of the whole wheel could explain the dragging.
-
After looking at tire/damper/bearings per above, take a look at your suspension. Start with the position of the forks - are they in the original spot, or are they sticking up out of the triple-clamps too much? Then measure sag to see if you need different springs.
-
welcome brubache - maybe you could start up a new topic about your rescue project so we can follow along. Another member is just starting to part-out a complete bike - that might be a good parts source to get you started.
-
Binge & purge... Decided to keep the Greenie. Getting the red LeMans ready to sell at lower price than above after moving some goodies to the Greenie.
-
If it's to replace the spine-frame, it would be a black and white 1200 Sport. Next choice would be a Griso. If it were to go next to a spine-frame, it would be a Stelvio.
-
Congratulations on the bike, it's a beauty. I saw that and another bike of his listed on e-Bay recently for premium prices. Will this be a collector/showpiece for you - or will you be riding it?
-
Looks like Chuck and I posted at same time. You could certainly start with the heads as he suggested. If you find nothing wrong, you can keep going from that point.
-
Tinus - it sure seems you're in a tough spot. On one hand, you want to trust the work of the mechanics. On the other... anyone can make a mistake (like failing to torque a bolt on a connecting rod) and it seems that only disassembly and inspection will reveal the problem. Then there's the ride-it-till-it-fails approach. And if the failure is catastrophic, you either find out what was wrong and fix it - or you're left with a pile of parts that's not worth fixing. I had a similar noise on my Champagne LeMans project - right when I thought I was "done." I can't tell you what to do, but here's what I did: I pushed it the corner and focused on other stuff for a while (then I scavenged a few parts to get my Greenie project on the road). I think I'm gonna pull the engine and strip it down as Pete described above. It's either that or part it out, which seems a shame. I wouldn't enjoy riding it if I was worried about reliability.
-
GuzziTech in Santa Monica, CA? That's Todd, who used the name RacerX on this forum.
-
I can't speak for anybody else... but I discovered those screws and how important the adjusters are when I put new levers on. And I tried adjusting the one on the clutch lever to compensate for what turned out to be different problem with my clutch. Back to brakes... are these bikes getting to age where we should be expecting some failures in the hydraulic lines?
-
I think this is referring to the adjustment screw on the lever, which actuates the plunger. If you screw it in too much, you reduce the free-play, and can end up not allowing fluid back in. I had that problem on the clutch side a while ago. The lever went rock hard and the clutch started slipping - then I backed that screw out and got some free-play back. Same principle with the brakes - but worse potential consequences (lock-up brakes vs slipping clutch). If that's not what it is, then there's an adjustment I don't know about yet.
-
Good point. I remember hearing that before, but I didn't remember well enough to actually do it today. The post-compression measurement would show more sag than the "settle-down only" measurement. Since my measurements were on the short end of the ranges, the average-sag would probably be a little bit into the range. Anyway, I went for a short ride and the bike feels great. Now I can play around with rebound and compression to fine-tune it.
-
Stew - you might start by checking/setting sag. From there, you could verify that your compression and rebound are set to the original spots - and maybe loosen those a bit for the rough roads. When I got my Scura set up correctly and revisited a fairly rough road, it seemed like it had been re-paved compared to the previous trip.
-
Today, I set up the Greenie's sag, which has Ohlins shock with remote pre-load adjuster on rear, and stock Marzocchi forks up front. I weigh about 165lbs and wore the minimum gear for my with-rider test: leather jacket, boots, helmet. Sometimes I also wear heavy leather pants and a backpack and sometimes a tank bag - rarely, if ever, do I load anything on the back or take a passenger. Starting: F1=510mm F2=485mm F3=475mm R1=469mm R2=457mm R3=433mm Free Sag Front (F1-F2)=25 Rear (R1-R2)=12 Race Sag (with rider and gear) Front (F1-F3)=35 Rear (R1-R3)=36 Conclusion - Front sag is at the lower end of the range, rear free sag is too much, and race sag is about the middle of the range. So rear is a bit too soft. Action - add pre-load to the rear. This is ridiculously easy with the remote pre-load adjuster (mounted on tab where I removed helmet lock). It is more complicated if you have to manually adjust the lock nuts on the spring. After adjust the rear pre-load, I got: Free sag Front: 24mm Rear: 9mm Race Sag Front: 35mm Rear: 29mm The race sag is at the minimum for both, so I conclude that these springs will work for me, and that when I wear more gear or carry some extra weight that I will still be OK. It leaves the springs on the stiff side of the acceptable range for solo riding, which is fine for me. So, I luck out and don't need any new stuff. But hopefully this is an easy-to follow example for anyone else who wants to adjust sag.
-
Here's a place for us to help each other out on this important but oft-overlooked step. I am no expert, which might make me a good person to try to explain it. I've only done it a few times myself, and each time, it has noticeably improved the handling of the bike. Hopefully, some more experienced suspension guys will be along to add to the knowledge base. To me, the best explanation is in the Ohlins manuals, which are available for download in the Fileshare section: http://www.v11lemans.com/forums/index.php?showtopic=1427 The key is that you are looking for differences between pairs of measurements to be in the right ranges. The actual distances you measure are meaningless. The only thing that matters are the differences between fixed points under different load conditions. You need three sets of measurements on the front and rear: 1) Wheels up 2) Bike on the ground without rider (balanced, not on sidestand) 3) Bike with rider (again balanced, not on sidestand) So, you have measurements: Front: F1, F2, F3 Rear: R1, R2, R3 Here's how I took the measurements: I haven't seen any specs for the Marzocchi/Sachs setup, but I assume sag should be about the same as the Ohlins. The target sag ranges are as follows: Free sag, without rider: Front 25-30mm (this is F1-F2) Rear 5-10mm (this is R1-R2) Race sag, with rider (and gear): Front 35-48mm (this is F1-F2) Rear 30-40mm (this is R1-R2) Perhaps we can use this thread to share specs and help each other figure out if we need different springs, or can get ideal set-up by adjusting pre-load. I'll start off with the work I just did today.
-
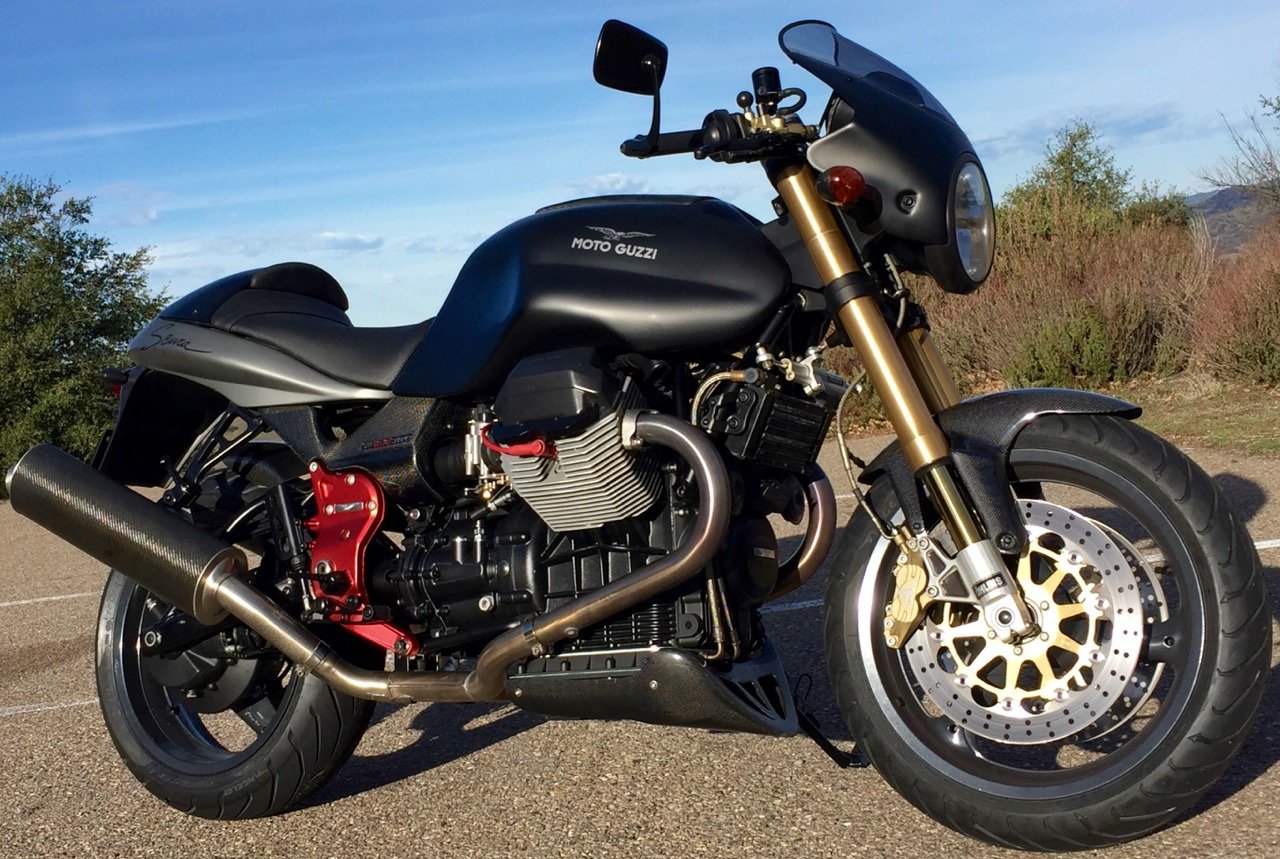
I agree in general about the modern BMWs not aging well. In the brick series, I only find the K100RS and the K75S still attractive. The first oilhead R1100RT may prove to be a timeless design (for a touring bike). But... I get only an occasional compliment on my old brick. By contrast, I took the Greenie out yesterday and probably caused 20 cases of neck strain from passersby. As I was walking back to my bike, I noticed a couple holding hands walking past the greenie. She kept walking, he turned his neck, then whole body, then stopped. He looked like a dog who had found a good smell and she looked like the disinterested owner who was tugging on the leash. Cracked me up. That story is evidence of a good design.

