
Scud
-
Posts
4,123 -
Joined
-
Last visited
-
Days Won
253
Content Type
Profiles
Forums
Events
Gallery
Community Map
Everything posted by Scud
-
How about an electric LeMans? Take a look at this electric Harley Davidson Livewire. What a huge lump of a motor with no frame underneath... remind you of anything? http://www.autoblog.com/2014/12/07/harley-davidson-livewire-electric-motorcycle-50000-price/ Much as I applaud the design concept and look forward to a practical electric motorcycle someday, I have to ask: "Harley - a $50,000 motorcycle and you can only afford one disc on the front? C'mon guys....... could you please make us an American sport bike? Please?"
-
@gstallons - your first response made me laugh out loud several times. As William James (Pragmatism) might say: Debate is futile unless a practical difference between alternatives can be demonstrated. (FYI - not a direct quote) I imagine you had to do a little research to find the practical difference for us. Thanks.
-
Engine out seems like the quickest solution. Have you dealt with the nasty Scura engine paint? Seems like this would be the ideal time for that too. I'll probably need to do this in about a year - so I'm interested to hear how it all goes.
-
On a practical note, the Red caps I referenced earlier arrived today. They fit the plugs just fine, they attach to the wires the same way as the stock ones, they measure 4.8k ohms resistance, and they are about ready to be stuffed under my seat - hopefully for all eternity. But I'm curious now, even though the answer probably won't make any difference to what I do. It's a theoretical question. If the wires have resistance, why does it matter if the caps add a little more resistance?
-
I can't speak for everyone about not listening - but for me it's more about fear of wires. I can see oil, gears, levers, bearings, etc. but the electrical stuff is sometimes intimidating. I've saved your various diagrams and they are helpful to me. Candle in the wind... Elton John fan? Dang, I sure could have used some advice from guy like you when I had that BMW. I asked the dealer to try to find the problem a few times. Of course, it never misbehaved while they were looking... The failures were far apart, but still frequent enough that I was always thinking about a potential failure while riding. This was a total-destroyer-of-fun, just like the OP's situation.
-
I haven't done this myself. I expect I will need to one day, so I've been saving links that seem useful as I find them. Perhaps something in one of these will help you. http://www.v11lemans.com/forums/index.php?showtopic=13353 http://www.v11lemans.com/forums/index.php?showtopic=7181 http://www.v11lemans.com/forums/index.php?showtopic=8713 http://www.mgcycle.com/index.php?main_page=product_info&cPath=193&products_id=2986 http://archive.guzzitech.com/Clutch-joeM.html
-
Pre-gapped spark plugs and resistor caps (in case breakage due to tip-over).
-
Here are some red NGK 5MΩ caps for $6.95 each on Amazon. Free shipping, $14 insurance. Part number TB05EM. Good thing to have along for my upcoming trip. Thanks.
-
No. I got a couple new plugs for my kit though - plan to swap them with the ones in the bike soon. Are the caps prone to fail? Or perhaps your intent is to suggest additional insurance against a parking lot tip-over? From what I gather, the V11's spark plugs are designed to hit the ground first so we don't scratch our plug protectors. I guess that would damage the cap too.
-
My MTA caps measured 5.01MΩ and 4.94MΩ. I guess they are keepers.
-
That's funny. Math, baked goods, and religion all in one post - pi, pie, and piety. I should go get an apple & cherry pie on Pi Day (3.14) if my new bag comes in on time. That would be a good test before I go too far from home.
-
I don't know the resistance. I'll help if I can though. Is there a way to find out without removing the tank, then the wire, then measuring the resistance? Old Tractor = reliable, charming, and lots of torque. Good enough for me.
-
FWIW - my bike still has the original cables. They were made by MTA, which I had never heard of. I did find their UK distributor, and it is an Italian company. Don't know if this helps anybody (because I could not find a place to buy them) - but here's a picture of the original plug cap for 2002: Funny thing - apparently MTA was a model of an actual tractor in the US in the 1950s. So when I looked up MTA spark plug wires I got sent to an antique farm and tractor supply store. It would have been even better if the tractor wires were the same as on the Guzzi.
-
I might have something useful for you to try... although I thought the exorcism had potential... ...and wasn't that a nice old Norton? This is starting to sound similar to a problem I had on my BMW R1100RT. I had lost power suddenly a few times, but with this additional symptom - sometimes would not start. I did not have the backfiring as you described. Loooonnnngggg time later, I finally figured it out. The problem was the engine kill switch. Now I realize that's a totally different bike (mit Hängetitten & carburetors), but if you've tried so many other things, you might as well take your kill switch apart, clean and inspect it really well, and put it back together. I don't know what's in the Guzzi's switch, but a tiny spring had gone missing (assumed broken and wriggled out somehow) from my BMW's switch - that's what made it occasionally lose contact. Sometimes it would go in fits - imagine turning your kill switch on and off really fast while riding. Like you, I had lost confidence in the bike. After the repair, no more problems - years of not trusting that bike, all for a spring that could fit in a watch.
-
Thanks for the all the suggestions, very helpful. Pie Run: A web search for motorcycle and pie returned astonishingly few relevant results. Tanks Bags: Any bag that's big enough will probably prevent me from tucking in. So I'm going to pass on that for now. Saddle Bags: I've had a few, most recently the massive aluminum boxes on a KTM 950. They were like giant auxiliary brakes. Not only did they decrease my fuel economy (and range) due to wind resistance, they stopped the bike in a hurry when trees jumped into my way. What I'm Going to Try: I ordered a Giant Loop Great Basin bag. It's essentially the same shape as a passenger's hips and thighs - it rests on the seat and secures to the footpeg brackets. I'll probably end up with another adventure bike before long (perhaps a Stelvio...). So in addition to the "must fit a pie" criteria I thought about using this on my current and future dirt bikes. Here's a review that a guy wrote up about using this bag on a Honda 996 Superhawk (I had one of those for a while). I hope that with this bag I will not need even need a backpack (which sounds really comfy). Assuming on-time delivery and barring a change of plan, I'll road-test it next week.
-
Ah - that makes total sense. Thanks. All I could imagine was straps wrapping around the tank - and I didn't like it.
-
The tape is pretty silly - but I was curious if it was available (since you mentioned it). I've only had one tank bag and it was a PITA. That was probably 20 years ago - so I imagine things have improved. On your bag - and sorry to be slow on the uptake here - since the bag clips on, there must be some straps attached to the frame, or under the seat. I just looked at my bike and how to do so is not obvious to me. Where (and how) have you attached the straps that the bag clips to? And what do you do with those straps when not using the bag?
-
You forgot the pie? Now you'll have to go back. This sentence was recently spoken in my home: "If you're going to be going on all these rides, you better figure out how to bring a pie home." See - very important. Thanks for the tip on the black masking tape. Could you give a little more detail on your Chase Harper tank bag? I see they have several options. Which one is working so well for you? A link or model number would be great. Also - how did you mount it? Are the straps "permanently" on the bike even when not using the tank bag?
-
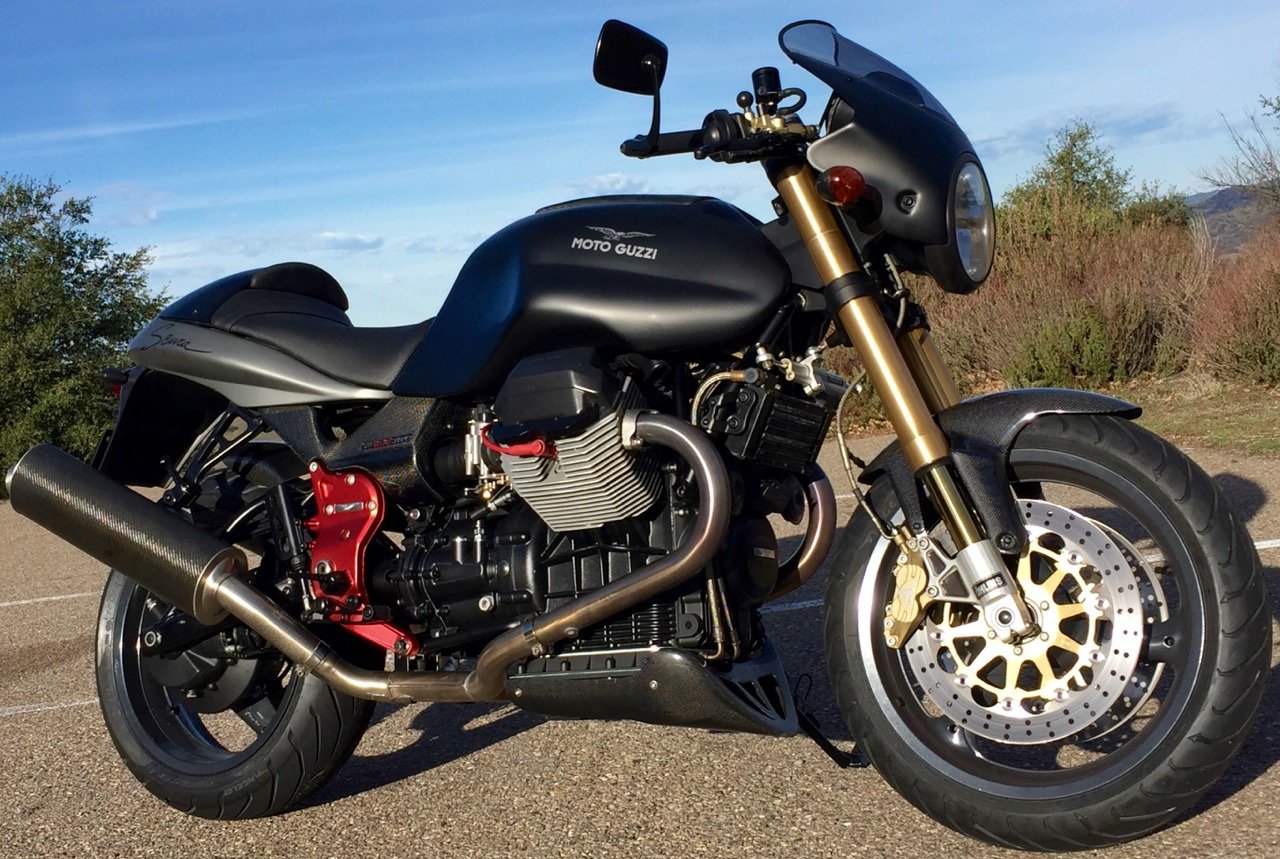
I need to be in San Jose, CA for one day on business soon (9 days). I'm scheming on making it into a 1,000 mile scenic route (round-trip) on the Scura. I've got a good backpack, but I'm going to want to take just a little bit more. Givi has a method of strapless mounting their tank bags to the fuel door ring - but I'm concerned that it will require removal of the tank pad (which rises up above the level of the fuel door ring). The video at the link below shows how the bag works with a flush-mounted fuel door. http://www.giviusa.com/givi-products/soft-luggage/tanklock-system Alternatively, I could go with a tail bag. This looks like an easy mount on the passenger seat. But the concern here is about straps that may rub and damage the tender matte-grey paint. http://www.cyclegear.com/OGIO-Tail-Bag One requirement - the bag (tank or tail) I select must accommodate a whole pie. Odd requirement, I know, but this is very important. There is a place at the end of a twisty road that sells pies. If the Scura can deliver pies on Sunday mornings, then everyone is happy... Has anybody used either of these products? Alternatively, is anybody super-happy with a different tank bag or tail bag? If so, please make a recommendation.
-
-
I don't know your history with this problem. Perhaps it would be useful to try summarize it step by step. I had a similar problem at idle. It also stalled several times, which seemed to be triggered by the first application of throttle, just after the traffic signal turned green... (most inconvenient). I found some small cracks in the intake boots (between throttle body and cylinder head). I wrapped them with electrical tape and the problem has not come back. That was maybe 1,500 miles ago. BTW - I'm gonna leave the tape on forever; I plan to install new boots at the next service. My
-
 Groovy. I thought Albert would be a good pick because of his creatively "wired" flying V guitar (I think more than one of us has a creatively wired flying V11). I like the dialogue between Albert and Stevie Ray between the songs - you can see the mentor relationship. FWIW - the Jam was in 1983, after Stevie Ray's first album. Albert seems so happy for Stevie Ray, like a proud, funky grandpa.
 -
Dang, this is some great stuff. Some I know - some new. My favorite genre is the Blues - hard to pick just one or two favorites. But if you've never seen this Jam Session with Stevie Ray Vaughn and Albert King, well... go grab yourself a couple beers and enjoy. I had the opportunity to see both of these guys in concert. Albert was a big influence on Stevie Ray (and Jimi Hendrix).
-
I taught a morning class in Orange County today - enjoyed a lovely moonset over the ocean while cruising the coast this morning. Couldn't bear the thought of riding home on the coast (too crowded) or taking the freeway (zzzz....). So I went over Ortega Highway, which I normally avoid on weekends. Today I was reminded why - there is a lot of racing and unsafe passing going on out there... or maybe I'm just getting old. Anyway, here's the fun part of Ortega (which is a blast when it's not crowded). After that, I had access to miles and miles of narrow, lonely, secret stuff. And here's a ray of sunshine for you winter-bound guys. Sorry - but it will be over soon.
-
Thanks Docc, for being the observer and voice of experience. Given your experience, it seems the stock timing chain tensioner is also perfectly adequate. FWIW - the V11 owners manual and the workshop manual don't even mention checking the timing chain, although the published maintenance schedule ends at 30,000 miles. For comparison, I recently had the timing belt (not chain) replaced on my 2005 Toyota Tundra at 90,000 miles. I guess my conclusion from this conversation is: I'd still probably pop in some gears when the chain wears out. That could be a loooooong time from now..... but I'm putting another 200 miles on tomorrow.
