docc
-
Posts
20,498 -
Joined
-
Last visited
-
Days Won
1,189
Content Type
Profiles
Forums
Events
Gallery
Community Map
Everything posted by docc
-
This is the recent cost from MGCycle, Wisconsin, USA, for the "5speed" unit. For those looking to replace the scary flywheel of the Guzzi single plate clutch, this looks to be a worthwhile option to consider. Only the clutch pushrod must be machined to narrow the engagement end. Some discussion here: http://www.v11lemans.com/forums/index.php?showtopic=20037&p=223099
-
RAM clutch $535US includes the replacement flywheel.
-
I've only ever seen one other V11 that tank color: gstallons So, white face gauges?
-
First thing: fuel level sensor: left side , forward position Second image: fuel regulator, right side of tank. Sorry, one more. I didn't pay attention to the arrows on the fuel filter indicating direction. I assume that the flow is from higher towards the gauges flowing down to the rear of the bike? Looking like an "early" fuel tank configuration (external regulator). Does the tank have a chin-pad and the fuel pump is outside the tank?
-
When I said something about a RedBellySport, a good buddy said something about Woody-the-Farking-Woodpecker . . . How about a flame red fairing?
-
Thanks for that. I wish we could have restored more before loosing the capability window. V7cafe
-
It's also worth pulling the wheel and feeling that the wheel bearings and rear drive bearings turn smoothly. Third thing: shaft lubrification.
-
And, hey Alex, since the tank is a bit fussy to get off (and back on!), look over the Tank Off Maintenance Checklist to get the most out of your tank-off time! http://www.v11lemans.com/forums/index.php?showtopic=18195&p=193068
-
#3: those are the airbox drains, so stay open. The two nipples can be connected together and drained below, behind the engine. One (left) is the tank overflow (fuel overfill drain). The other (right) is the tank vapor vent. At one time, it would have been plumbed through charcoal canisters, each intake, and a pair of drains behind the gearbox. I pulled twenty feet of 1/2 fuel line out of my Sport. No, really: twenty feet!
-
No tractor-trash talk, please!
-
First thing, you can remove the forward facing plastic cap over the brake pads and use a brake parts cleaner to clean that area out. Better yet, remove the caliper, remove the pads and inspect their thickness and wear. Using brake parts cleaner, chock one piston and work the other in and out, cleaning with the spray. Repeat with the other piston. Clean, polish, and lubricate (silicone grease) the pad guide pin. Bleed the fluid with the nipple facing upward.
-
I got my zinc chromate from Chuck's source (AircraftSpruce). And, yep, it was thirty bucks. I wish I had seen LuckyPhil's thread when I was restoring images. I posted several alerts asking folks to move on it or let me know and I would also work those images. I must have restored hundreds of images before PhotoBlockit shut that tool down. So, at this point, users can singularly restore selected images by uploading the image from their computer to a new hosting site like ImgZeit or Flickr, or directly to the V11 Galleries.
-

Alps - Bike Rental Advice and Potential Riding Partner
docc replied to Scud's topic in Travel & dealers
The up&coming KTM 790 Adventure has my attention as a stablemate for the Sport. I know the GS are terrific bikes, but the motor always fails to inspire my motor-head. I've long dreamt of this very trip: Garmisch-Partenkirchen, Bavaria to Mandello del Lario. -
Right. Too bad it's not very close to Kentucky!
-
?
-
Not that (Guzzi) pilots have any superstitions. I've heard of talisman, but talischook?
-
Lighter oil in the 'Zokes really does help the damping. Remember to use centiStokes and not SAE "weight" to judge actual viscosity. Peter Verdone has charted quite a few popular fork oils: http://www.peterverdone.com/archive/lowspeed.htm
-
i was there to get her a new front tire. Yep.Yep. That's it. Tire. Front tire. Yep.
-
I was just looking, honey. Really.
-
Well it seems the face of the tach is rotating (not the gauge body). I'll have to remove the bezel again and try to get it anchored (maybe a couple dots of cyanoacrylate adhesive/"SuperGlue"). That bezel is really hard to get square and screw down.
-
I've never heard of one cracking. This polyamide material isn't really conducive to that kind of failure, AFAIK. Stretch, swell, and deformation: yes.
-
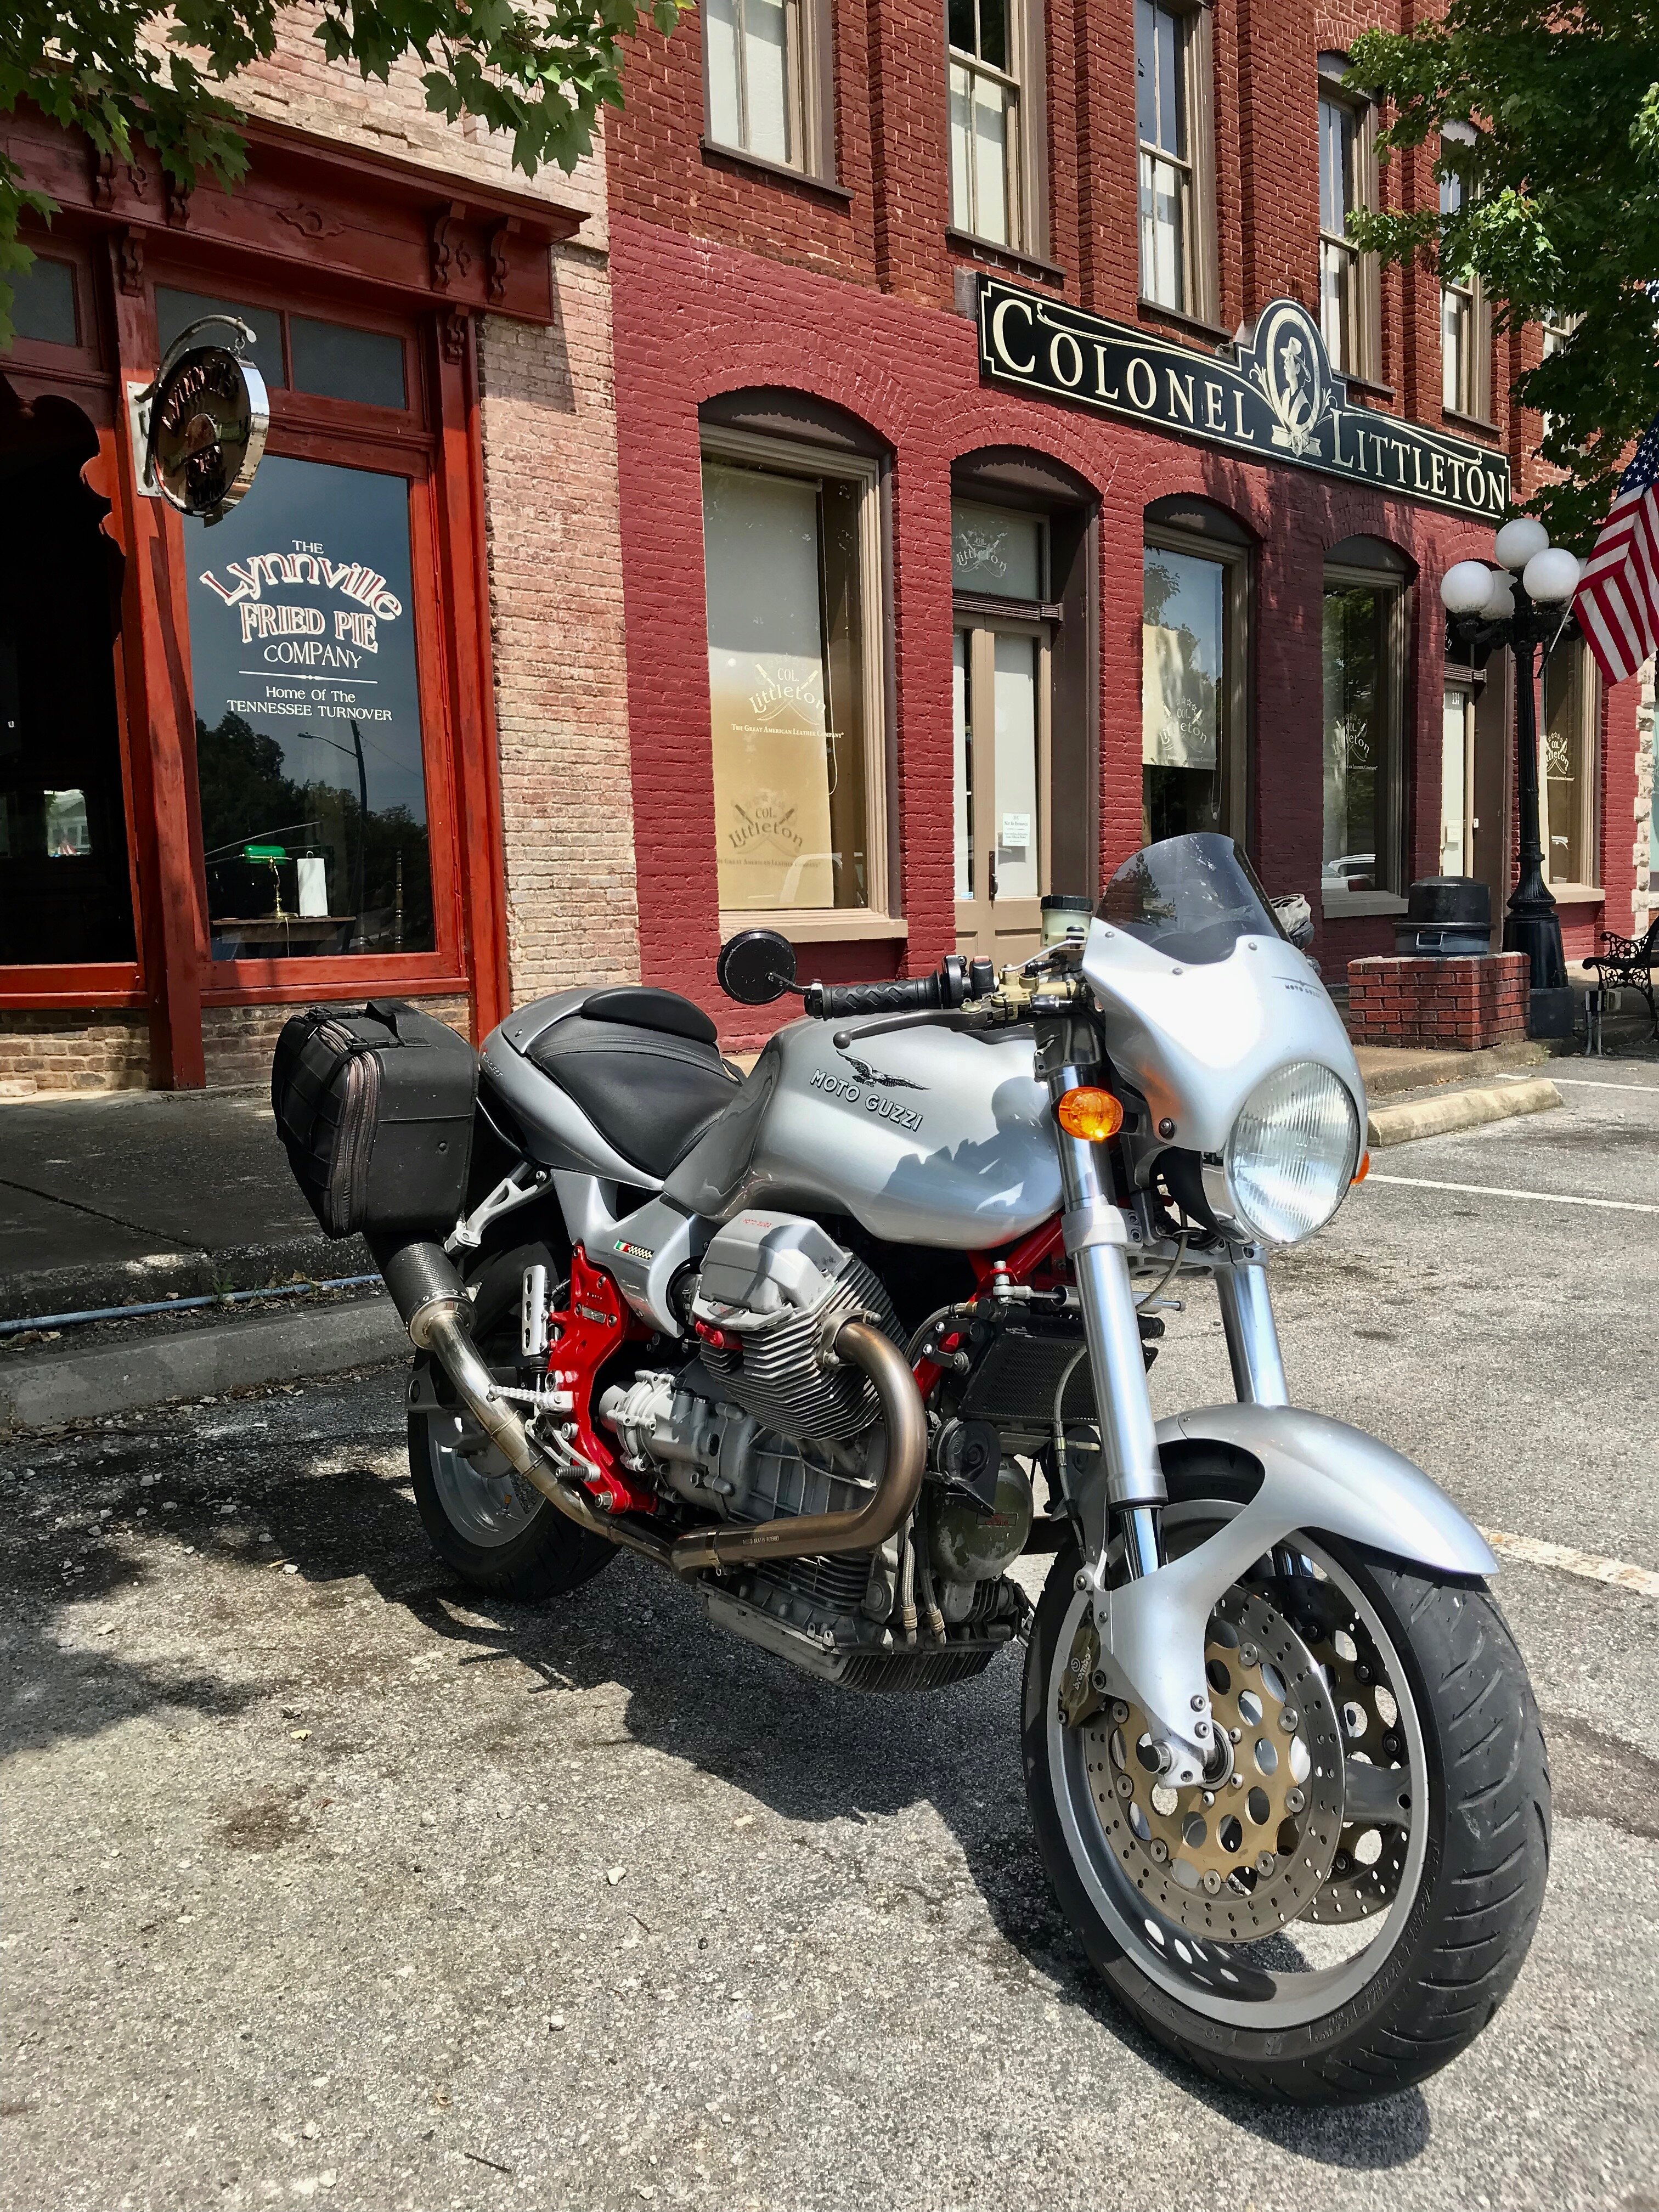
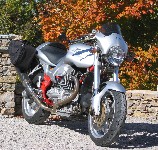
I totally like the grey! That's a classy-looking machine!
-
If you can't stop the leak just by cleaning the seal (the one under the dust seal) with spray solvent/compressed air and perhaps the "film method", I certainly would not worry about the bushings or cartridges. They'll be fine! Springs are worth changing if your sag measurement is too great. If you weigh upwards, or over, 200 pounds, re-spec'ing the springs is cheap and easy. Traxxion Dynamics spec'd mine and the spacers they provided were perfect the first time. If you need the actual seals, MotoInternational is probably pretty close shipping for you and has a big stock of parts, as does Harper's. Fork oil is a many splendored thing with lots of opinions on weight and fill volume. Easy stuff there with a few choices to make. The only "special tool" is to measure the gap down to the fork level. Sure, you can buy a fancy one, or just make one:
-
The circuit that powers the gauge lights, city light, taillight and license light looks good, not too much load on it. It goes through 2 fuses and the ignition switch and about a mile of wiring so you would have to check the voltage drop. I will post a thread on the install when the thing shows up from the UK. I love this! Matches my 2nd Generation Go_Winkie . . .
-
I would use the correct schematic/ Workshop Manual. Check out Gregory Bender's library of .pdf on ThisOldTractor; http://www.thisoldtractor.com/moto_guzzi_misc_workshop_manuals___shop_manuals___service_manuals.html
