docc
-
Posts
20,497 -
Joined
-
Last visited
-
Days Won
1,189
Content Type
Profiles
Forums
Events
Gallery
Community Map
Everything posted by docc
-
Adjusts the shock's compression damping. As I recall it only affects the low speed inputs. High-speed compression (pot holes, road seams, etc.) are built into the valving and not adjustable. Setting the *clicks* 1/2 way should provide 75% of the compression damping (REF: Peter Verdone). On the original Sachs-Boge, rebound damping is adjusted with the anodized blue knurled knob on the shock shaft (same: 1/2 the *clicks*: 3/4 of the damping). Preload is adjusted using the anodized blue lock rings that are best accessed with the tank and airbox off (read: *not very accessible*).
-
Yep - Stelvio. maybe the idle is simply too low?
-
Do these fairings have the manufacturer molded into them?
-
So, simplest, cheapest "stop-gap" could be to increase rear pressure and preload. Then, lower the triple clamps on the forks just 5mm. Make sure your steering damper is backed all the way off. My Sport had the exact same high speed weave around the trucks. HATED IT!
-
For reference, the "Amazon" jack is 3 1/4" collapsed.
-
Speedhut got my gauges back yesterday and shipped them back to me today.
-
Sorry for maybe sipping the question, but from which side looking? From the battery as I understand it? Yes, from the front. Relay#2 is a busy one for tachometer, charging reference, headlamps, stop lamp, dash warning lights, and horns. hey docc, is this true for all years of our Sport/LM? Yes, Sir, that is my understanding. It is Relay#1 that changes function in 2002 on.
-
The "stalk" is open to atmosphere.
-
springs? You mean "spring", not "springs" (as in rear shock)? I'm adding stiffness to the rear. There is more preload to go. I am thinking the front needs no more stiffness. It really doesn't feel like it's under sprung .... So, I'm thinking fork springs and shock spring. Motorcycles, in general, are softly sprung. According to one manufacturers' rep I heard quoted, it is for showroom appeal so that the bikes feel "comfortable" when sat on in the showroom. The spring rates for the RedFrames are, apparently, about right for a 165 pound Italian *ragazzo* in his race leathers. I'm no *ragazzo*, and come in at about 195 pounds in my AeroStich and the Sport springs gave way too much "sag" causing me to add excessive preload. More preload does not make the suspension "stiffer" but only causes it to ride higher and reduces the "extension" travel, or "reach." Respringing my forks with appropriate rate springs (pretty cheap from Traxxion Dynamics) and getting the rear spring right made a huge difference (granted, I also went Öhlins on the rear). My approach was to weight the front a bit, so I opted for more sag front than rear ( 32mm front/ 25mm rear) and raised the forks in the triple clamps 5mm. I use the least tension on my (Shindy) steering damper. Best method is to get some folks to help measure the sags while you are on the bike in your usual gear with your usual load on board (my Tekno panniers are always packed). Takes two (so buy twice the beer!), one to stabilize the bike and one to do the measurements. (The front can be done with the "Zip-tie method," so you might save a little on beer there . . .) The sags will tell the tale. Using excessive preload to try for the right sag will be revealed comparing laden and unladen sag. Those are things that the experts can explain much better than I.
-
Hunted down by Spaniards . . . seems The Inquisition proved you don't want to be on the receiving end . . .
-
I am thinking that video was found on YouTube (by pauldaytona) and is for instructional purposes only, not actually suggesting *where* to set the CO, just the sequence of clicks and dropdown menus. I found it a little hard to follow because part of the screen is obscured by the video titling. John, I'm glad you drew attention to it as it could be misleading.
-
The Amazon scissors jack is "rated" for 1,000 pounds. And matches my lift and RedFrame!
-
I know I've said this before, but I love saying it again while I type it: MV Agusta Gran Turismo Otto Cento Veloce Lusso . . . Or, for the racer in you, the RC: I would dearly love to see, and hear, one of these in person.
-
Sorry for maybe sipping the question, but from which side looking? From the battery as I understand it? Yes, from the front. Relay#2 is a busy one for tachometer, charging reference, headlamps, stop lamp, dash warning lights, and horns.
-
The tachometer, and charging reference, come through Relay#2.
-

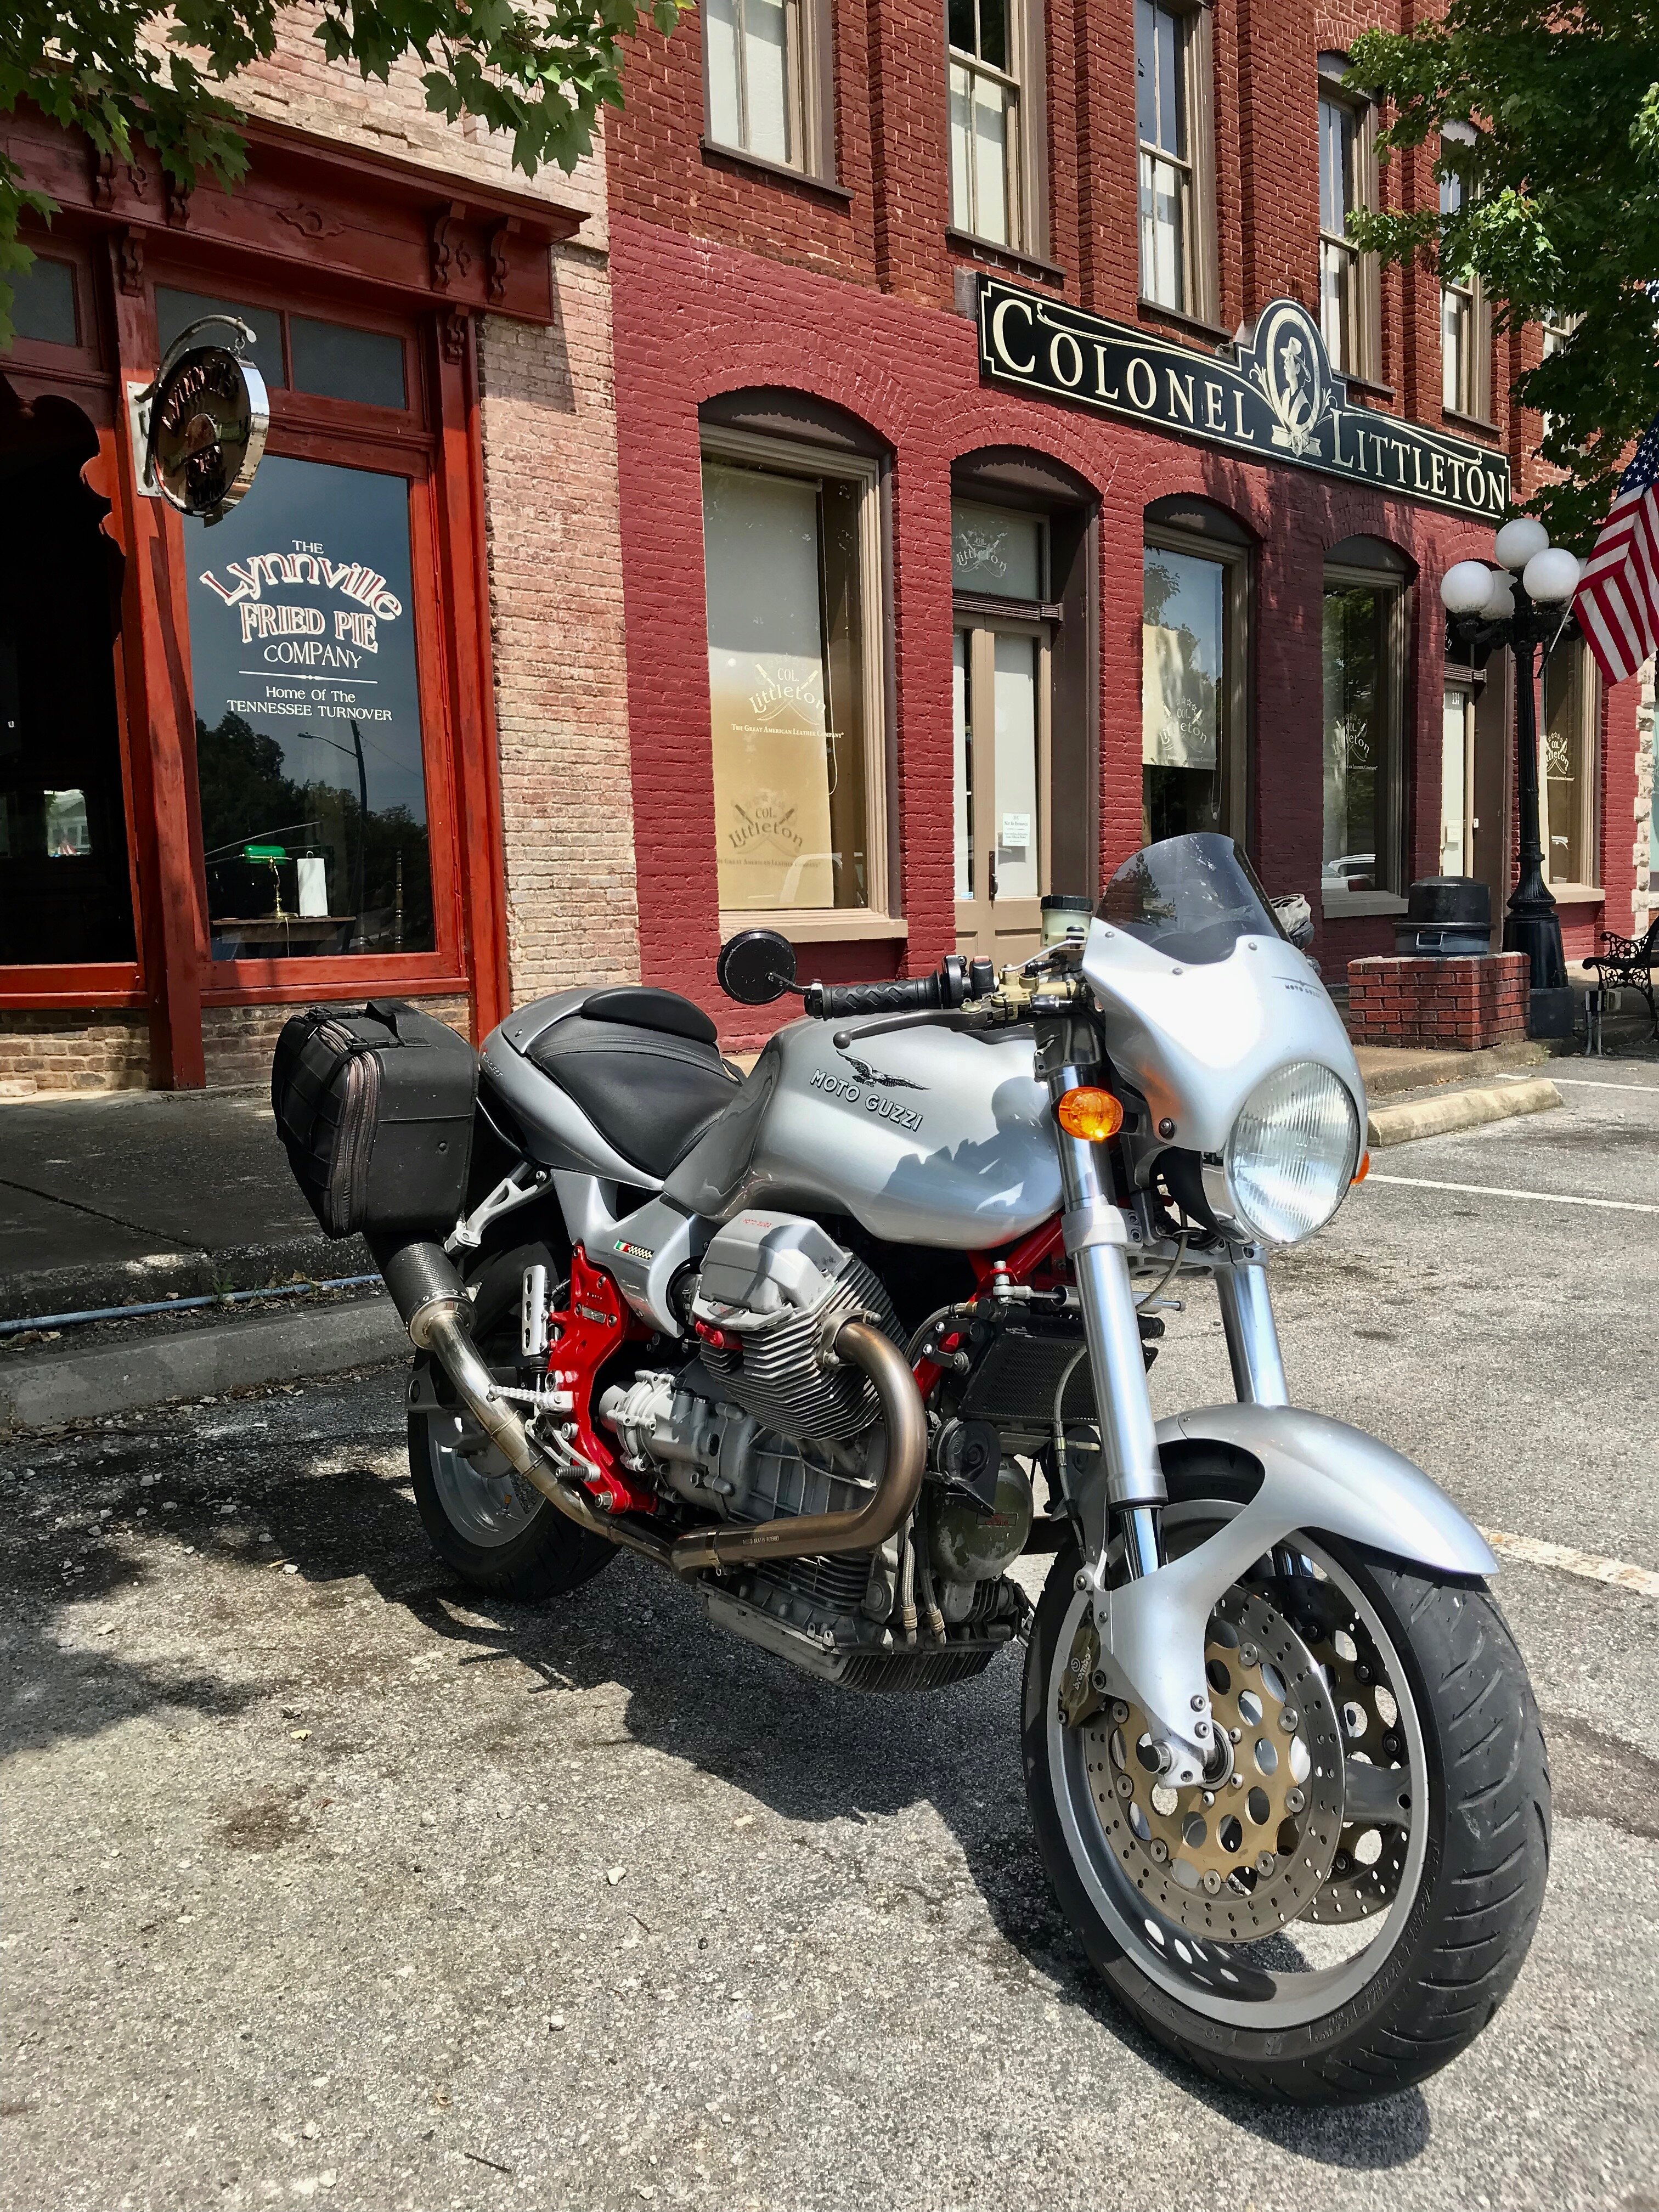
From the album: docc's sport
http://www.v11lemans.com/forums/index.php?showtopic=19900&p=219875 -
Seriously, the only photo I have ever seen from the V11 Sport introduction at EICMA/Milan 1997 is clipped out of a magazine: RedFrame/ black body work. As far as I know, no one has come up with any other photos of the EICMA display that introduced the V11 . . .
-
There is no way way you can look at that, and say that Luciano Marabese did not get the knee insets perfect on the tank . . .
-
I admit. I've been holding out on you, Dave . . .
-
Seems BMW and Triumphs are having a bit of a trouble comparing to the V11. Maybe a Bimota ?
-
Back to bikinis . . . now we're talking . . . Hey, Moto Guzzi showed the Marabese designed V11 Sport at EICMA in 1997 as a "naked," no fairings, no *flyscreen*, not even a bikini! For the record, the only photo I have of the V11 Sport introduction at EICMA/Milan 1997, the bike is black. (Calm down, Scud! )
-
. . . buddy . . . get those springs. I got all jacked up trying to solve this *softness* with tire pressures. Did not end well. Jus' sayin' . . . It's the springs.
-
Wow. That is gorgeous. Does that belong on the V11 Sport rivals thread?
-
I looked at our mission statement, and, as far as I can tell, there are no rules here against calling other (than V11) bikes ugly, nasty, or even Fugly. That yellow 1100S was the one I rode and really wanted to like. It was just so bland next to the Sport. And, while the Speed Triple rode like Elektra-in-fishnets, the styling just has nothing on the Marabese V11. Ducati have *something*, but remain kind of untouchable. Even that Norton 961: gorgeous, but so exclusive.
-

Just bought my first Guzzi!
docc replied to Shiny Mike's topic in Special place for banter and conversation
Here's a guy who knows Scura when he sees it . . .
