docc
-
Posts
20,491 -
Joined
-
Last visited
-
Days Won
1,188
Content Type
Profiles
Forums
Events
Gallery
Community Map
Everything posted by docc
-

Nero Corsa motor seized at 70mph, plenty of clean oil, 18k miles
docc replied to Splicer's topic in Technical Topics
So, what's next? Are you going to have someone tear it down and have a look? -
Ducati Goes Green
docc replied to helicopterjim R.I.P.'s topic in Special place for banter and conversation
:grin: :grin: You guys should be ashamed of yourselves tricking old gits into crazy dreams! -
Nero Corsa motor seized at 70mph, plenty of clean oil, 18k miles
docc replied to Splicer's topic in Technical Topics
Bummer, man. I hope you can put her back together again! What made you replace the camshaft? -
Methinks that is the critical energy statistic right there.
-
Ducati Goes Green
docc replied to helicopterjim R.I.P.'s topic in Special place for banter and conversation
Maybe this will prompt Piaggio/Moto Guzzi to get on the stick a build the 3 cylinder diesel military bike that Carcano thought should be their next move. -
So, Tom, if your lever travel has noticeably increased, look for this broken spring in the master cylinder: Bled Clutch post from 2008
-
As always, a good call by Hubert to start with the hydraulics. Be certain the system is recently bled with fresh fluid. Also, some master cylinders have broken their internal spring requiring rebuild. I can find that thread if would be helpful. Do you find that the hand lever has, now, a lot of free play? P.S. - Ich will nicht sagen Dieter Sie über ihn reden.
-
Cool! I'm in. I've always liked the Gambalunga aquilia (top of the page on the FileShare). Which is the DeTomaso emblem?
-
Length is the same. Early Sports have one on the upper fork tree as well. 151 7700 The decal, "Aquilia" on the alternator cover is 251 7700. Seems the self adhesive has a foam interface that degrades and separates giving the eagle flight.
-
Well, no. A little weeping is . . . just that. Now that you say it, I can see the difference between the grease and the gear oil. The big seal is easy to change, just don't pry it out with a screwdriver and scratch the surface. Like I did. If it keeps weeping after that, it's the inner seal which is decidedly harder to get to. You'll need a Seal Whisperer.
-
That looks fine. Have a look at the pinion shaft seal.
-
A spin? A go? A "bit of sport?" Nudge-nudge-wink-wink . . . know what I mean- know what I mean?
-
Best of luck! Make the good motorcycle run again!
-
So, I'm thinking when a Canadian says "$100" and a Brit says "100 quid" it means roughly the same thing: a 200 ** part = 300 ** Still about the same what I paid for my last Veglia speedo in USD. I'd like to think modern technology will outlast the Veglia, but I've seen my Veglia speedos outlast my Garmin Zumos . . .
-
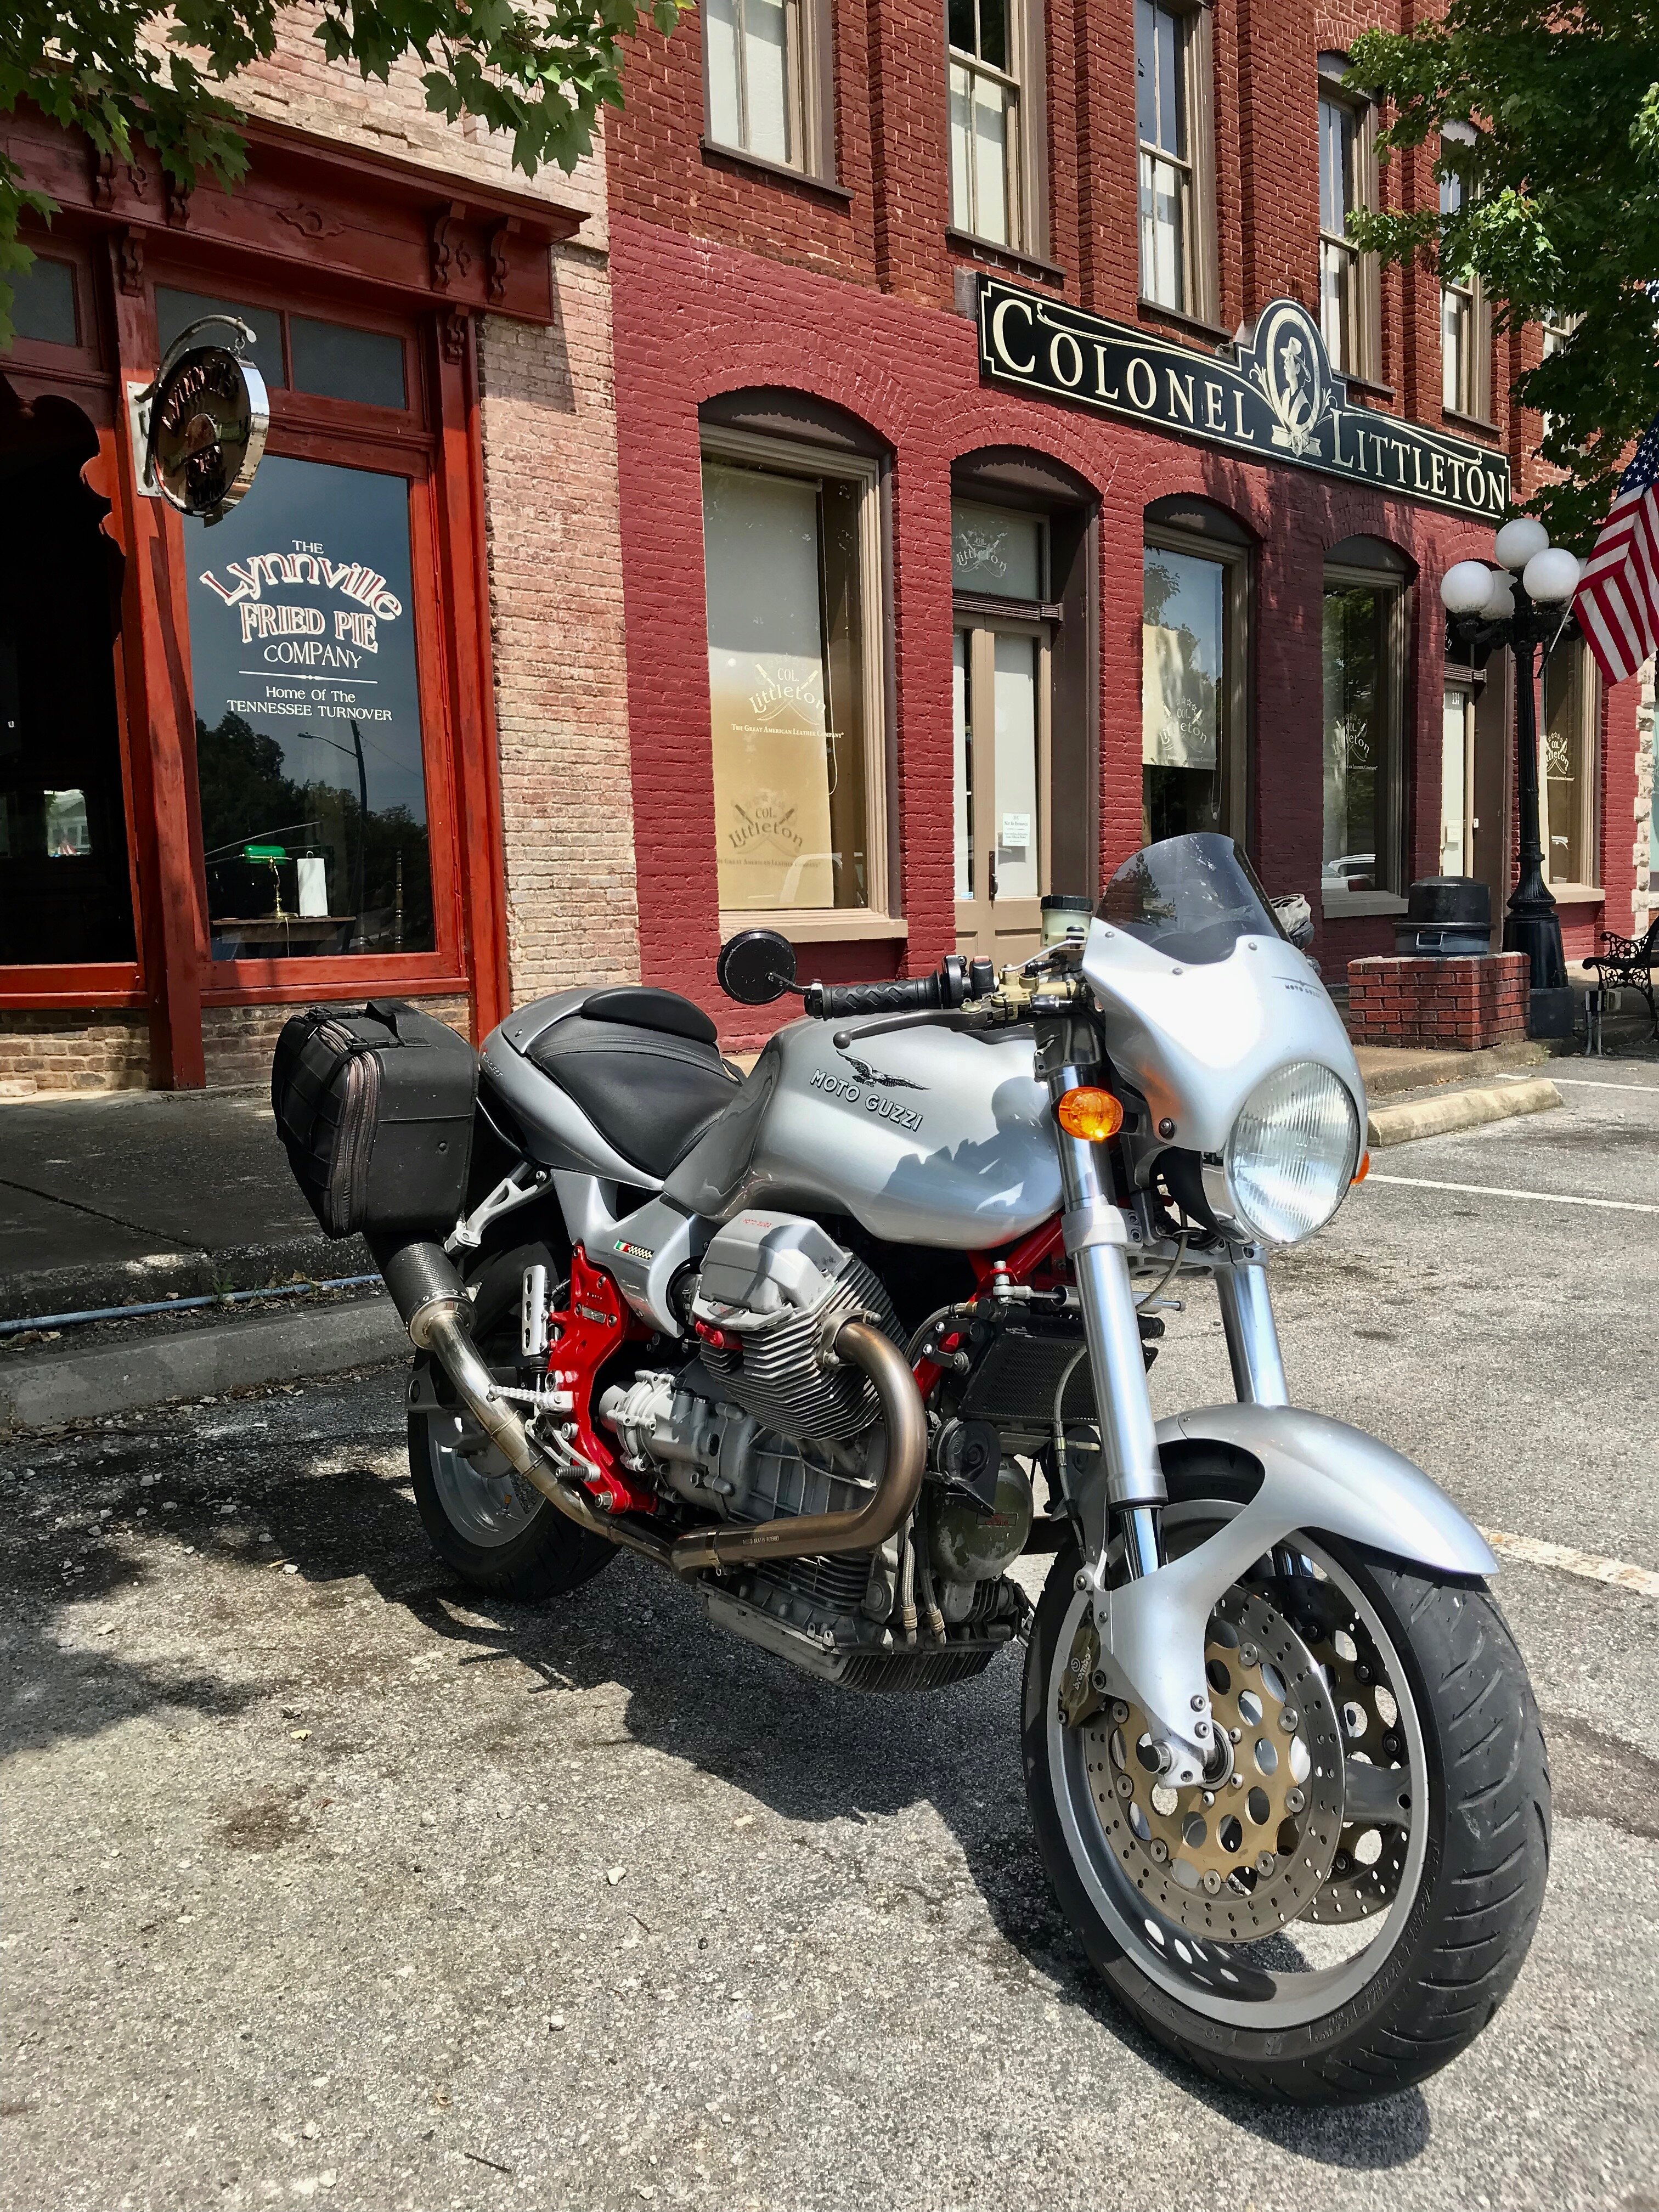
Hey, wait! Is there a crankshaft in that V11 Sport?
-
This is the front crank seal behind the stator? How did you do t?
-
Some setting other than zero may give you the very best CO%. There is even talk that setting the CO% using a gas analyzer at some rpm (not idle) gives the best result. Yet, starting at minus 27 my results were fantastic just to zero the parameter with the ECU interface (honestly, I can't remember if Andy used the Axone or the VDSTS - he had me under his spell Just for reference, ask your tech where yours was already set.
-
Language barrier?
-
Sorry about that being so unclear. 3.5% is the parameter for the exhaust gas analyzer. The Guzzi software (ie: Axone) shows the CO on a +/- scale. My Sport was delivered at -27. When Andy zeroed it, the idle and general running improved fantastically. As I recall that coincided with the 3.5%.
-
I'm trying to convert from the metric. Maybe the line length is in cm (108) ? - - - - 42 inches would make more sense than 4.2 inches? Otherwise, it makes sense that the threaded fitting is 10mm diameter with a 1.00 mm thread pitch and 15 mm long. Routing? Mine appears to start from the left side of the spine at the head tube and cross under it to the right before dropping to the slave cylinder.
-
Sheesh: Guzzi Guys - "I like my Guzzi well enough, but I think I can make it better with an angle grinder."
-
I suspect the next Veglia tach that plays up on my Sport will morph into a SpeedHut . . .
-
Interesting link. Written in 2005; I don't see any follow up on their website. While also not a big dyno junky (maybe just because I don't have one), it's interesting to see 5 hp from a canister change, but not much difference from crossover change. Or even a 6 hp drop on the top end (from that link's charts). It would make me confident to fit some cans that I like the looks of (oval, round, reverse megs, stainless, aluminum, carbon fiber) and wait on the crossover. If you are going from the stock LaFranchoni twenty pound canisters, you will absolutely love whatever you choose. They'll sound, and feel, great. If you love the look of the reverse cone Mistral - go for it! You can always fit a different crossover on later. The tuning isn't that critical as long as the CO is set. Have the dealer get that zeroed or 3.5%.
-
What do the repairs cost?
-
That is clean! As long as it doesn't some kind of goofy headlights or an oversize front tire . . .