Leaderboard


Popular Content
Showing content with the highest reputation on 05/29/2023 in all areas
-
Normal. Phil8 points
-
7 points
-
Tullahoma, Tennessee, near the downtown Veteran's Memorial Park I visited today.7 points
-
FWIW, I call it "end play". While the end play might be acceptable as Lucky Phil said, I thought it was unusual for the seal to flex in and out as the spline shaft is moved fore and aft. I don't think the seal should be hanging up on the shaft and wonder if that is where T89's leak is coming from....a failed seal, seal lip riding in a dirt groove/rust/etc. imho but defer to the more knowledgeable here. Art Update an hour later: OK, I've got the same movement on mine as in the video and no leaks.3 points
-
Cool. I will go to pms and confirm address and get stuff out asap. I'm rural so I don't get into town every day. I will keep you informed. Honestly, the clutch hub would have been a paperweight for you. The wrench will be useful. All right. That was easy. Thanks to all! cdr3 points
-
3 points
-
I found nothing either . IDK if the Weatherhead connectors (GM) sell this seal and if it is close enough to interchange and use. If , not , you will just have to buy the connector and use the seal .2 points
-
Seems I was using anatomical terms instead of mechanical.2 points
-
Thanks for the comments and comforting! Just for the record, I have always learned it like this (at Mech. Engineering uni):2 points
-
Lennon Clapton Mitchell Richards. 1968 feeling nostalgic lately2 points
-
2 points
-
There are a few threads and posts here and there discussing tank removal. This varies from the early (external fuel pump/filter and "chin pad" on top) to the later (in-tank pump/filter and painted top) V11s. The whole process is best begun with the tank very close to empty. Less fuel to spill and less plastic tank deformation while it is off the mounts. Prepare somewhere to place your precious tank while the maintenance is completed. Fuel tank removal post in "How To . . ." by al_roethlisberger Later model "Quick Disconnect" post by Greg Field Gas Tank Removal post by Tom M On external pump/filter V11s, the filter may be in three locations (under the frame, on top, or in front). Removing the right side fuel line first is easiest and will drain the filter the quickest if the filter is above the frame. Yes, the early tank fuel pressure regulator on the right side of the tank looks like it has an extra fitting with no hose on it. It's correct that way. Be prepared to catch 100 ml or more of fuel. If you have an early electrical petcock, there will be two wires to it on the rearmost of the left side of the tank bottom. Simply unplug to shut off. The manual petcocks have a knurled knob and need a lot of twisting to close along with a snug closure from a good set of adjustable pliers like the Channel-Lock brand. Once removed, the two most likely maintenance candidates are the fuel filter and air filter. These may vary depending on your year model and whether there have been modifications. The K&N CG-9002 fits well in the stock airbox, but expect to clean and re-oil it regularly (perhaps once a year or 12,000 miles/20.000 km). The original Weber external fuel filters can be re-fitted with a quality unit for the Isuzu Trooper. They are a tad shorter, and will require a slightly longer fuel line, but are readily available and will need a thin shim inside the bracket for good retention. The WIX that I use is 33310. WIX is also showing a direct replacement for the 1999-2001 V11, but I have not seen it. My apologies that I have little experience with the later tanks with internal pump/filter (no chin pad). We'll add good links as necessary. The purpose of this thread is more to make a list of items to look after while the tank is off: **EDIT/note (2/2015): At this point, many of these bikes have been through a few owners, issues, and "over the river and through the woods." Keep an eye out for "modifications," questionable repairs, or out-of-place bits, melted wires, duct tape, splices, missing fasteners, or general bodging. Some of this can be quite expertly done, some not. > Clean, crimp, seal, and secure the two bullet type Clutch Switch connectors at the front left of the frame. >Locate, inspect, groom and otherwise secure the wiring and connectors from the Side Stand Switch. This is how your V11 gets electrical power to the Run Switch while you are riding along. Without it, you will not be riding along. Might as well have a close look at your side stand mechanism: pivot bolt, backing nut, springs, and foot "lever"(wire loop). Make certain the sidestand bracket fasteners are secure to the timing chest and sump spacer. The main, large fastener here is torqued to 70 Nm! Loose fasteners here could contribute to a broken sump spacer. (no need to have the tank off for this one!) >Inspect, clean, and seal the spark plug wires and their boots coming out of each coil. These are rather in the weather and susceptible to nastiness. Test the resistance of the spark plug caps/ resistors - they should each be around 5,000 Ω. Test the resistance of the ignition wires expecting them to be equal and around 10,000 Ω (~5,000 Ω per foot). >Check the coils are not loose at their vulnerable vibration isolators. >Check, or install, a ground strap from the regulator to the engine and/or frame. "Star" washers make good contact as they cut through painted surfaces. >Inspect, groom, clean, and secure all visible wires and connections. Carefully open connectors and spray clean with a good electronics cleaner. No grease conducts electricity so make your connections clean and dry, then coat them to keep moisture out. I'm really liking Caig DeOxit Gold for this: it promotes conductivity while also lubricating. [NOTE: This product (among others) will soften and swell the AMP/Metri-Pack style connector seals. Be certain the seals and are not exposed to the DeOxit and the connector cavity is clean and dry before reassembly.] The regulator connection that powers the Battery Warning Light on the early V11 is prone to getting wet and causing the Battery Light to come on in the rain. Oh, and, hey: hook up the battery and test that everything works *before* you out the tank back on. Don't ask me how I know . . . >Be certain the wiring lead from the Phase sensor is not "Zip-tied" tightly to the frame leading to a wiring break and sensor failure. Repeat the process of locating and releasing any and all wiring that is anchored tightly to hard points. Re-tie loosely to avoid wiring failures. >Look for chafing or pinching in the wiring, cabling, or hoses that may need attention. >Tighten the battery terminals and seal them with Vaseline® or Caig DeOxit Gold®. If the battery has been out recently, re-tighten the terminals after a couple rides. >Find the straightest, gentlest routing for the speedometer cable. Make sure it is not crimped, kinked, or bent. If you have an early V11 with the white face Veglia, service those bevel drives, especially the one at the gear box (the upper is attached to the back of the speedometer itself). Make sure the brass insert is pressed well into the body of the drive and consider permanently sealing the metal disc before it goes missing along with the internal worm gear! >Inspect the crank case vent breather hose (30 15 7400) under the frame that ventilates the crankcase. It clamps on above the "bell housing" that houses the clutch assembly. If it cracks, collapses, or gets loose the vented oil will emerge from the lower bell housing weep hole making you think the rear main seal is gone. There is a heater hose that can be fitted for this application, but the consensus is that the rubber will not tolerate the exposure to oil. Check that the vent hose is not resting on, and being abraded by, the oil feed lines to the heads at the front of the "V." >Inspect around the distributor blanking cover on the top right of the motor: if it's oily there, give it a new O-ring. Seal the flat area with a good gasket sealer/RTV silicone. >Inspect the oil cooler brackets and oil cooler lines. Any chafing against the sub-frame can be isolated with plastic "zip-ties". >Inspect the throttle cable for breaks between the housing and the left side throttle body. See that the throttle cable bracket is adjusted (bent) in such a way to give the cable the straightest shot at the bell crank. Groom everything else away from resting on the exposed throttle cable. If the bike has been stored extensively, hardened lubricant can obstruct cable movement creating a stuck throttle - inspect, clean and lube with a good cable lube. Note that the early Sport throttle cable is superseded in the Moto Guzzi parts supply by an incorrect part - instead use 01117560. > If your TPS still has the awful Torx fasteners, now is a good time to change them to a hex drive socket head. They are 4mm/ 0.7 thread pitch ~17mm long. Use thread lubricant, especially if your new fasteners are stainless steel. >If applicable, groom the left side fuel line up and away from the cylinder finning. Moving the fuel pump forward in the bracket, shortening the fuel line, covering the fuel line with heat shielding material are all simple methods of limiting heat soak and vapor lock in this fuel feed line. >Change any serrated "worm-gear" hose clamps with high-pressure fuel injection type clamps. BEFORE you remount the tank, recheck EVERY clamp for tightness. You can't get to them with the tank back on, and they'll LEAK if you didn't cinch every one down. (Don't ask me how I know ) >Many tanks have "softened" enough to rest down hard against the side covers and back against the tail piece. Look for chafing or deformation. Shimming the rear fuel tank mount upward may be helpful. While there is much disagreement, ethanol in the fuel is likely problematic - something about formation of binary azeotropes . Traditional wisdom has been to store a bike with the tank full (maybe with a fuel stabilizer), but ethanol doesn't store well, so either store the tank near empty, or with pure gasoline. >Early Sports often rest the seat hard against the battery. Look for signs (chafing on the battery top, cutting into the hold-down strap). Relieving the seat pan with an abrasive tool (ie:Dremel) and lowering the battery basket can be helpful. >Observe the Phase/Timing/TDC/Cam Position Sensor on the left side of the timing chest for leakage. A simple #112 O-ring replacement is often all that is necessary. That said, mine leaked through the wire lead and had to be sealed with an epoxy. Do not increase the gasket thickness as this will change the timing. Sometimes, the fasteners just need to be snugged up. >Service the Oil Pressure Sensor connector near the Timing Sensor - clean and seal with some petroleum jelly (Vaseline) or equivalent. >Check the two electrical connections to the fuel pump. Clean, tighten, and seal. >Be certain the drain holes in the stock airbox lid are clear. >Clean the Air Temperature Sensor inside the airbox with a spray of electronics cleaner. Be certain the connector is cleaned, sealed, and secured well (http://www.v11lemans.com/forums/index.php?showtopic=19681&p=214817); Same goes for the connector to the Engine Temperature Sensor on the inboard side of the right head toward the rear. >There will likely be some oil in the bottom of the airbox that could use some mopping up. It is common for the left cavities of the airbox to accumulate enough oil that it weeps out around the left "inlet trumpet" and down onto the gearbox. Take the time to clean the oil out of the inside of the airbox. >Inspect the heat shielding on the underside of the tank. Expect it to be loose in places and require re-attaching. A toluene based contact adhesive (ie:"GOOP" or "Shoe Goo") works well once both surfaces are clean. This is most important where an open airbox lid has been fitted and the loose heat shielding can block air flow. Some of this shielding is getting so old that the surface foil layer (which covers the inner fiberglass layer) might have to be replaced with a self adhesive foil tape (metalized duct tape). >Inspect the two wires from the fuel level sensor under its rubber boot. They are vulnerable to breakage. Re-secure if necessary. Apply a blob of epoxy where the wires connect to prevent them from breaking. The same applies to the wires entering the electric petcock if your bike still has it. >Later tanks with the pump/filter internal have a special gasket that should be inspected for leaks. >If you have an early tank (1999-2002) with the chin pad, inspect its hold down fasteners. >Open the cap and make sure the drain (left) and vent (right) holes are clear through to the underside nipples using a spray solvent like electronics cleaner and/or compressed air. Also, clear the rubber line(s) that attach to the nipples. >As the tank goes back on, re-secure the tank vent and overflow on the underside of the tank. This is fiddly and the connections may benefit from using small wire clamps that will still allow a press fit. There have been many modifications reported on this routing, but simply be certain your tank vent and overflow route below the engine and exhaust not onto them, even if they are co-joined into one drain tube. US models have a one way valve (small plastic disc) that can become disoriented or obstructed and allow a vacuum to build in the tank (the dreaded "tank suck"). Make sure the valve is oriented for vertical flow and secured. If your tank has suction when you open the filler cap, the venting needs to be addressed. One quick-fix is to open the cap and remove the small rubber seal on the right rear of the cap. I'm not saying it's a good idea, but it has been used as a quick fix. > Check that the right side fuel return hose to the regulator does not press upon the TPS. The regulator can be loosened and rotated with a 20mm open end wrench. This applies to early "chin pad" tanks for certain, but watch for any interference with the TPS. >Be absolutely certain nothing is fouling the movement of the throttle cable or its bell crank including the left side white linkage adjusting knob. Happy bike, happy life!!1 point
-
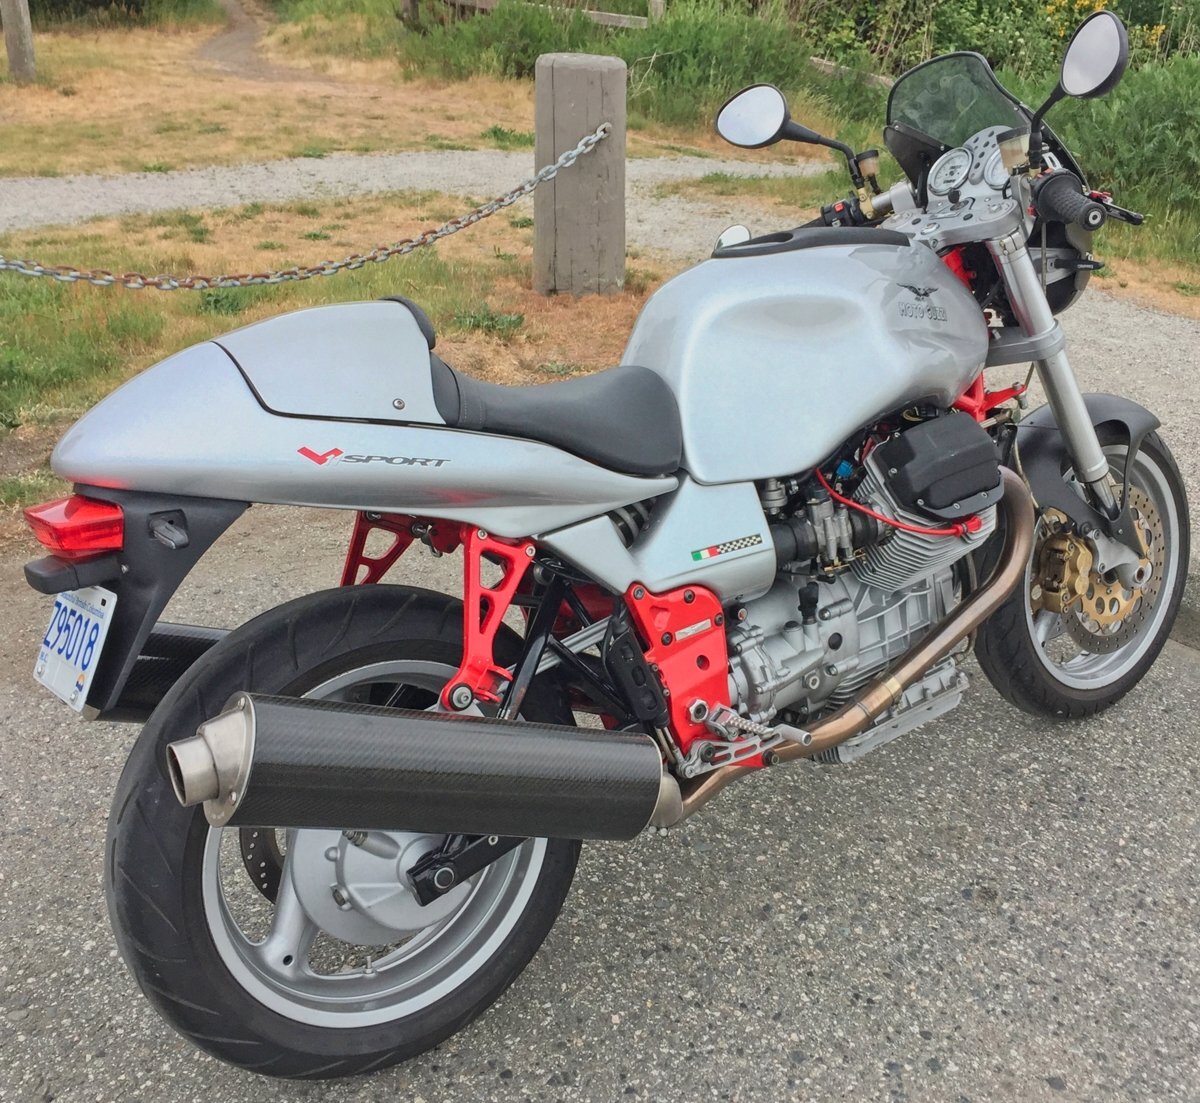
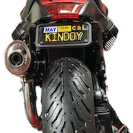
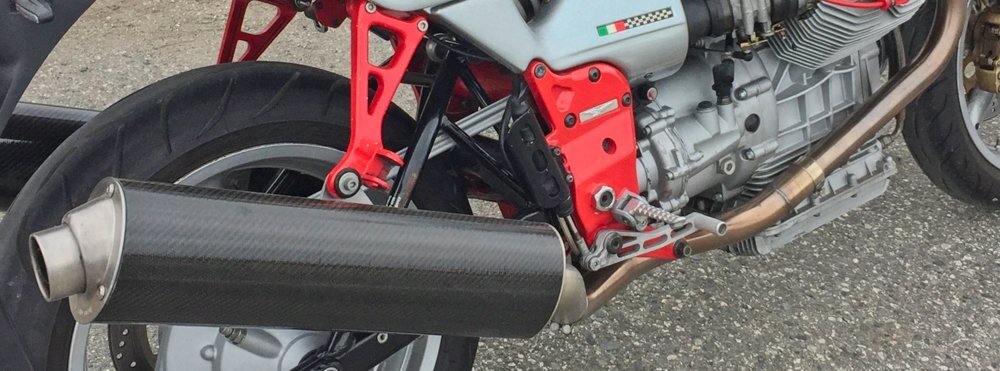
Hello everyone. Just signed up to this site and have already learned a lot. Thanks This 2000 V11 is new to me and I'm going through the usual maintenance and repairs. I would also like to turn up the volume just a bit. This exhaust system is in perfect condition and I'm not going to buy anything new. I'm looking for ideas to modify. The pipes have plugs on the underside which I removed and got some nice crackly, snappin, open header sounds. But too loud. Maybe make some new plugs with smaller holes drilled in them? Maybe install valves to keep me and my neighbors happy? I've removed the muffler end and its all welded inside. I'm also curious about the exhaust parts. It's all stamped Moto Guzzi, but does not look stock. The pipe has an unfamiliar gold/brown color. Would that be titanium or wishful thinking. Art
 1 point
 -
It's not hanging on the shaft. You are seeing the dust lip part of the seal riding on the chamfer of the output spline seal running surface. The oil seal lip is internally behind that and not visible. Phil1 point
-
I can pry the forward UJ through openings in the shield, to pull the gbox shaft in and out almost 2mm. It needs a lot more than hand pressure. I expect that all the suspension movement that loads the driveshaft in rapid compression/tension is all taken by the sliding joint in the middle of the shaft. It would be a disaster if the gearbox is exposed to suspension movement. I'm going to give all 3 nipples another squirt of grease to make sure.1 point
-
What I meant by that picture is explaining how I learned which direction is axial and lateral/radial1 point
-
Nothing to do with this. The bearing floats in the rear housing by design. Phil1 point
-
AT least its good weather this time of year and that would be some pretty nice country...1 point
-
Have a look here: https://www.v11lemans.com/forums/topic/19641-basic-guzzidiag-tutorial-for-v11/?do=findComment&comment=288537 Guzzidiag can't measure the mV at fully closed, because the ECU doesn't deliver a reading for it.1 point
-
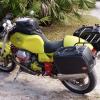
The listing says 11 days old, but you never know. Boise is just around the corner from Houston (); who's never dreamed to do a 1850 miles trip on a QUOTA? Let's see if someone answers.1 point
-
Yes, use the voltmeter. Only the fully closed throttle plate voltage is important (157mV). The idle can then be set wherever you, and your V11, like best. The idle voltage is not critical, but the fully closed throttle plate voltage indexes the throttle opening to the ECU mapping. It is very sensitive.1 point
-
1 point
-
Sorry mate but reading your post I couldn’t help thinking, how much help can this be?1 point
-
Quick fix, sandpaper, rub both parts and glue it back together. Or order new ones from Stein Dinse, TLM. Brake bolt sounds to me, must have been on the loose side. I make a water lock on a hose and stick it down in a jar with old brake fluid and connect it to the bleeder valve. Build up some pressure and open the bleeder valve. Not to hard. I always zip tie the brake handle over night to get all air out. Cheers Tom.1 point
-
Thanks.. Switch fitted, new oil, new fuel tank to pump fuel line seems ok too. All good now..lights out as it should be.1 point
-
Thanks folks, I will order a new switch tommorrow. Got the old one off and i am now replacing the tank to pump fuel hose. This forum is great. I would be lost without it1 point
-
FFP/BH . . . Far From Perfect/ But Hopeful . . . .1 point
-
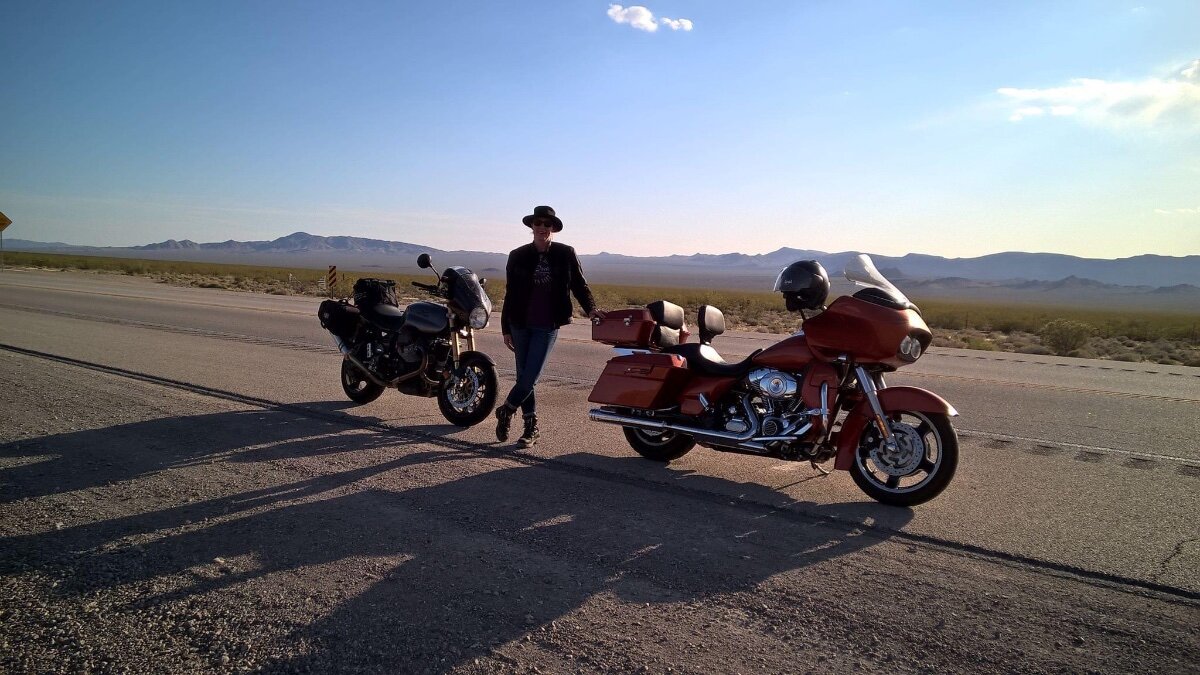
I had a Yamaha FJR 1300 before the Road Glide…I do miss it sometimes but the Harley has been a surprisingly fun bike. We’ll never sell the Guzzi though…they are special bikes. Would love to add a Lemans one day.1 point
-
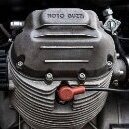
Yup…she’s a big girl alright. Got a thing for big air cooled jugs.1 point
-
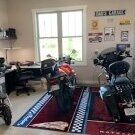
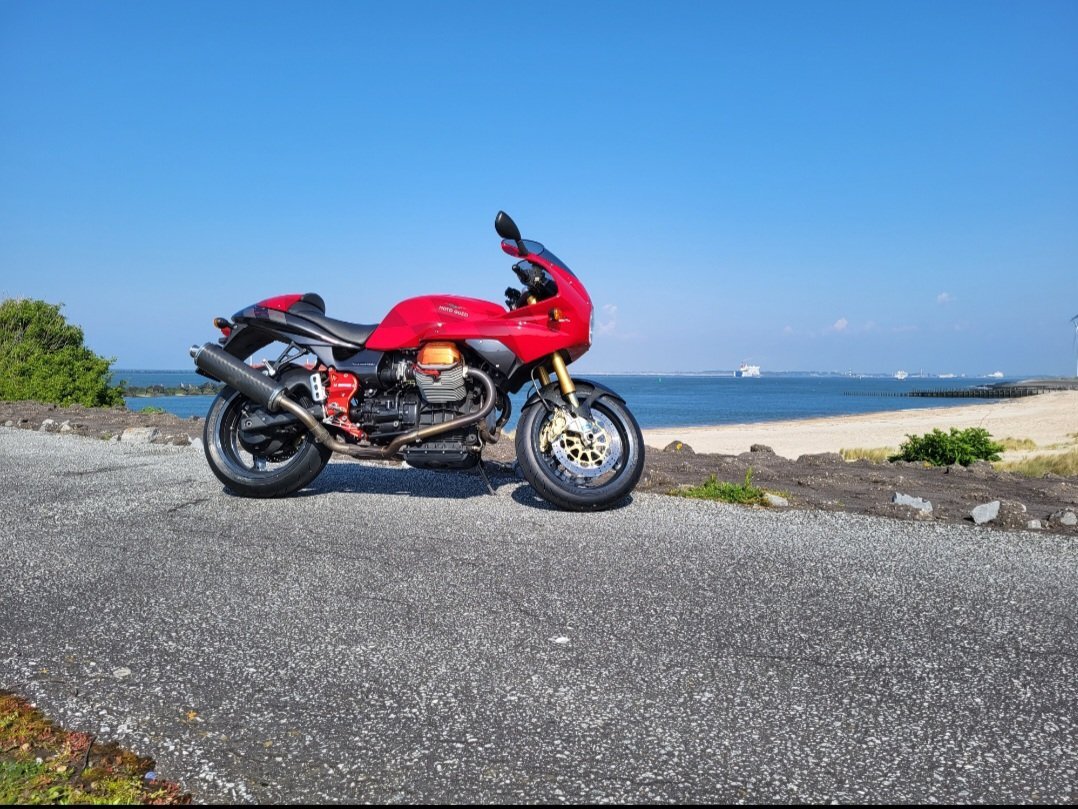
Latest first ride of the season….
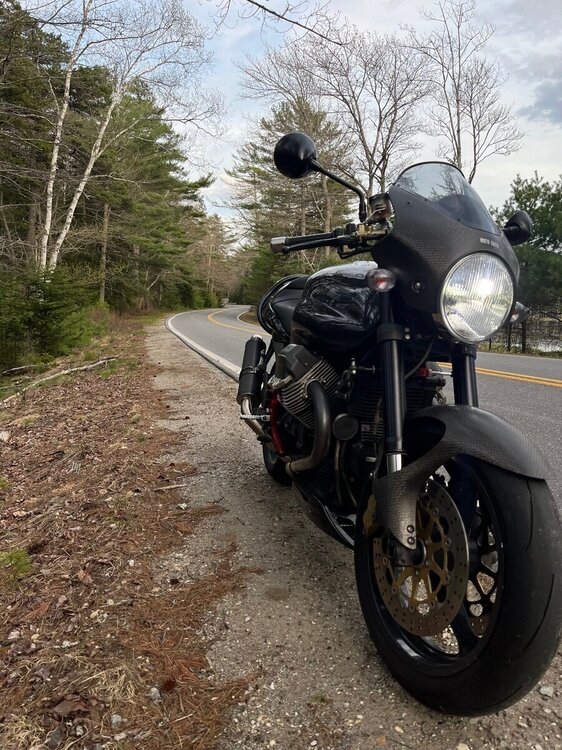 1 point
 -
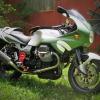
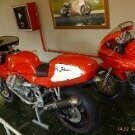
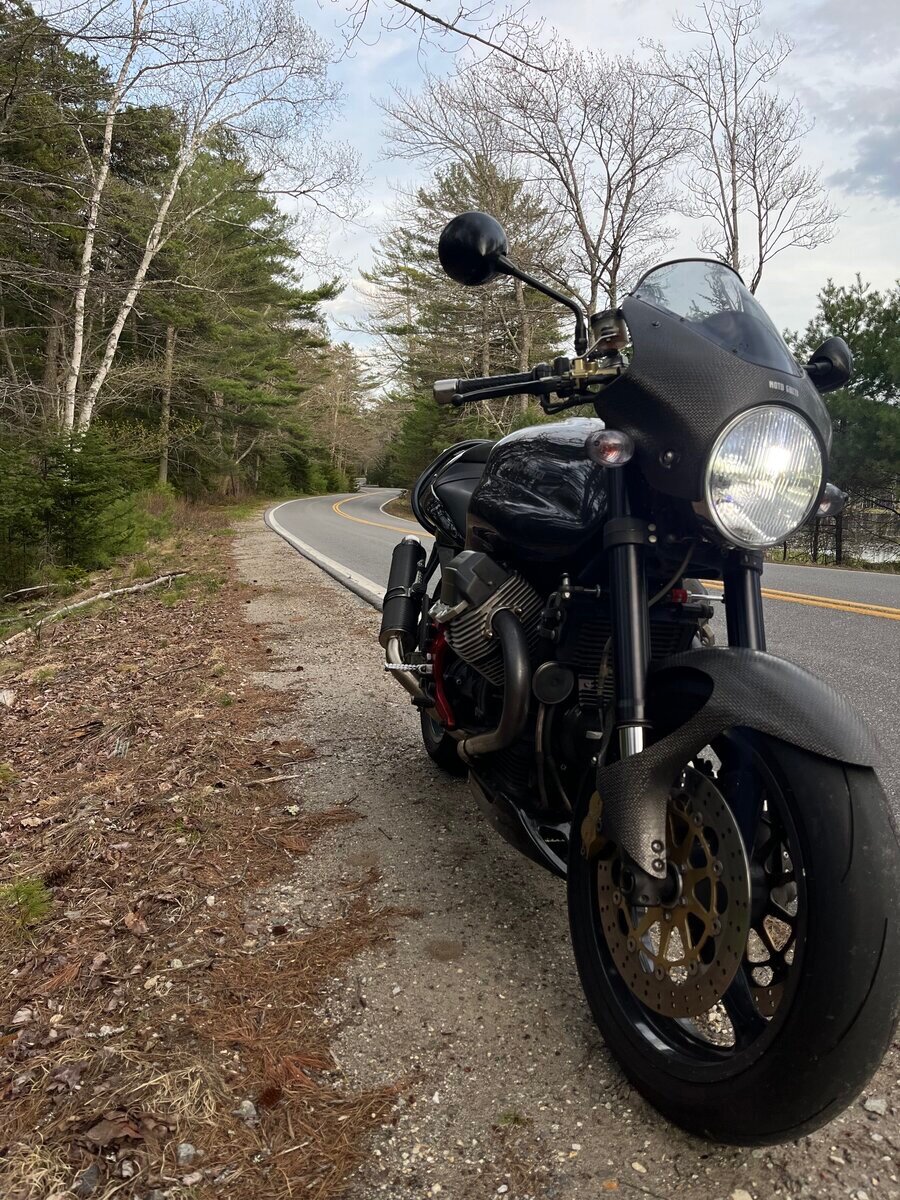
I'm getting the Greenie back tomorrow. Rode it today before I rode the Mandello. It's pretty stout, broken bolt replaced, new tires and brakes, Brembo levers (free) and dyno tuned .... wont outrun the Mandello in a straight line, right now I'd take the Sport in the twisties. So far as a beauty contest, Green wins. Got the EV back, runs better than in many years. I'll be Guzzi @100% tomorrow or the next day.1 point
-
My early bolt has a smooth head, no markings, indicating mild steel/unhardened. Do the later bolt heads (2003-onward) reveal a hardening level (i.e.: 10.9 or 12.9)? Knowing of these failures, it seems prudent to go with a hardened fastener in this location (as well as seeing to the maintenance). I wonder if Moto Guzzi superseded the part thusly . . .1 point
-
I suppose I would call that "axial" play rather than lateral (side-to-side). That much side-to-side (lateral) play I would call trouble. I doubt what you are showing is a problem, but defer to those who know this gearbox from the inside . . .0 points