Leaderboard


Popular Content
Showing content with the highest reputation on 06/12/2023 in all areas
-
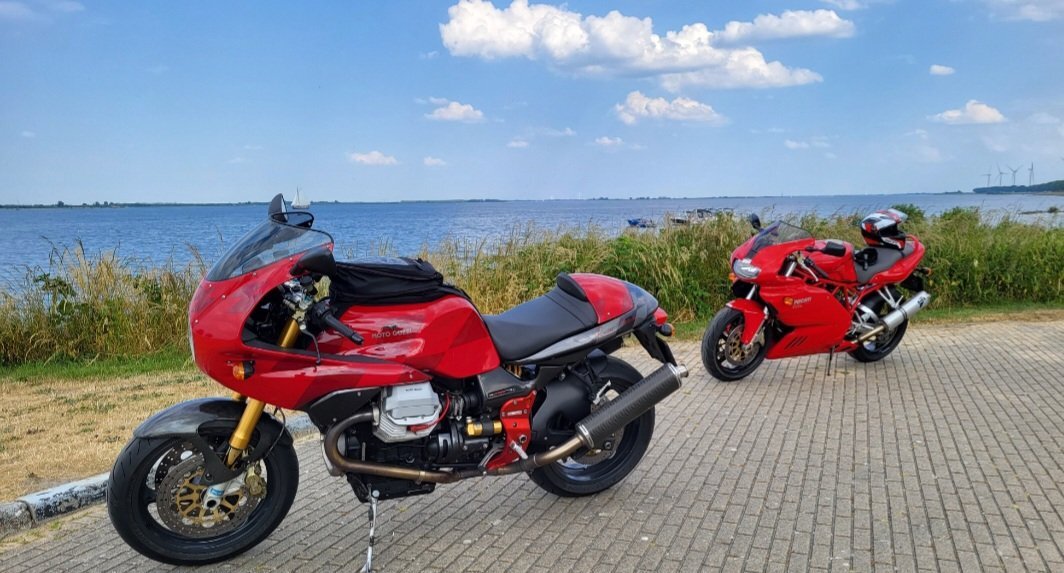
So I got to ride that V11 I acquired a few weeks back. Soon as the rain started Customs handed over my Voltage Regulator. Dam is this bike fast. Leaves me bantering in a silly state of mind. I'm going to like this!5 points
-
No , you're gonna love it. Don't expect wheelies , stoppies or whatever else they call these stunts . Just fun . You now are officially a weirdo !5 points
-
Lucky Phil was right, my solution was temporary. So we dive deep. The trick is getting the thumbwheel off, I used a jeweler's file to skim the crimped edge as I ran it up and down the threads (after taking the E-clip off so it moved easily) until it came off without damaging the threads. Then simply set aside your fear and whack the pintle out with a punch (carefully, I was too lazy to walk 20 steps for my brass drift) You can see it's a disaster inside. This one wasn't leaking, neither closed nor open but obviously the top o-ring exposed to the fuel is destroyed. There's some sort of grease between the two, and I'll do some homework (including re-reading Phil's thread) on what grease to use upon reassembly. Tomorrow come the 2x10x14 viton o-rings and the reassembly.4 points
-
The o-rings came today, so I reassembled. I used a little Ospho to get rid of the worst of the white deposits- they're pretty tough. The o-ring grooves in the pintle are 2mm x 11mm, and the opening in the body 14+mm. The o-rings are 2mm x 10mm ID. 11mm + 4mm = 15mm, so 1mm-ish of compression on the installed rings. The only o-rings I could source quickly are 90 durometer; I used a silicone grease to install them, which is fairly sticky. Assembly was straightforward between squeezing in the vise and rotating the pintle gently. Between the hard rings (70 durometer is catalogued but not available quickly) and the sticky grease, the pintle doesn't slide extremely easily; a drop of light oil in the top of the pintle did loosen it a little bit. It will probably loosen a little with fuel exposure, and seems like a tight but manageable turn by hand for someone with thumbs that work. To do over I'd probably use a silicone spray and the softer o-rings. I can say with certainty it's tight enough not to leak. Since I don't have the means here to manage the slot/screw internal stop, I simply used a small punch to ding the top of the thumbwheel a little, which gives a plenty firm stop when it gets to the first thread, as did the compressed stock ring. I'll update further when it's in the fuel.3 points
-
Whereby "some" a very "dynamic" term is.3 points
-
haha... 20 year gap in this thread. I had not seen this before. Interesting that "Guest Hank" correctly identified one of the problem areas with the original spring, which is that the 90 degree bend had too tight a radius for the gauge of material used. That issue, among others, are now remedied as discussed in "some" depth in the re-engineering topic above.3 points
-
I believe Ghezzi Brian in Italy still has them available.3 points
-
I contacted Pingel once about making something with a 16mm thread, but they weren't interested. On my list of things-that-could-happen is an adapter from 16mm to 22mm or 16mm to 3/8npt so a Pingel fuel valve could be fitted.3 points
-
I wish the sound quality were better, and there were fewer ears in the view, but real music being made. "Don't let me down ", y'all . . . Maybe best crowd refrain, ever . . .3 points
-
I was going to put this in the 'what did you do today' forum but it's better here I think. So I started the painful process of de-watering my fuel system. Again. My fuel cap has had a bad gasket for some time, and although I cleaned them I thought recently, my vent/drain are plugged. Again. I rolled the dice on ordering an Oberon fuel filler, Aprilia Fuel Cap FUE-7040 is a perfect fit. The first at-hand was to fix the vents, and since they're coiled up like snakes inside the tank there's no wire to run through them. I used a small syringe to get some Ospho into them for a couple minutes, then blew it through with air. Rinse and repeat 3 or 4 times. Same with under the fuel cap, which I'd tried to seal up with tank sealer; it didn't adhere well and peeled out easily. So to the steel wool. After the vents and fuel entry were clean and dry, I shot some Cosmoline into the vents and blew that through a few times as well, and spread it around the bare metal on the top. The Oberon cap was a simple 3 screw replacement save shaving a tiny bit off the vent protrusion with a jeweler's file. The Oberon cap fits close in the tank opening, with no space for the rubber gasket used by the stock setup- but the stock setup was crap so I don't think it will be a problem. Between this and the fuel valve both again, I'll make both the fuel filler/tank top and the fuel valve at least yearly maintenance items. I'll add a photo or two of the fuel valve to an existing thread.3 points
-
Interesting to see just how early-on these springs were discovered to be problematic. Final solution became @Chuck's expertly designed spring available by dropping @Scud a Message through the forum system . . .2 points
-
Thank you! I'll dig into that and follow-up here.2 points
-
Aside from bikes and similar side pieces , I figured we all had other things in common .2 points
-
Topic title change to show V11 relevance . . . Thanks for sharing your solutions, @Pressureangle and @Lucky Phil2 points
-
JW , I have four Husqvarna saws2 points
-
I rode my V11 Lemans to the monthly Northeast Ohio Guzzi breakfast at Mike's Place in Kent, Ohio this morning. Earlier this week I pulled the leaking timing sensor out, cleaned off the gasket sealer I had previously used (permatex 300), applied new sealer (permatex motoseal gasket maker) and re-installed. I have about 350 miles on it now and no leaks or seeps yet. Yeah, new oring seals both times. Anyway, good food & conversation was enjoyed by all the attendees, I think.2 points
-
I didn't but my dad traded his 2018 Kawasaki Z900rs in on a 2022 MG V7 Special 850 at the KY Guzzi Rally. After riding it yesterday, I was surprised how civil the 850 "small block" ran. With little buzz and plenty of torque to make speed, I also like the blue color of this model. Dad is a spritely 78yr old, loves to ride when he can, this will be his first Guzzi.
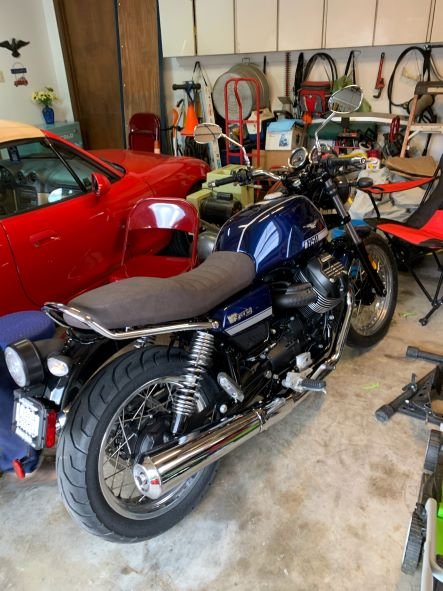
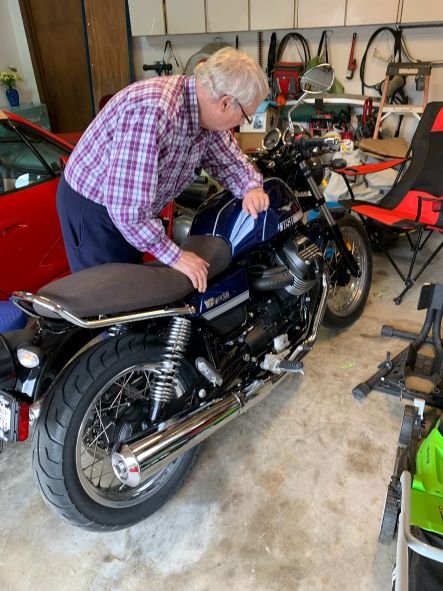 2 points
 -
The aluminium knob is crimped around the top edge which is what provides the open stop. I carefully file off the crimp and then modify the plunger and body with a grub screw to create a new open stop which also makes the seals replaceable. Ciao2 points
-
It won't last. The issue is the orings swell in fuel because they are plain nitrile. I reworked a few to use Viton seals. It's the only long term solution. Ciao2 points
-
While I had the tank off cleaning and sealing electrical connections, I took the opportunity to remove and service the fuel valve. Clearly everyone who has/had one knows what an inoperable nag they become, and I had to turn mine off with pliers this time. I started with the knob, I took the snap ring off and spun it down so I could lubricate the threads. I used 'Fluid Film' wax oil for that. Then unscrewed the filter tower to see inside: petcock It was nasty with white scale, as expected. I used Gumout carb & choke cleaner first, with a bit of poking around with a copper wire to scrape what I could get to. When dried, I viced it and poured a little Marvel Mystery Oil in it, let it soak a few minutes then ran the valve in and out to get the oil into the operation of the pintle. Unexpectedly, it worked a charm and now it's smooth and as easy as I'd expect going past an o-ring or seal or whatever's inside the demon.1 point
-
I need some idea how many people would fit a Pingel (or alternative) petcock to their bike if an adapter was available. Just say yes below.1 point
-
There are a thousand petcocks that screw onto the tank just fine, but none have the 12mm outlet for the large hose to the fuel pump, and very few have a certainty of delivering enough fuel. Not only must it feed the engine as with carbs, but it must keep the pump well fed including what bypasses the regulator back into the tank. Pingel is the only maker I'm familiar with to rest assured the flow is adequate.1 point
-
The world is a much nicer place when you are 500 feet above it.1 point
-
I spent a couple of relaxing hours in the garage today. The first task was "extracting" the starter circuit from the circuit diagramme out of the workshop manual. It is only a rough pencil drawing, but here it is for posterity: Having done the drawing, I had a bit of a poke around with the multimeter. No success in as much as I didn't find anything that looked like a problem. Still using the suspect battery, contact 30 of relay #1 showed the same voltage as the plus pole of the battery, as did the wire from contact 87 of that relay that plugs on to the starter motor to switch the solenoid. That was all without a load, i.e. with the relay not plugged in (for contact 30), or with the wire not plugged in to the starter. Theoretically, the voltage at the solenoid could be different if the wire were connected to the load. However, I've just had the starter completely apart, and it looks almost brand new inside, so I don't believe there is anything amiss there. I've got the suspect battery on the charger at the moment, and will put it back in on Wednesday and see how it behaves. I'm not confident that simply charging the battery will be the solution; I reckon the battery has probably done it's dash, but I'll give it one last chance.1 point
-
Definitely a nicer view from your office Chuck.1 point
-
Yes, I'll try the other method next week.1 point
-
In this wonderful triple digit temps that we enjoy here in Texas, what I found most comfortable: Long sleeve Cooling shirt (Coolibar brand, there are others) with UPF 50 sun protection , either doused with water or kept in the fridge overnight, underneath a mesh jacket to allow a "cooling" sensation and refresh it 1 x per hour by pouring a bottle of water on front and back. Similar process and refresh cadence 1 x hour with a headcap (LD comfort cap) also doused in cold water and put on the head, venting on helmet provides the A/C effect. Black leather would probably cause a major heatstroke in these conditions...using the layering/cooling effect like folks who live in the desert to protect against the dehydration impact. Ironically, above approx 90F, mesh jackets by themselves can cause more dehydration, hence the use of the wet cooling shirt layer....works perfectly.1 point
-
It is absolutely impossible to wear a leather jacket in Texas' humid heat. The standard uniform here, save for maybe a few weeks in February, shorts and T-shirt. Male and Female. Maximum temperature today: 99 degF 37 degC; plus humidity. Next week, we are going to go above 100 deg, as they call it here: in the triple digits... Riding a motorcycle is particularly body stressing. If I get a second motorcycle, you are welcome to visit! I will take you on the Texas roads all the way to Leakey from Bandera. We will do the twisted sisters. Let's see how long you will be wearing your leather jacket.... :-)1 point
-
Before death , this is one activity we are all doomed to do . study this and get out there and start your practice of tightening and loosening this shutoff before it gets any worse.1 point
-
We got both kinds, and the Beatles. The lady sings well.1 point
-
Ha ha Who knew it was such a party piece.....! Ps with a new Tungsten Carbide chain it does indeed rip through red gum like a knife through butter!1 point
-
Leather. Black, of course.1 point
-
G'day mate It's a Stihl 16 inch. ( petrol ). We bought it about 10 years ago when we moved up into the hills ( Yarra ranges )as we were told it be handy to have up there. Then we bought here in Gippsland and installed a wood heater, never knew the saw would get so much use,It's been brilliant in all that time! Cheers1 point
-
A new record for negative CO !1 point
-
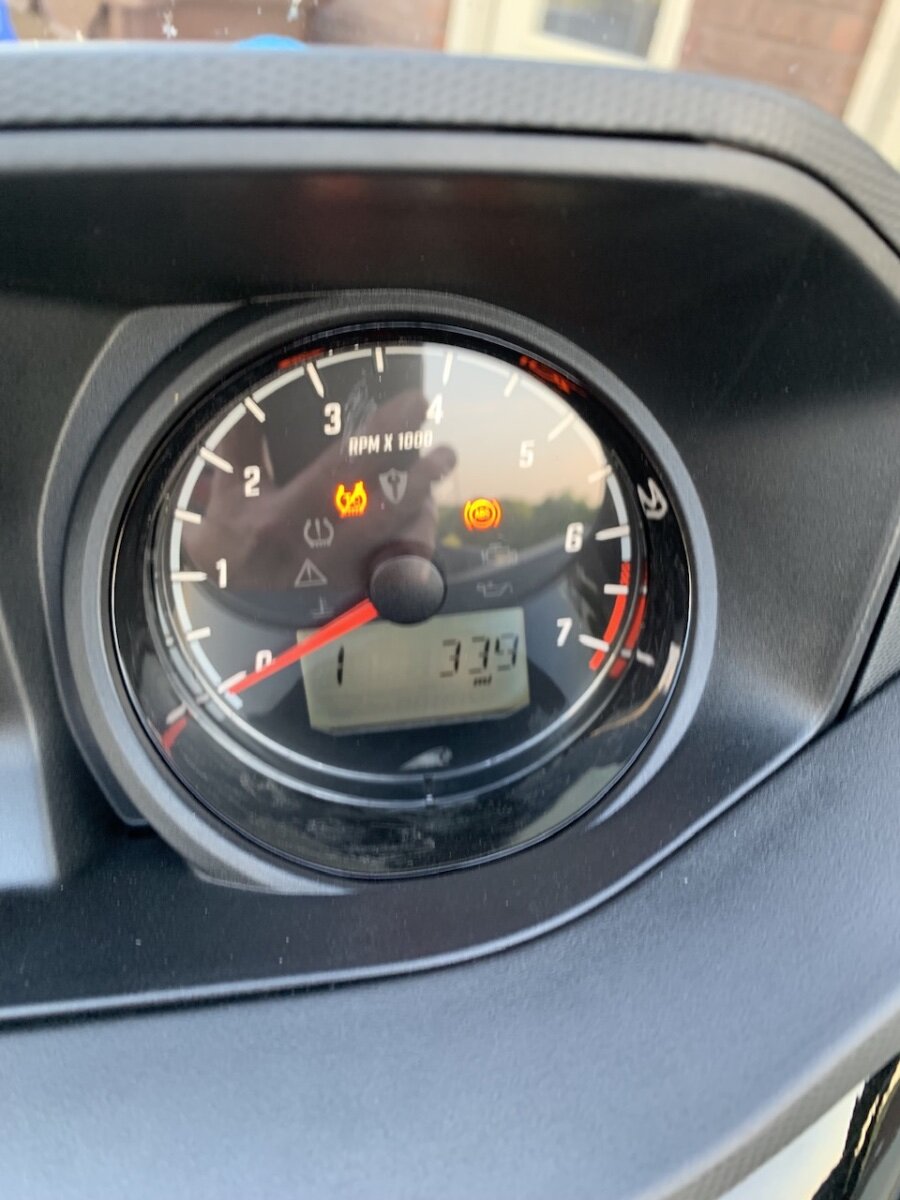
I checked that on the Lonelec site and manually installed them, just back from the garage and feeling all nerdy that I fixed it myself CO trim is -128, will try to change that tomorrow.1 point
-
Believe me, I looked at doing a Guzzi powerplant. Inverted V with a dry sump to put the thrust line where it needs to be. But. It's too heavy, and makes best power at 5500 rpm. That means a reduction drive..which I have off the Aero engine.. efficient prop rpm needs to be around 2500 or less. That additional weight makes it a no go. This 3 cylinder weighs 80 lbs.1 point
-
No blue hair in a Buick or brain dead texter trying to run over me..1 point
-
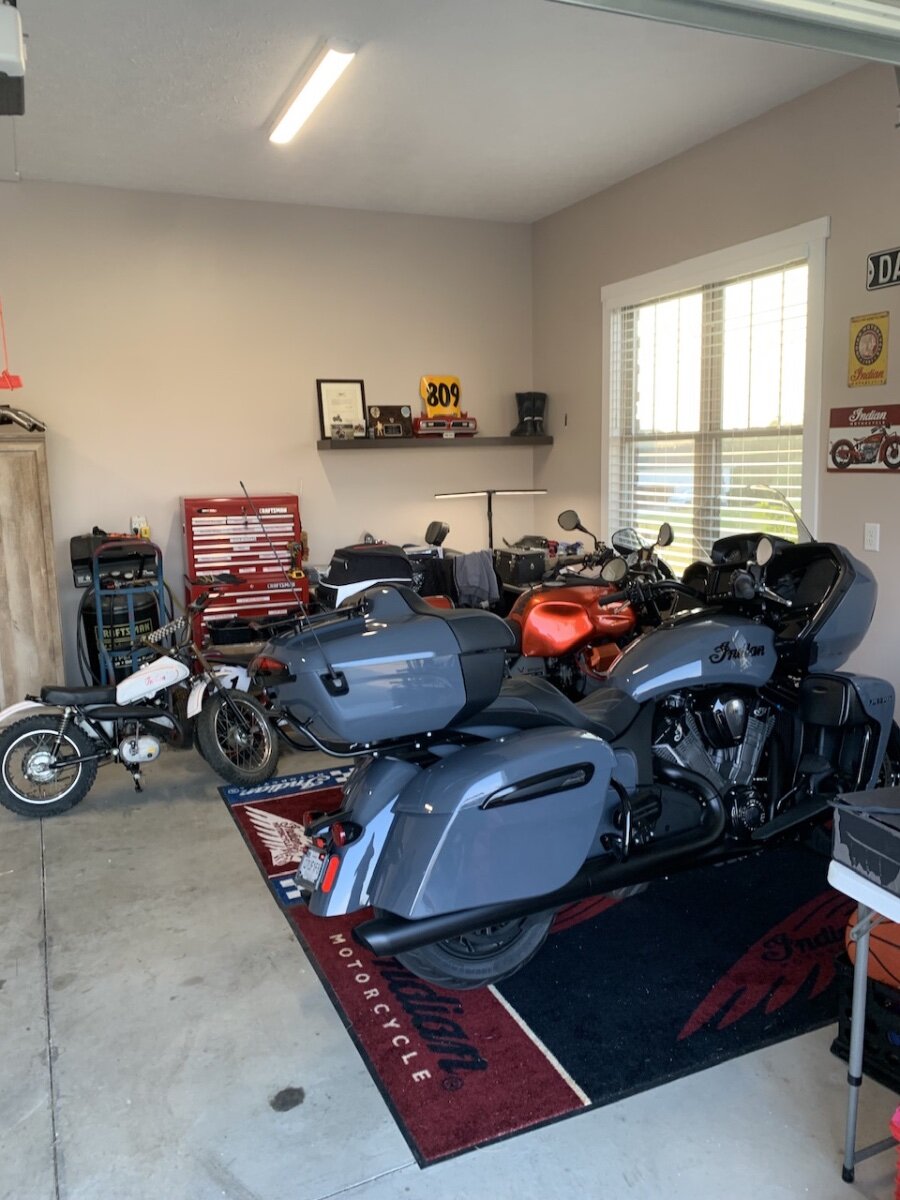
Nicole & I rode to Chattanooga to pick up our new 2023 Indian Pursuit Darkhorse w Premium package which includes electronically adjustable Fox hydraulic rear shock preload thru the infotainment screen. Rode like a dream two up, first 300+ are in the books first day. Looks good parked next to the Rosso.
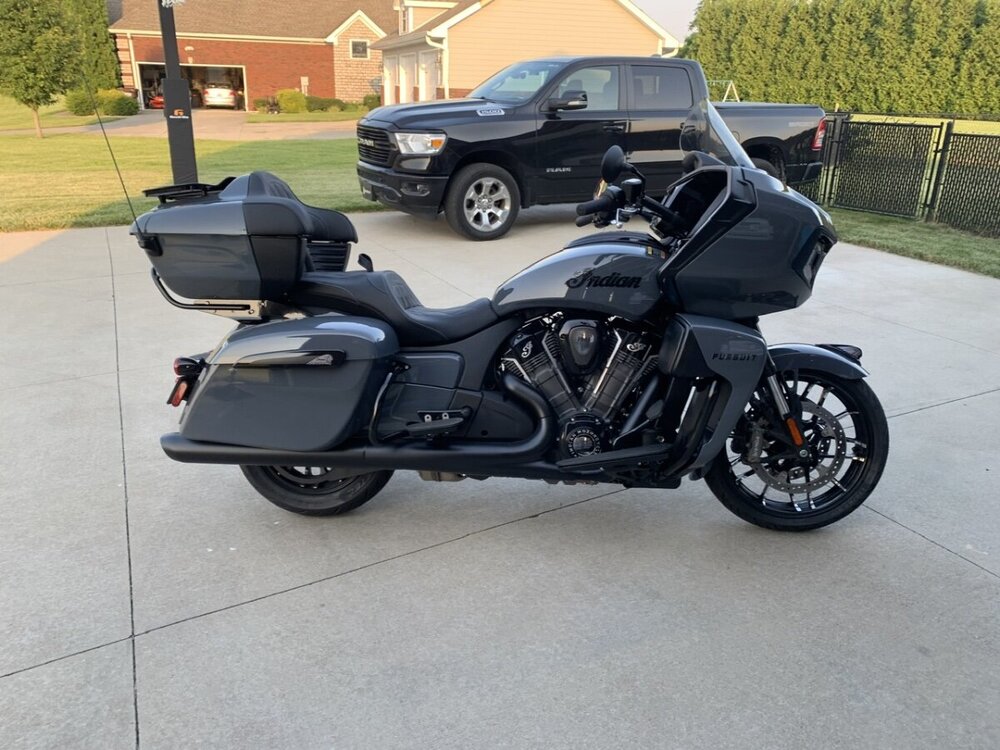
 1 point
 -
Relays front to back: 1. START (5 Pin Relay) 2. LIGHTS (4 Pin Relay. 5 Pin OK) 3. NEUTRAL/SIDESTAND (4 Pin Relay. 5 Pin OK) 4. ECU (4 Pin Relay. 5 Pin OK) 5. FUEL/COIL/INJECTION (4 Pin Relay. 5 Pin OK)1 point
-
I can't say what, but something is going wrong there, or being done wrong. I watched Bernd and Karsten doing exactly that only last weekend. They started (on a V11 Sport Greenie) at -20, went down 10 twice, up to -10, and then back to -20, all without interruption. The motor was running, and Guzzidiag was connected, the whole time. What I do know is, if you turn off the ignition, you have to re-connect Guzzi Diag. If you want to stop the motor whilst Guzzidiag is connected, but will be continuing the analysis, use the kill switch, not the ignition switch. Edit: that they ended up with -20 should not be considered as the right value for every bike. It was a good setting for that bike, but a different bike might want a different setting. -20 would seem to be a good starting point, since "the experts" started there. The crux of the matter is to go up and down and find the best setting for the bike in question.1 point
-
Lennon Clapton Mitchell Richards. 1968 feeling nostalgic lately1 point
-
100 meter woud be great, but no. More rural than that. My wrong, sometimes miles and sometimes km, so from now on, strickly km Cheers Tom.1 point
-
We need to surreptitiously slip into some tech company and get them to cobble together the Moto Guzzi V11 Hydrogen fuel cell conversion kit, but, of course still keep relays and fuses for the nostalgia....1 point
-
https://www.kijiji.ca/v-motorcycle-other/edmonton/2014-moto-guzzi-norge-1200-gt-for-parts/1661665072?undefined I noticed this recycler business, parting out a 2014 Norge in Alberta,Canada. If you need rare/expensive parts for a CARC bike,might be worth looking at. Almost worth taking a peek at the ad just to admire how beautiful a Norge can be in lime green, omfg! I just realized the vomit in the emoji is a similar shade of green,lol.0 points