Leaderboard


Popular Content
Showing content with the highest reputation on 10/04/2025 in all areas
-
I have that set and it works perfectly…have used it a half dozen times, good workmanship on the tool, you will not wear it out.5 points
-
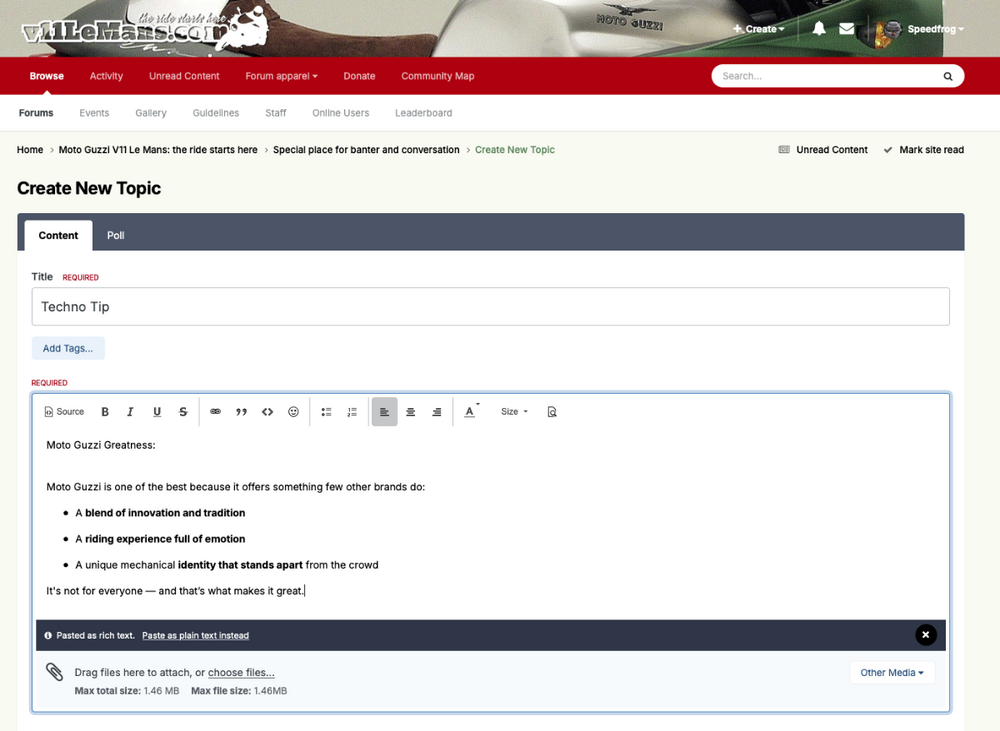
This tool is for an entirely different purpose, the jaws separate as you squeeze the handles where the green tool discussed above has the opposite action of bringing the jaws together as the handles are being squeezed. It works by fitting on the fuel line connector and pushing the retaining collar back while allowing you to hold and push the whole connector forward towards the elbow with one hand. Just make sure to hold the notoriously fragile elbow coming out of the tank with your other hand. Now, if you use that other tool successfully for disconnecting your fuel line, great! Its main purpose though is to disconnect rubber tube from their fittings by pushing the end of the tube away from the fitting. As you probably know, if you’ve ever tried pulling on a rubber hose to disconnect it from whatever it is attached to, the harder you pull, the tighter it gets.3 points
-
It's like a pair of chopsticks...wood or ivory. Both work, both will last, you won't need this tool on a regular basis forever...maybe once a year at most. Trust me, you will not wear out the green one or break it. If you want to spend money, buy a metal fuel disconnect from Beemer Boneyard that is lovely metal and will allow you avoid having to use this tool at all...you'll just need to cut into the fuel line to add it in parallel...that would be a better spend. There's also no need to relieve the pressure, but be prepared for gas to come out of the tank once the line is disconnected so having a relatively empty fuel tank is a good idea, and having a handy tube that is already inserted into a multi gallon/liter container to catch any overflow to put on the spigot once the fuel line is disconnected is helpful to avoid spilling gas on the garage floor or work area. The green one works perfectly, use it gently, no need to force anything. The orientation of which side goes where will be obvious once you put it on the fuel line and connector. Worst case scenario, you buy a new spigot for Guzzibits.3 points
-
Yes a little involved. Everything serviced. And yes l like my ladys cleaned. 98216km. D IPA time. Cheers Tom. Sent fra min SM-S906B via Tapatalk3 points
-
tech night at @Tomchri 's please.3 points
-
If you really want/need to standardize the font on a C&P post, look at the bottom of the post/reply window after you paste your text, a black banner will appear with the option to keep the text as "Rich Text" or paste it as "Plain Text" instead. Click on the latter and Voilà, your post has now been standardized . . .
 3 points
 -
[First, an apology about the largish typeface font size. I write such posts in an email first, then cut & paste to forums. I have never quite figured out the protocol here to make my "email" posts appear the same as "standard posts." Yes, I see the "Size" options, and select "Default," but still fail. As a geezer who frequently almost always misplaces my reading glasses, I don't mind the larger print, but regret if that bothers you. ] Three Muttoneers — a smaller group than usual — rode for mutton at this fall’s church picnic at St. Mary of the Woods in Whitesville, Kentucky, last weekend. These are semiannual events, usually held on the Memorial Day Sunday in late May and the last Sunday in September. This time, Bob W., rode down from Rochester, N.Y., to the Moto Grappa on his Moto Guzzi V7 Classic. Then, he and I rode to Maysville, Ky., where Scott M. rode from LIma, Ohio, on his Piaggio P3 to join us for the rest of the trip to “Mutton Land,” Daviess County. While in Whitesville for the picnic, another Guzzisti, Rick C., of Celina, Tenn. -- @Goofman here -- did a day trip to join us before heading home again on the same day. The pix of this trip always seem to show that all we did was to eat, drink, and be merry. We certainly did that. 😊 Yet, we regret not having more “on the road” photos. Having once nearly committed accidental suicide by fiddling with a handlebar-mounted camera, I have since stopped taking such pix from the terror that followed the disaster I was lucky enough to escape that day. OK, if it must be disclosed, I also gave up on-the-move photos after trashing a Nikon DLSR when I did not stop soon enough to get it covered before the rain got to its $600 innards. 😱. [Yes, thank you, I know that one may “harvest: stills from Go-Pros and clones, but I’m not going there, either.] That said, I do miss the nice shots, e.g., this, taken in the Wisconsin Driftless area c.2012 … … but not enough to go back to doing it, so these will have to do for my photo memories and your travelogue … unless, of course, and quite understandably, you leave now! 😄 Here are two samples … Bob at launch - Across the Ohio River from Maysville, Ky. … the rest at the link, below. ============== As usual with my smugmug sets, the link opens in “landscape collage,” so you don’t have to go to the larger pix of the slideshow. Hovering your cursor over individual photos reveals the underlying captions. If you use the slideshow version, the pix are obviously bigger and all captions appear. But, inexplicably (to me), unless you manually move the slideshow along instead of letting it roll automatically, the captions might disappear unless you leave cursor in place in lower left corner. I’m a Luddite. 😉 ============== https://bill-and-kathi.smugmug.com/Mutton-Run-Fall-2025/n-CQqNwp Bill2 points
-
Thanks for the advice. Much appreciated. To the quote: no need to relieve the pressure, but my (limited) experience shows that it helps. It's really not hard. Like I wrote, disconnect the fuel pump, start the bike and let it run till it starves. Last time round, just the start attempt was enough. The motor didn't start because the start attempt "emptied" the fuel lines. That is why I thought that this time round there would be no more pressure in there to speak of. Whatever, each to his own. Fuel running out of the tank: mine (long tank with the fuel pump in the tank) doesn't lose any fuel out of the tank. It dribbles a little bit when the fuel line comes off, but no more than you can catch with a rag. After that, it doesn't lose any more.2 points
-
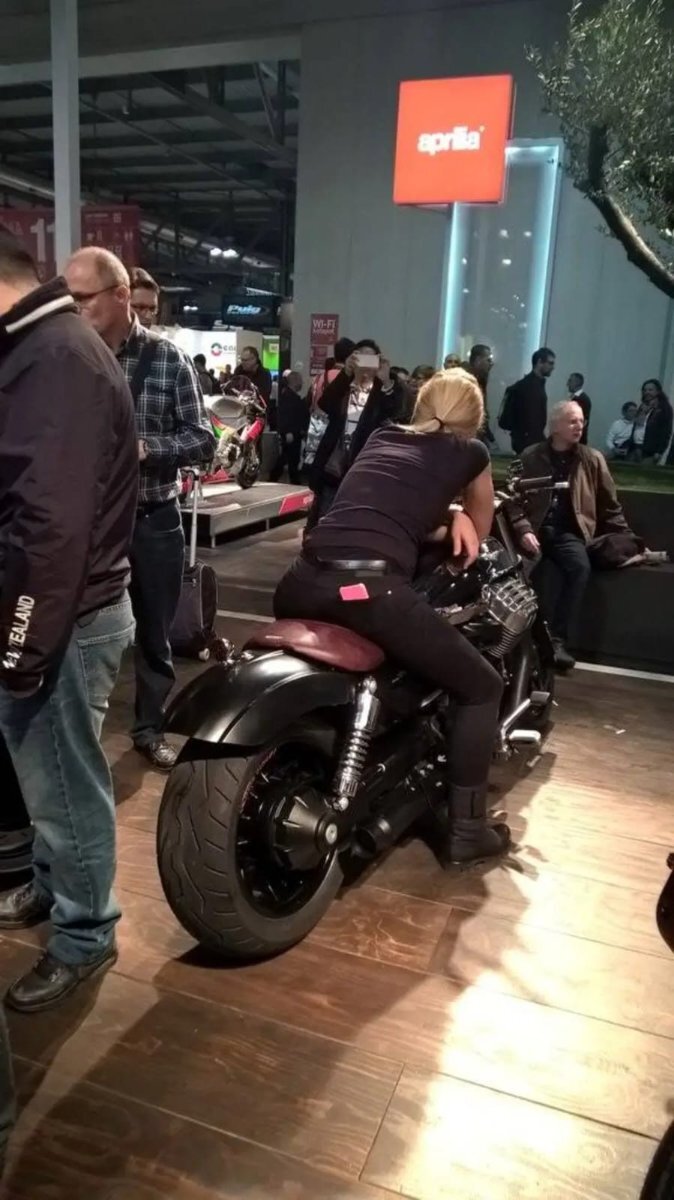
It seems that there is 1 missing Carabiniero...as they always work in pairs! Great pics as always!2 points
-
2 points
-
Thanks for the answers. First up, I do know how the connectors work. I even have a couple of spares in a box in the garage, and practised with them before going at it on the bike. What hasn't been mentioned: it is very helpful to disconnect the fuel pump, start the bike, and let it run until it stops before one tries to disconnect the coupling. This relieves the pressure in the fuel lines, making the whole thing much easier. Last time I did it, I got the thing apart first go after doing that. This time round, the battery was not in the bike, and I was not motivated to go back home and get it out of the cellar and put it in. I thought that after nearly a year of standing around, there wouldn't be much pressure left in the system. In hindsight, I probably should have put the battery back in. There is a German expression that translates as "in hindsight is one always wiser"... Regarding the tools: the ones I first found are a set, and were on e-bay for about €20.- . I have since found out that KS Tools offers a set that looks almost identical, but *might* be better quality for about €50.- . Still thinking about it, but I'm likely to buy a set, and probably the one from KS.2 points
-
Saving up my guilders (er, Euros) now!2 points
-
Nothing is better than a Dr's excuse !2 points
-
I don't have anything that looks like these. I would get those. You can try it w/o them . Just remember to push the fittings together and then push the "loose" portion away from the coupling and pull away from the fitting.2 points
-
Hey @Tomchri, I think you forgot XYZ . . .2 points
-
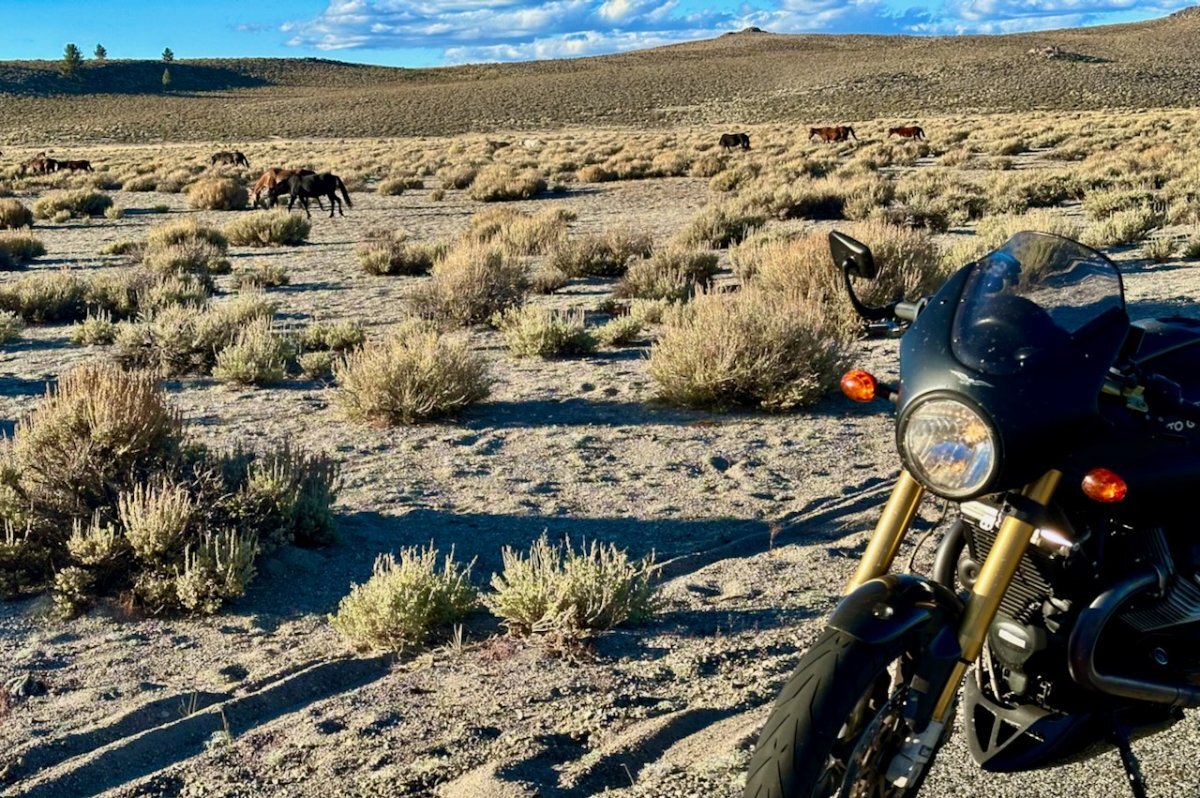
Perfect October weather here in the Sierras.
 2 points
 -
The Italian Stallion (among other wild horses) on Route 120 East of Mono Lake.
 1 point
 -
Related to that, sort of: I have, on advice of someone much more experienced than me, a bit of fuel line, about 18 inches or two feet, with the grey connector on it. If the tank needs to be emptied (and yes, I have tried this...) that gets plugged on to the "out" connector on the tank, and the fuel pump gets activated with Guzzidiag. Takes a minute or two, but undoubtably the most comfortable way to empty the tank. PS: I think the "out" connector is the red one (as I already wrote, long tank with the pump in the tank), i.e. the one to the outer side. Please check for yourself though. Look here for instance, page 540 https://guzzitek.org/gb/ma_us_uk/1100/V11_1999-2003_Atelier(Compil-GB-D-NL).pdf1 point
-
What I use from Amazon - https://www.amazon.com/Automobile-Remover-Pliers-Vacuum-Separator/dp/B07G5QSQFQ?
 1 point
 -
Oh ... meant to add this, but had another dotage attack. While I appreciate the hints on getting around the C&P issue, it is nonetheless interesting to me that this is the only forum of the (way too many) that I frequently post in, that poses this issue. No biggie, of course, but odd to me. Back to cleaning house here; Kathi returns from a "shower" in Philadelphia tomorrow; I have converted what she left as pristine into a set for a remake of Animal House. Bill1 point
-
"If you really want/need to standardize the font on a C&P post ..." On the merits, thanks. When a teen grandkid isn't handy, it's nice to draw on the skills of members here. Seriously, thanks. I'll try that next time ... if I remember. Bill1 point
-
Once you get an understanding of how it works you will be p.o'd AFA the removal procedure and how simple it is . Caterpillar had come up w/a new style of "push-lock" hose connection and I wasn't installing it (the new hose) correctly. After 3 attempts and probably 30 gallons of hydraulic fluid spraying the underneath of this "Bobcat" I figured out what I was doing wrong.1 point
-
This next part is pretty sketchy . . . (depending on the interwebs to translate US south'n vernacular into Dutch ) . . . Y'all come now. Ya hear? Kom allemaal. Hoor je het?1 point
-
Yes, they are pretty crude stamped steel chinesium offering but the thing is that they are a simple tool for a simple task and they work fine, helps squeeze the retaining collar on the QD fuel line connector. Much easier than with fingers, especially if you have big hands and arthritic fingers like me. And they used to be priced accordingly, I got mine for less than $12 on Ebay a while back, now close to $30 Linky1 point
-
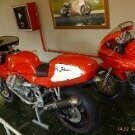
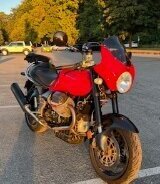
Just magnificent!!! Did Moto Guzzi have a name for that stunning yellow besides just "giallo?"1 point
-
1 point
-
The problems have been fixed! -I replaced the oil pressure switch. -I did a diode test on the regulator - which interestingly had not been suggested in this thread - and the test results indicated that one of the diodes was blown, or was otherwise not working. Discussed the test with Electrosport, and they asked me to send in the unit for further testing. -Rather than wait for the Electrosport people, I bought a new Ducati Energia (OEM) regulator from MG Cycle and installed it yesterday. -Fired up the bike a few hours ago. Oil and battery lamp come on with key on. At idle the battery terminal test at 14vdc +/-, and increase when revved. Went for a 100 mile ride: South St. Vrain Cyn - Peak to Peak Highway - Coal Creek Cyn - Home. Had a blast! Foliage, not much traffic, no battery light at 3-4000rpm, and the bike just roared along. Thanks to everybody on this thread who offered thoughtful troubleshooting suggestions. I really appreciate all of the time and effort many of you have put in trying to help me out. Cheers, Sam1 point
-
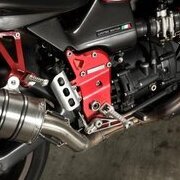
Not the same as on Dave's I think, but Mistral has something similar https://www.mistralspecialparts.it/en/product/classic-exhausts-moto-guzzi-v7-700-special-eldorado-850gt/1 point
-
1 point
-
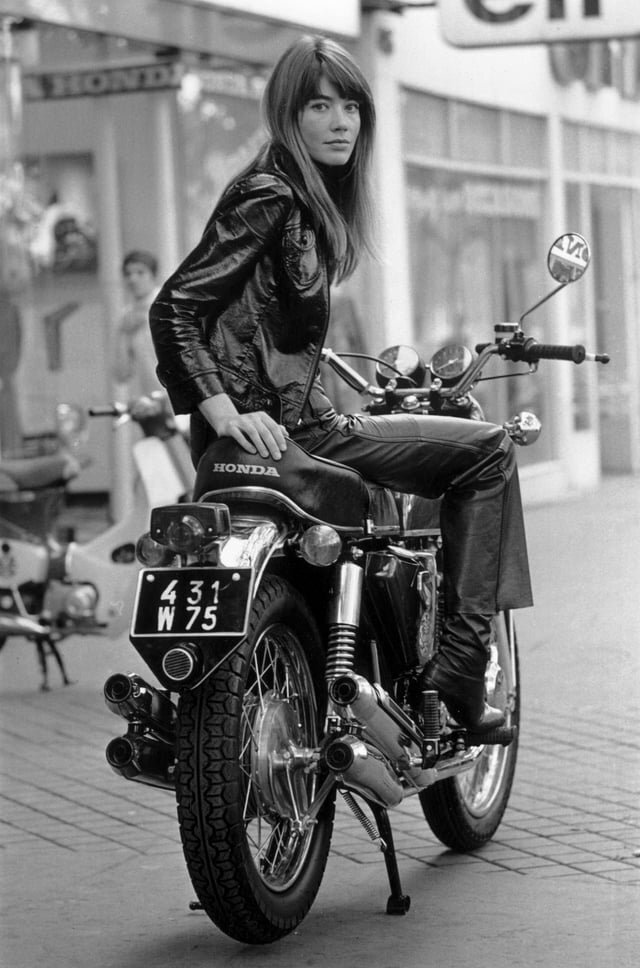
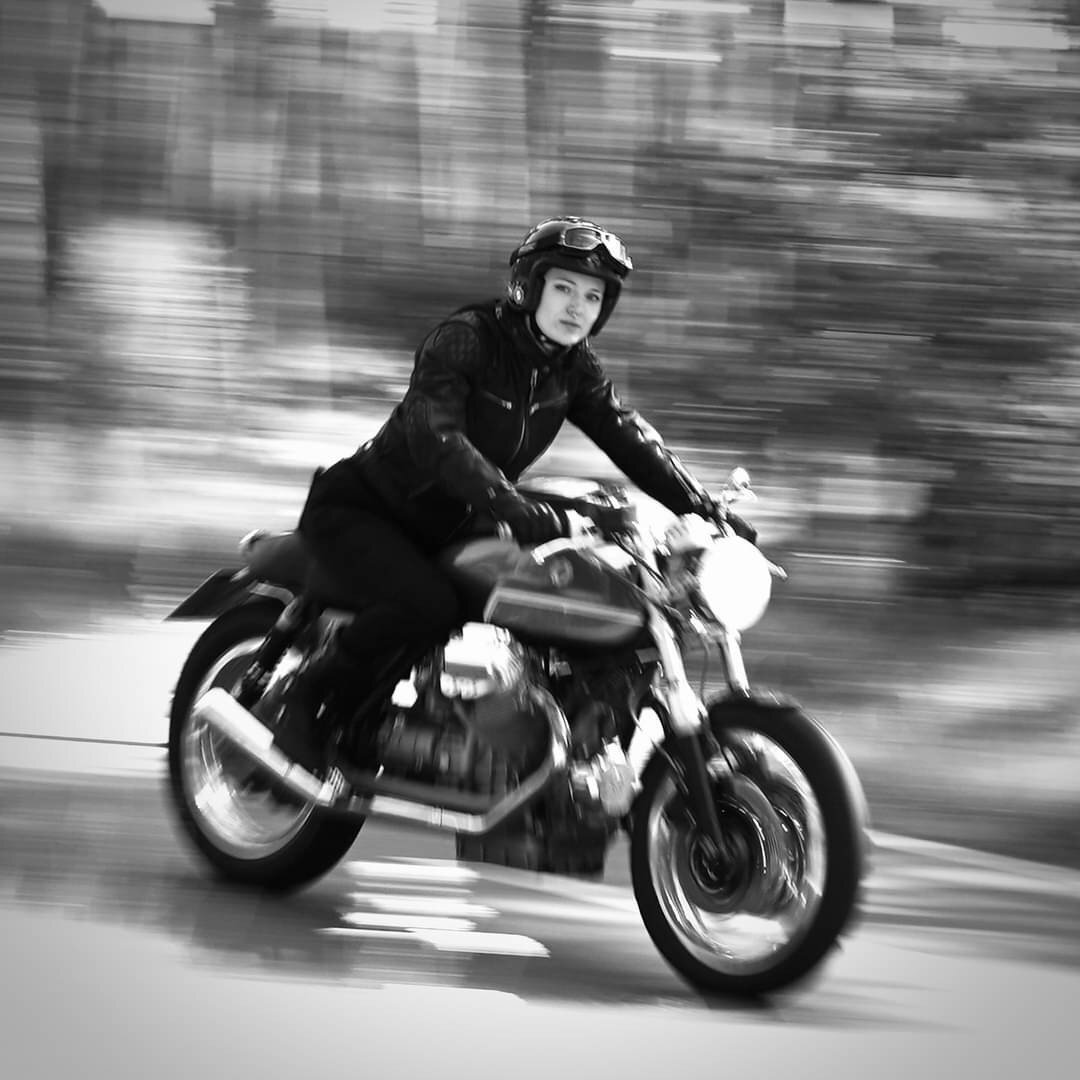
Unfortunately. It seems she aged very well.1 point
-
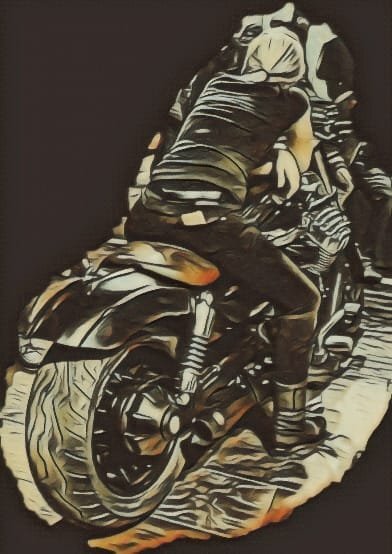
She's pretty racy1 point
-
You mean you didn't look at the exhaust pipes first?1 point
-
Almost forgot to notice it's not a MG lol1 point
-
Did we have this one already.
 1 point
 -
1 point
-
No , the portion in front of the seat cowl !1 point
-
the seat cowl ?1 point
-
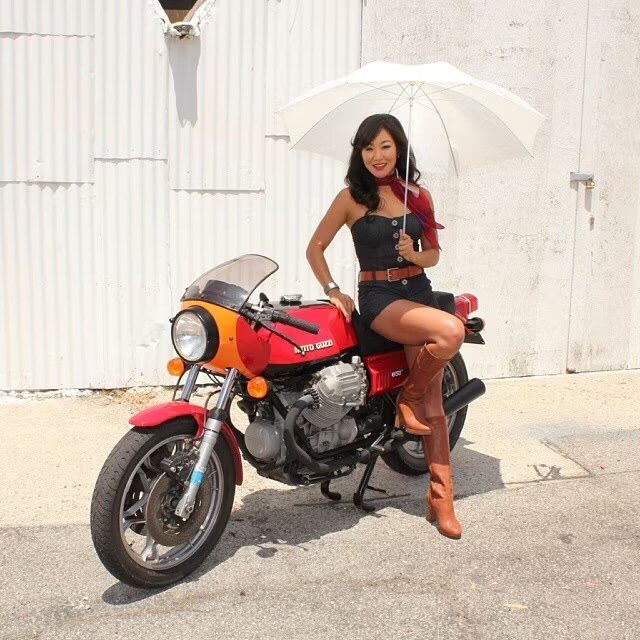
A smiling Ballabio! Not just a pretty lady, but a business lady who over the last 20 years has ridden her BMW650GS up to 13 hours a day, from 34F to 105F days. For shorter rides she used her new Ducati 800 Scrambler!
 1 point
 -
1 point
-
Whew , that one feature protrudes !1 point
-
1 point
-
1 point
-
1 point
-
I didn't notice anything behind the bike. Barely even noticed the bike, if it comes to that...1 point
-
Let me refresh this, now that warm weather is upon us.1 point
-
1 point
-
There is the matter of the point in time it must come off . . .1 point
-
I did offer to practice with applying the insulation tape ….
 1 point
 -
They forgot the final line in the add. "The bold way to make time" in the workshop up to your arse in oil and broken engine parts"1 point
-
Yeah, back in the day, during the 60s & 70s, it was a word we used a lot. In fact in my later teenage years the pursuit of this activity seemed to be the main aim in life1 point